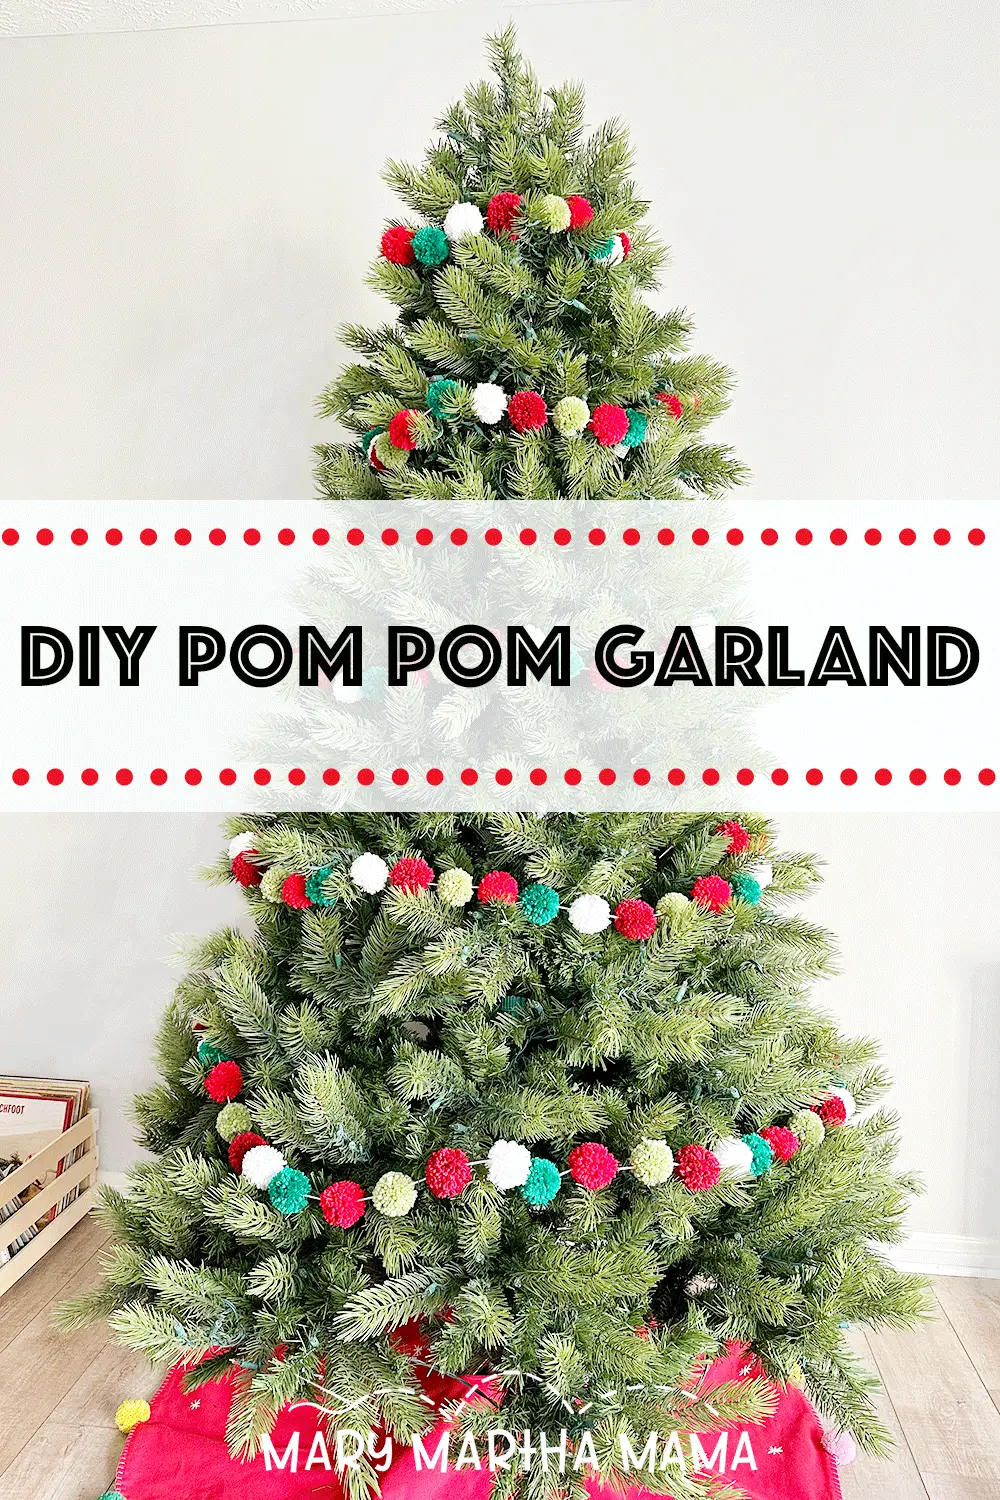
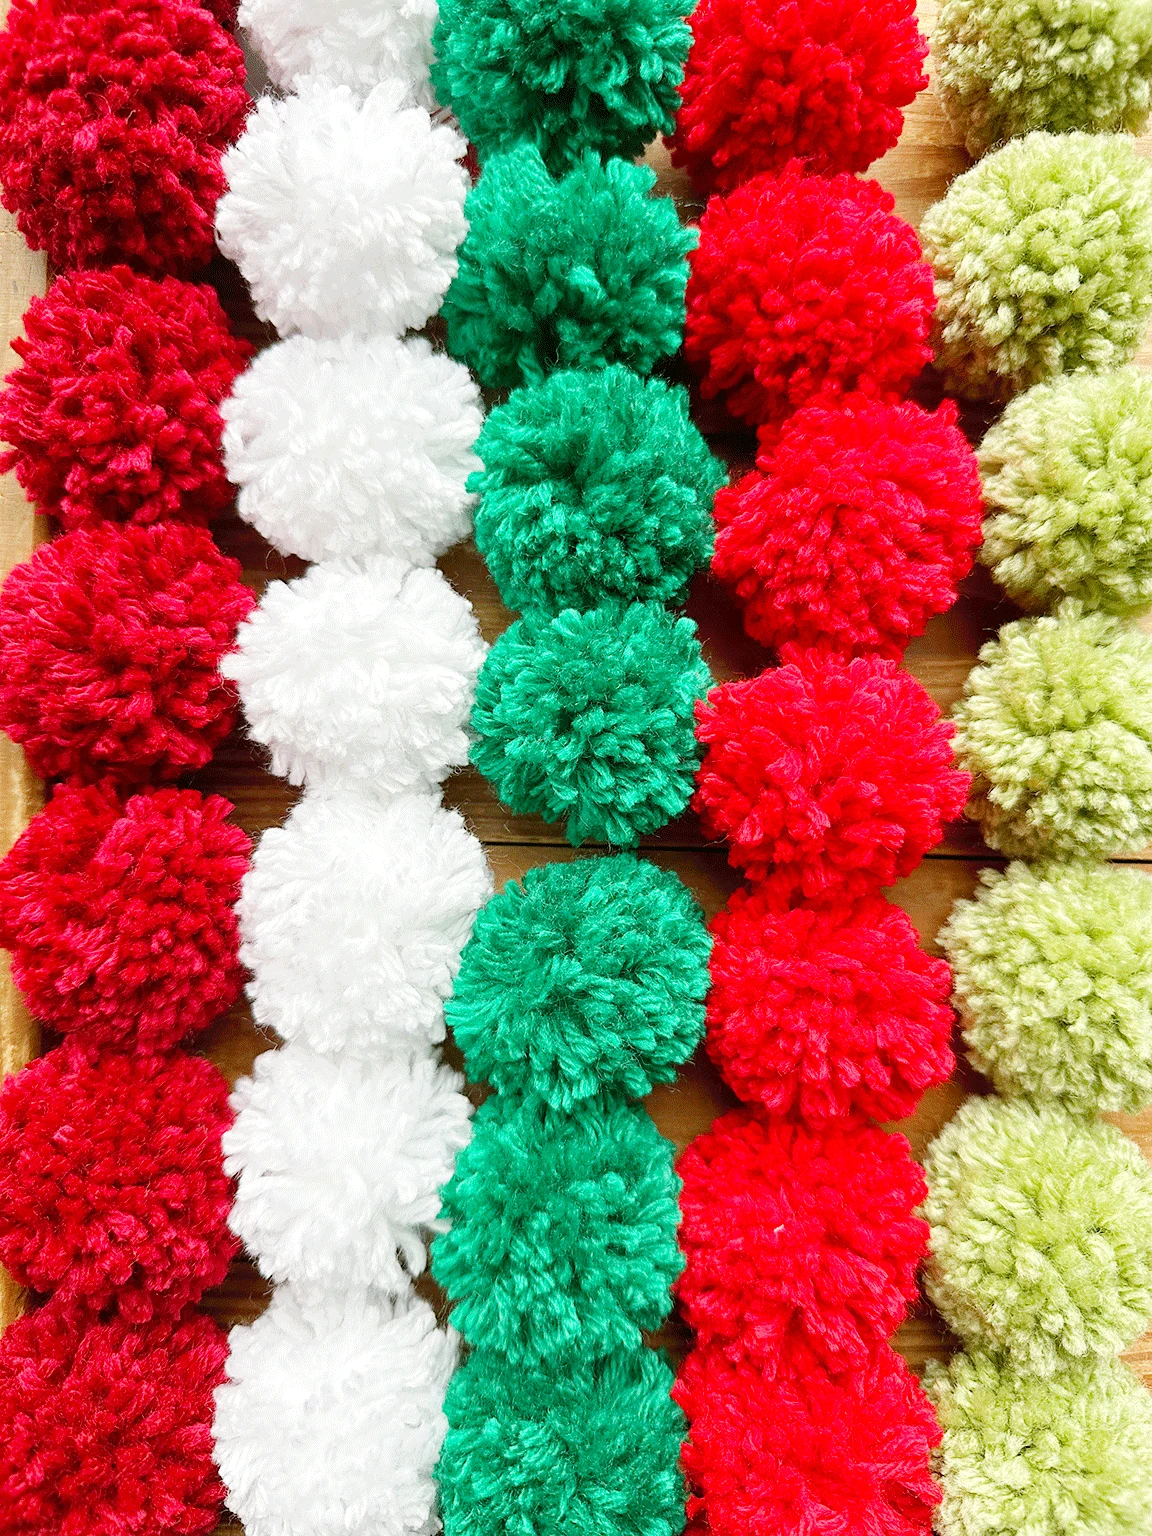
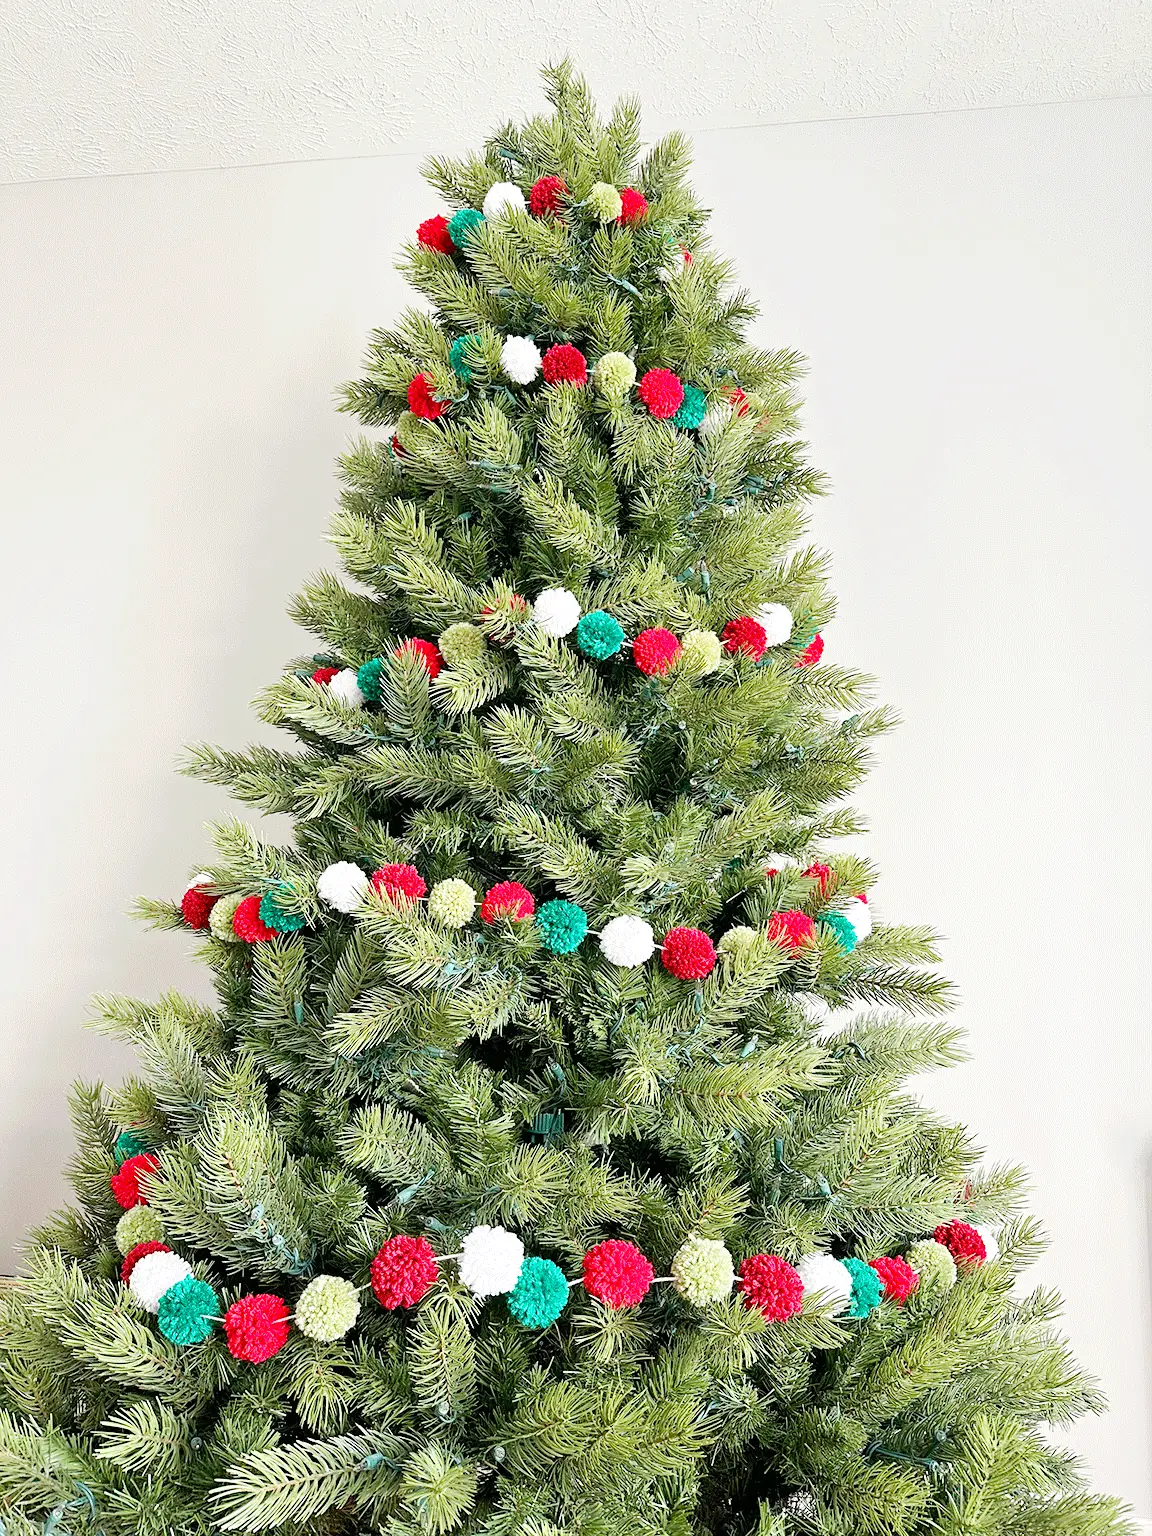
I love so many different Christmas styles but I think in our home we have settled on a warm, cozy, cheerful Christmas and this year I decided that our tree needed a DIY pom pom garland. You could easily make pom pom garlands that would be great for all kinds of seasonal decor for mantels, doorways, and more by following my easy tutorial below.

I actually have 2 different tutorials below, depending on how you like to learn. I wrote out step by step instructions with pictures for each step and I also filmed a video of the pom pom making process. Whichever way you like to learn this is a simple craft project that can add a lot of fun to your seasonal decor.
Supplies You Need
- Pom Pom Maker (I used the 45mm one from this set.)
- Yarn (The amount will vary depending on how many pom poms you’re making. I used the majority of 5 skeins of yarn.)
- Embroidery Needle or Yarn Needle (The eye needs to be big enough to get the yarn through)
- Scissors (These are my favorite scissors.)
I recommend using a Pom Pom maker. It is possible to make a Pom Pom maker out of a piece of cardboard but I find the Pom Pom maker to be easier.
DIY Pom Pom Garland Video Tutorial
If you’re a visual learner then this video will help you learn how to make a Pom Pom using the Pom Pom Maker tool or if you prefer you can keep going to the step-by-step written tutorial with pictures below.
DIY Pom Pom Garland Step-by-Step Tutorial
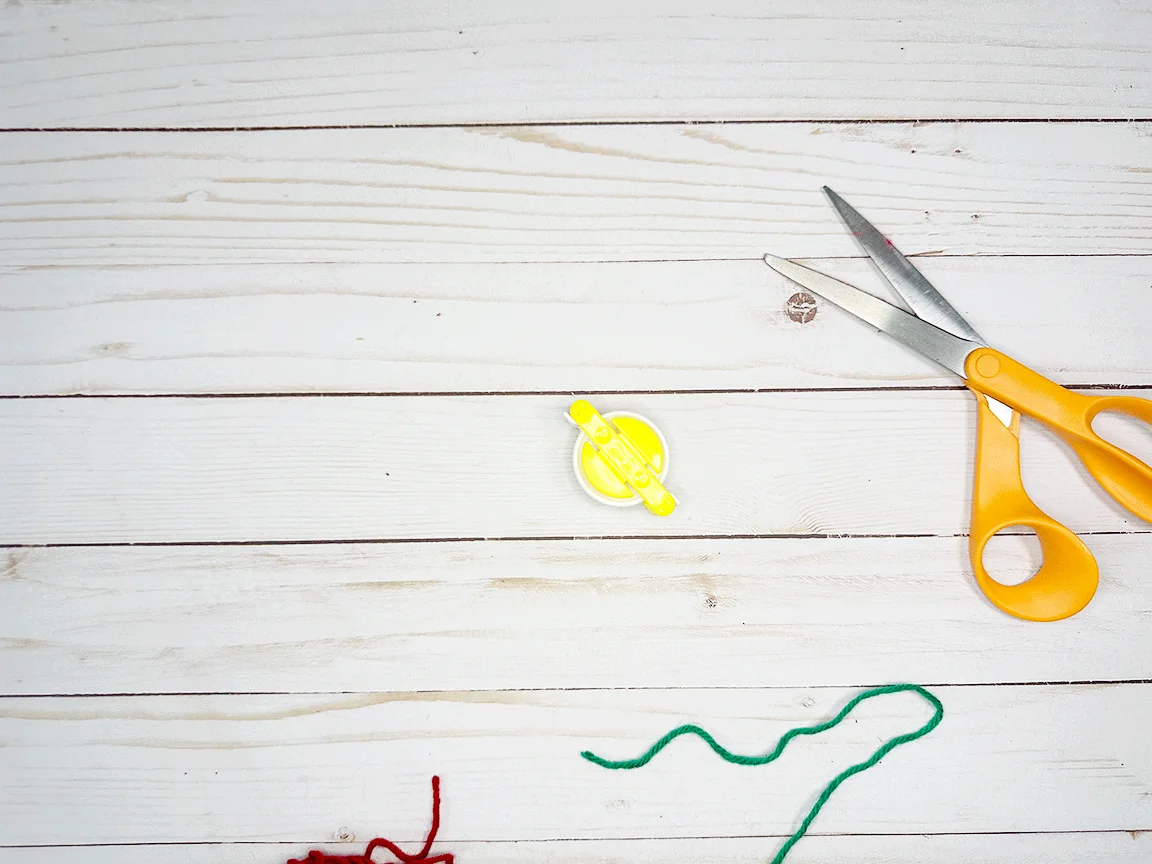
Step 1: Open the Pom Pom Maker
This tool looks complicated, but once you get oriented to it, it’s not actually complicated. Swing the arms open on both sides and orient it so that when you look at it, it makes an S shape.


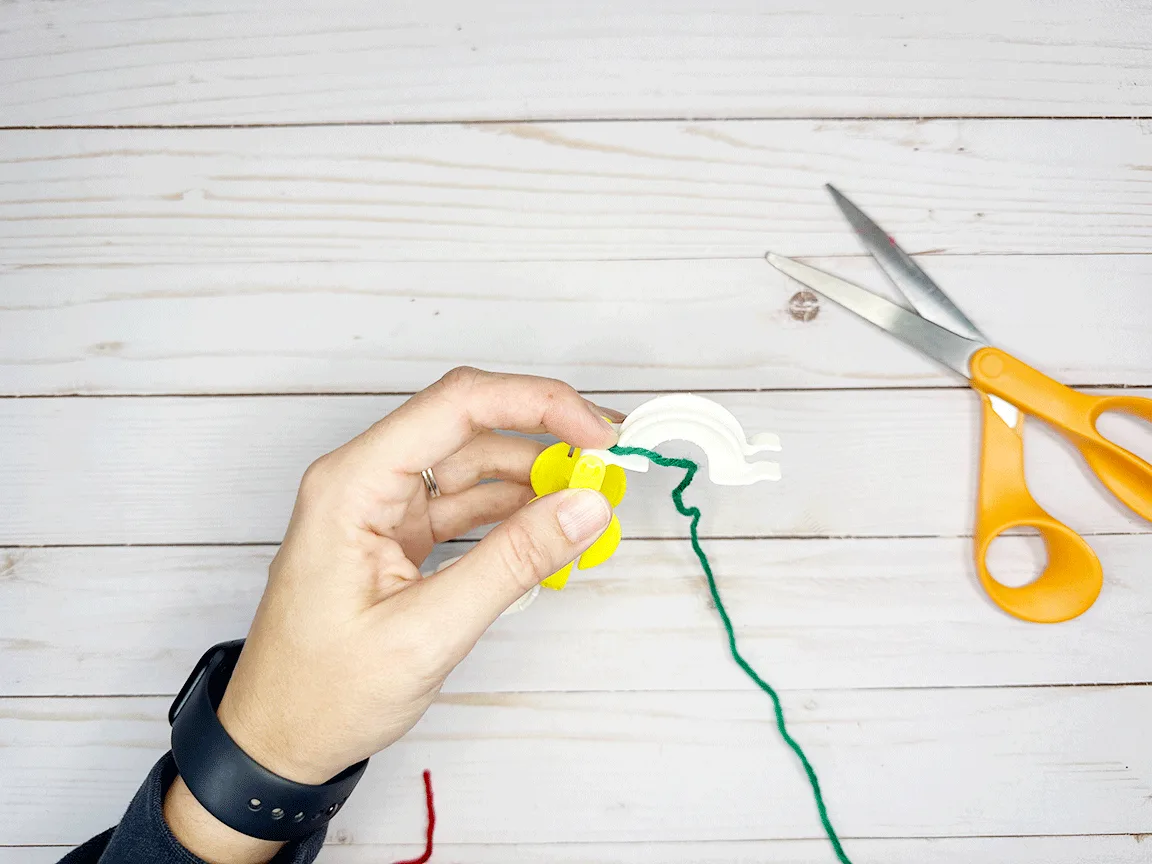
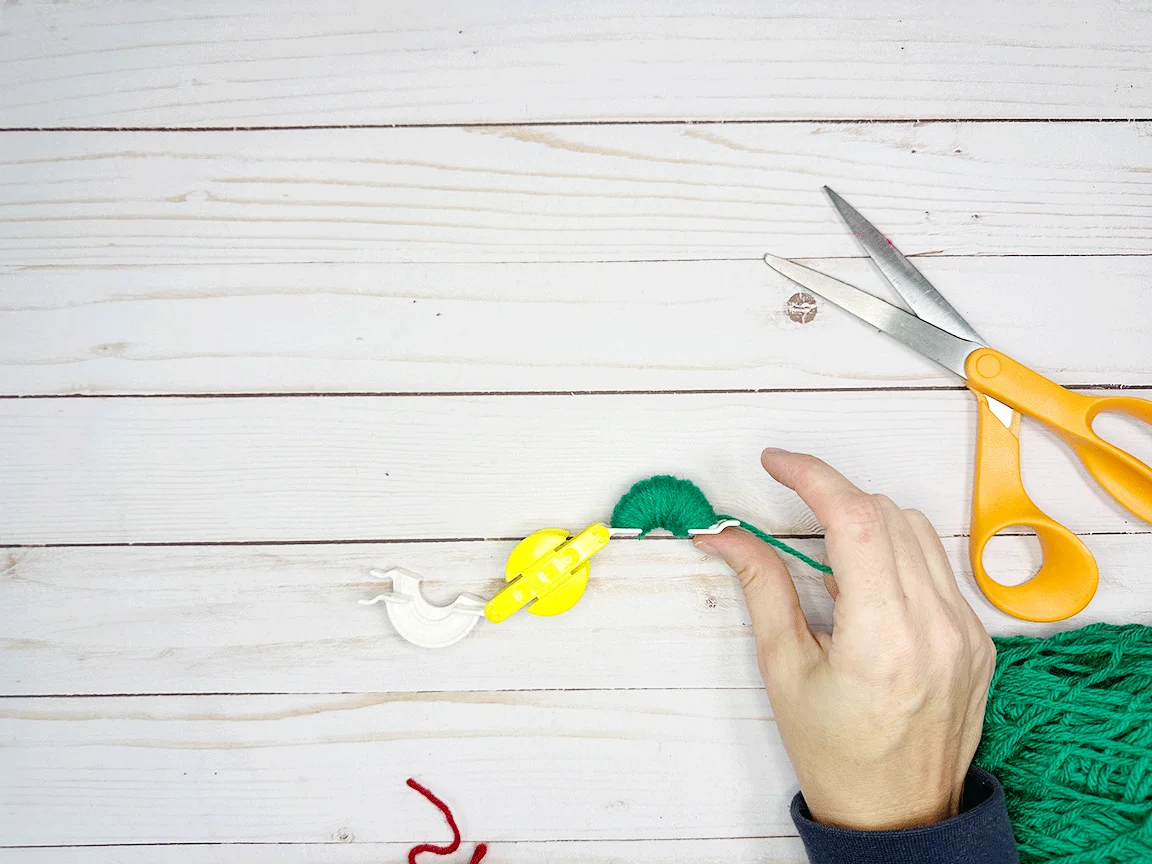
Step 2: Wrap the First Side
Use your fingers to help hold the yarn down on top of the top part of the S shape of your tool. Then begin to wrap the yarn around itself so that it will start to stay in place.


Continue wrapping the yarn around the tool, basically working your way from left to right. Make sure to wrap each area thoroughly- the more you wrap it, the fuller your Pom Pom ball will be.

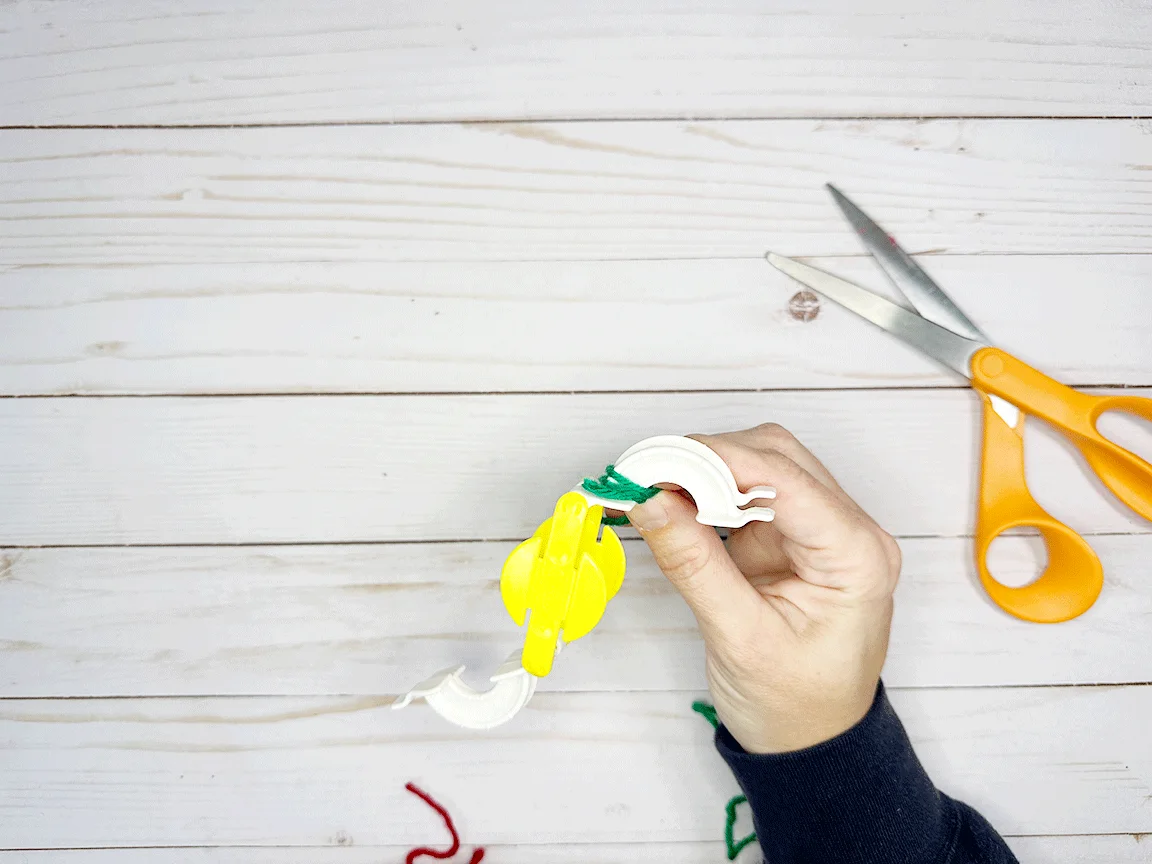
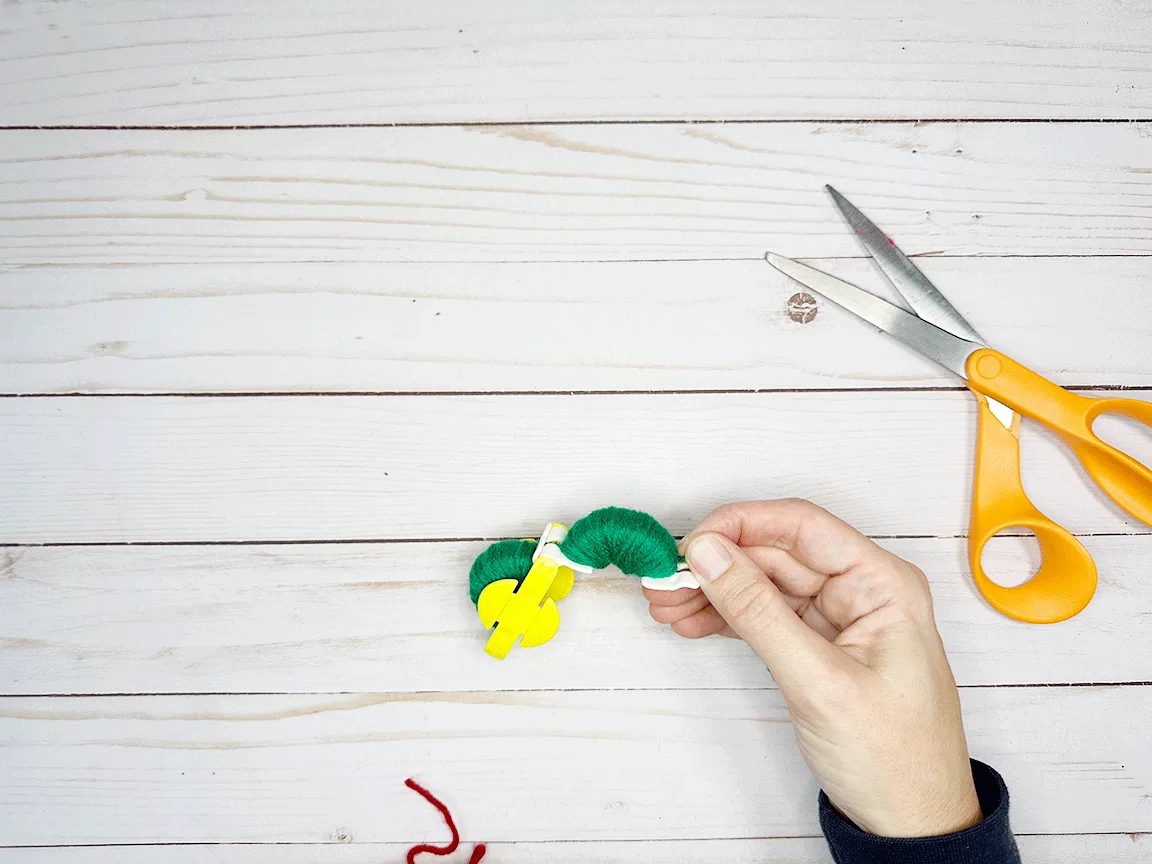
Step 3: Wrap the Second Side
Once you finish wrapping the first side, you need close it.


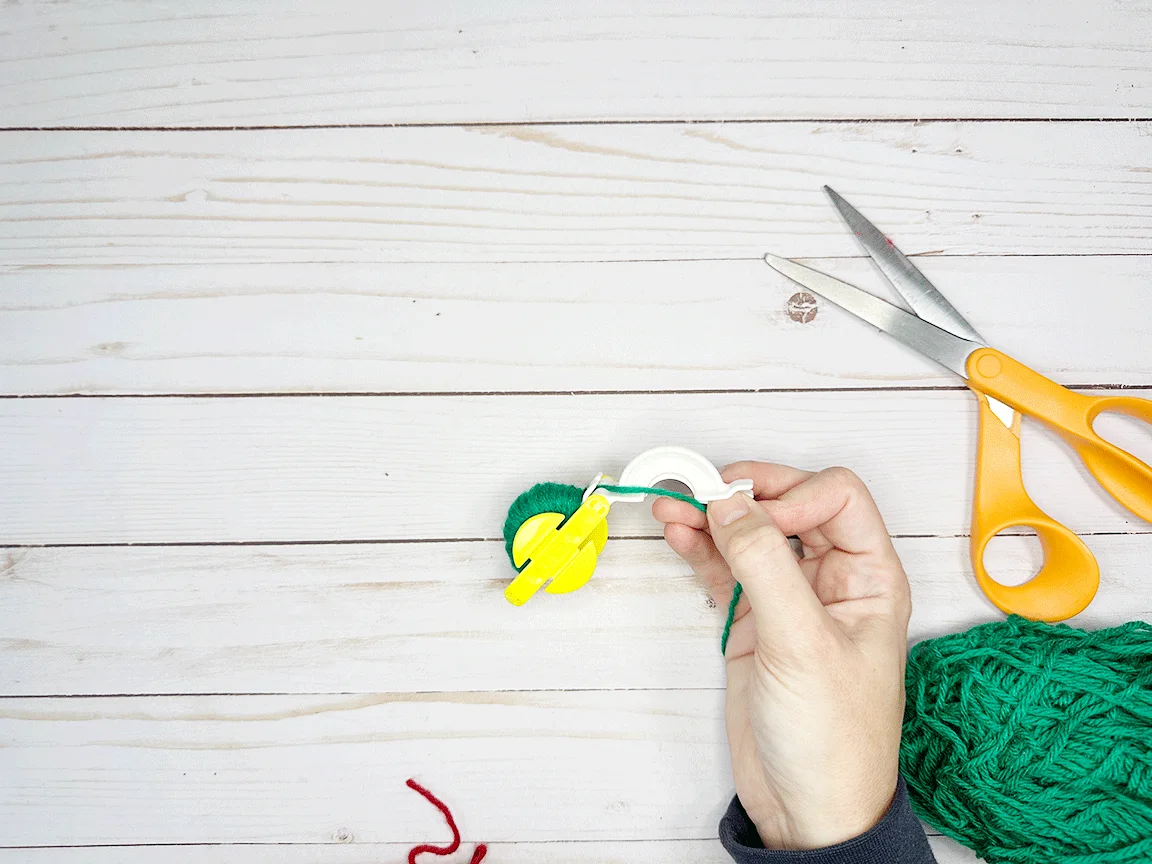
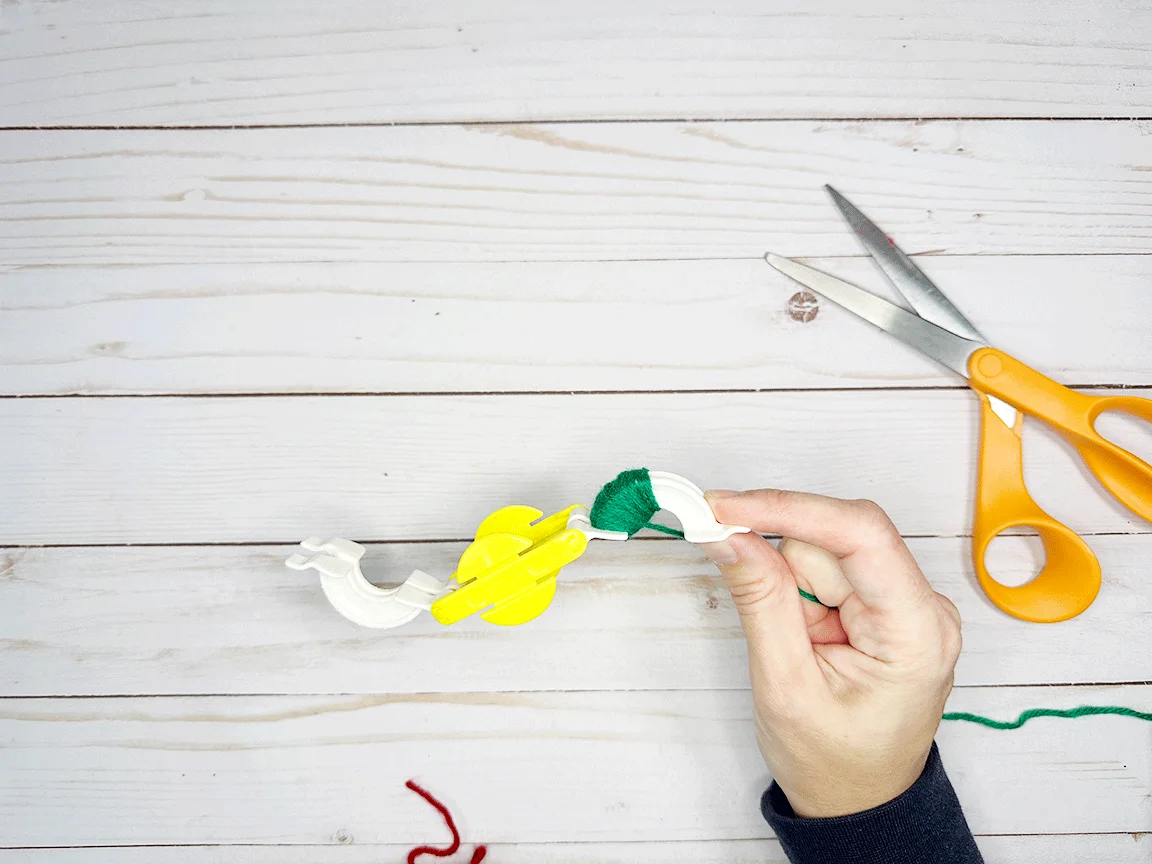
Pull the yarn across the front of the second side. This should make the yarn slide into the little groove in the middle. Start wrapping the second side.


Continue wrapping until the second side is completely wrapped. Try to make it equal in fullness to the first side.

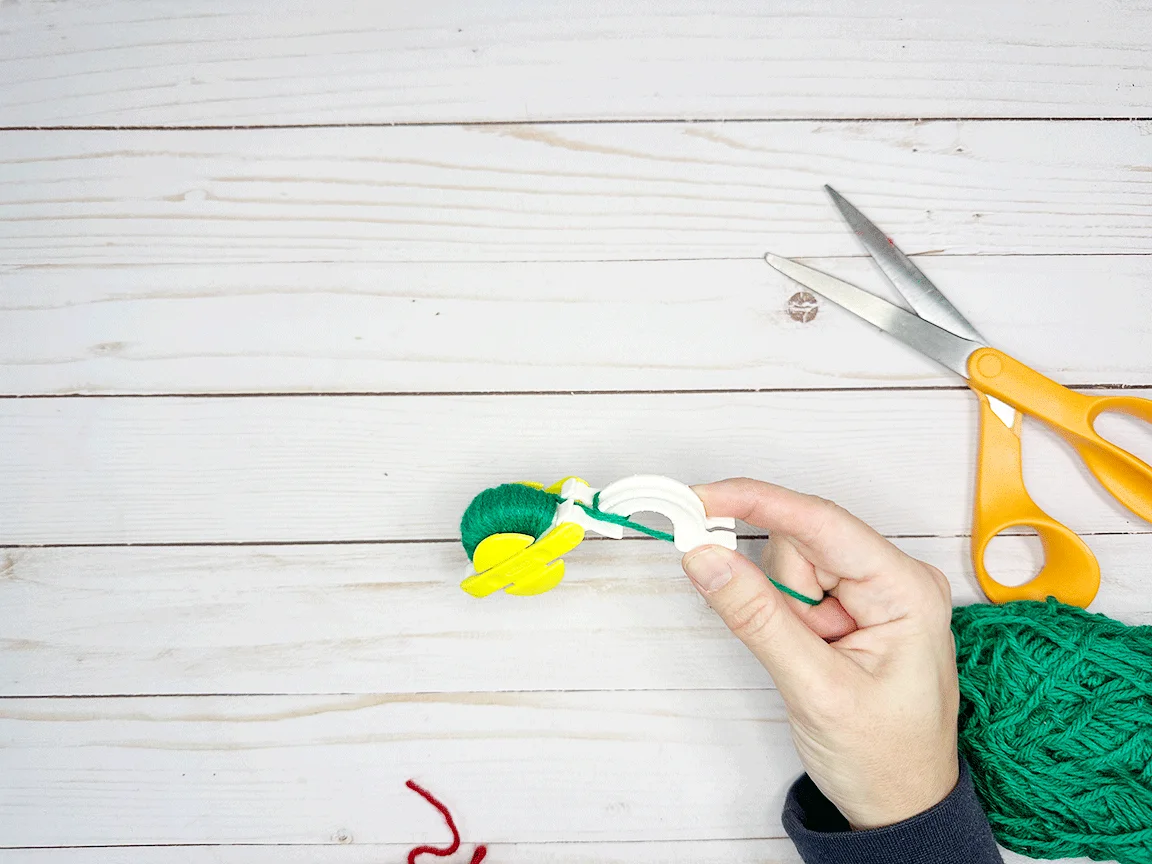
Step 4: Close the Pom Pom Maker
Close the second side of the Pom Pom Maker.

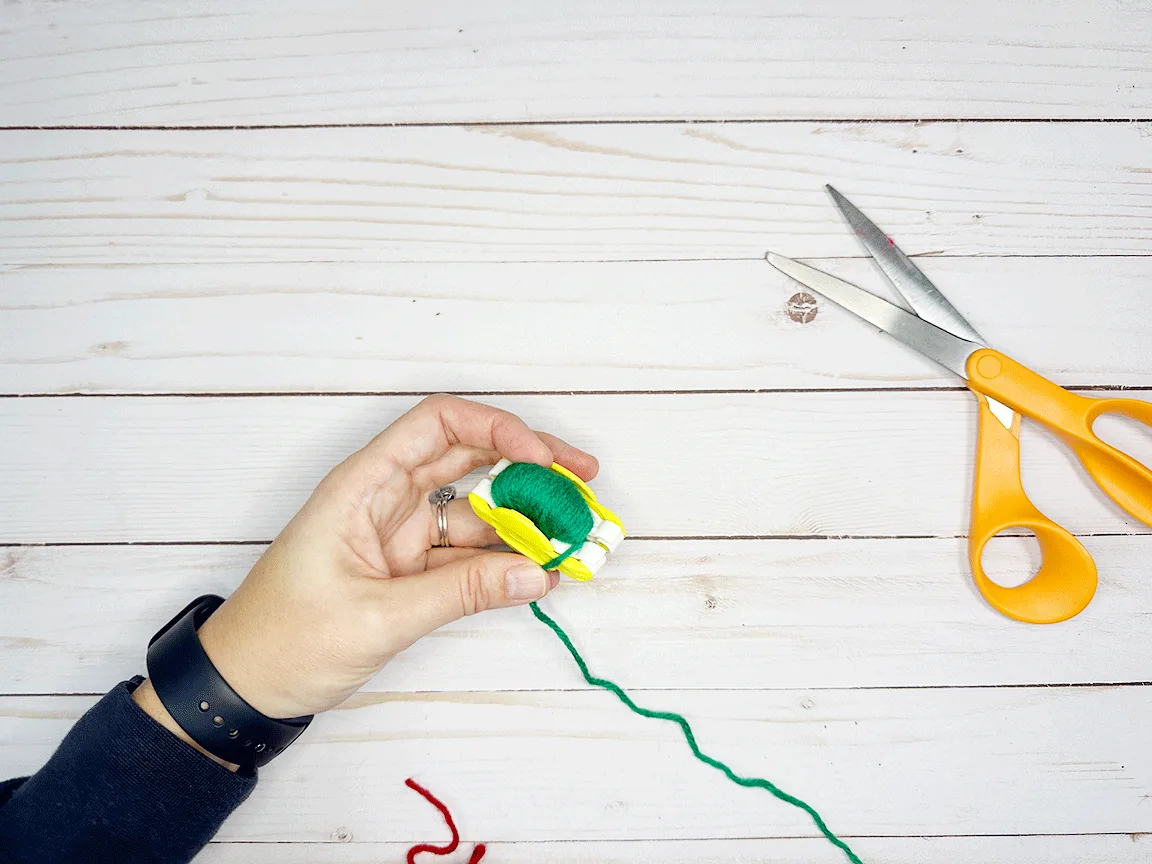
Pull the yarn across the front and cut it near the outside edge of the Pom Pom maker.
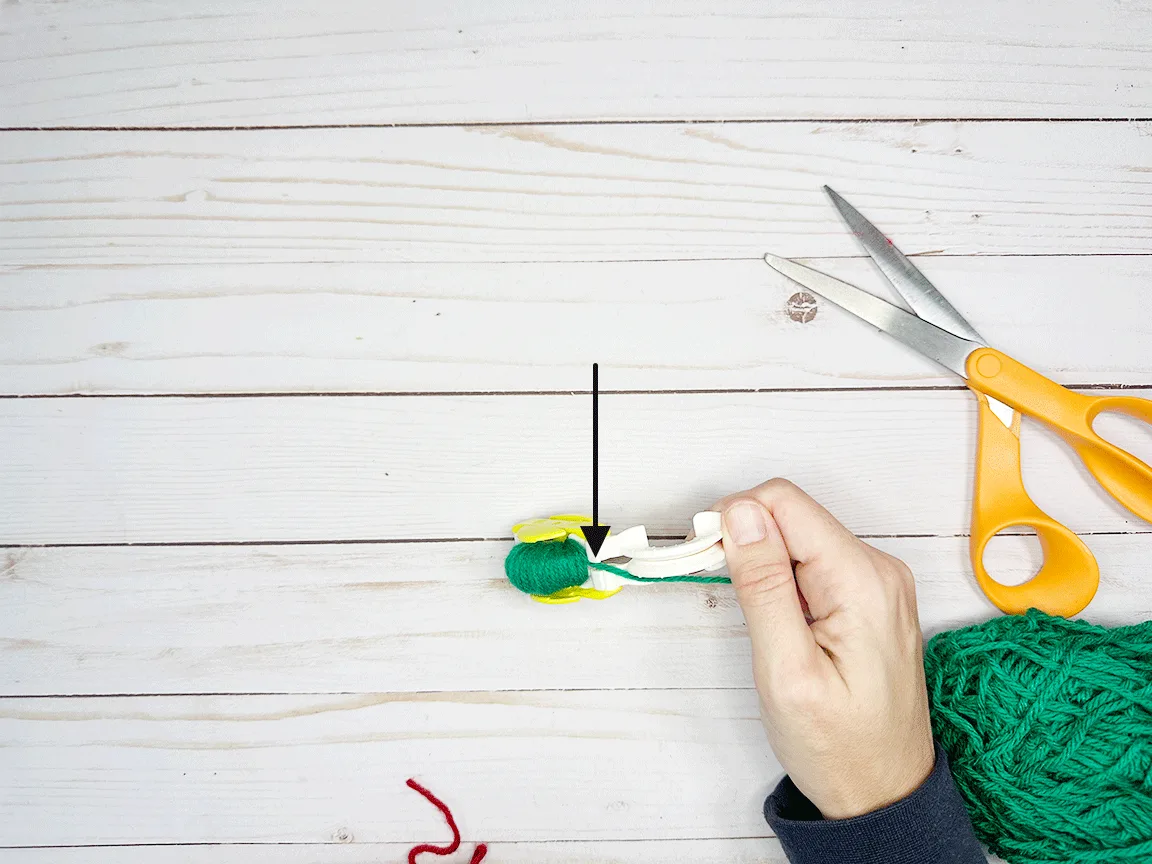
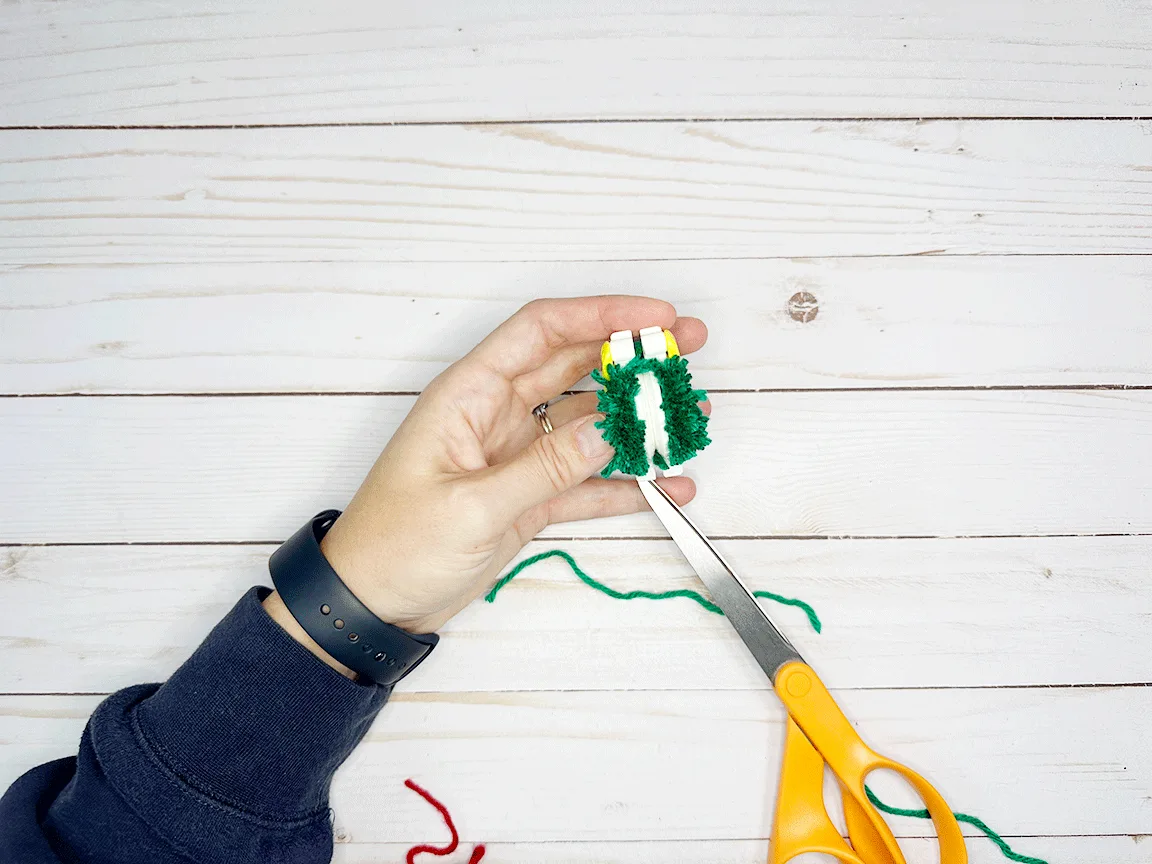
Step 5: Cut Along the Center Groove
Cut the yarn going around the circle of the Pom Pom maker, cutting along the groove in the center. Do this all the way around, making sure to get the yarn in between the two sides as well.


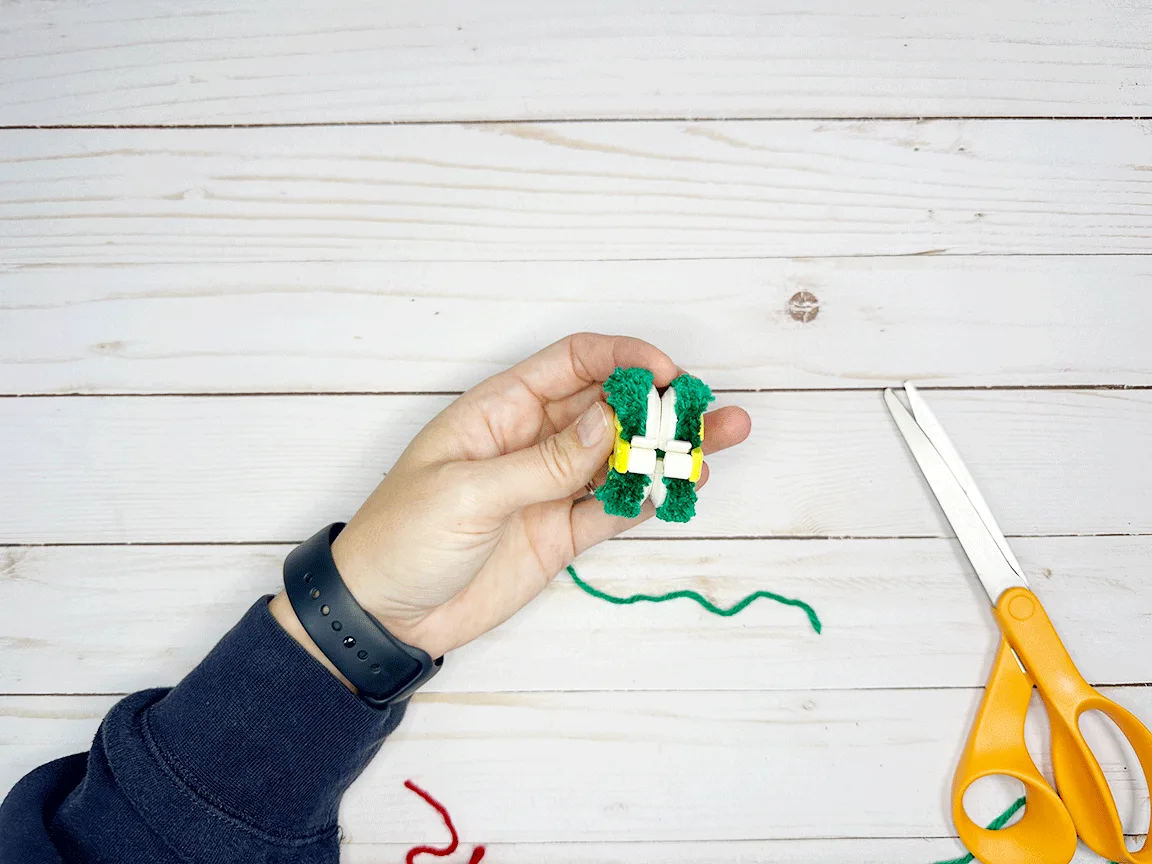
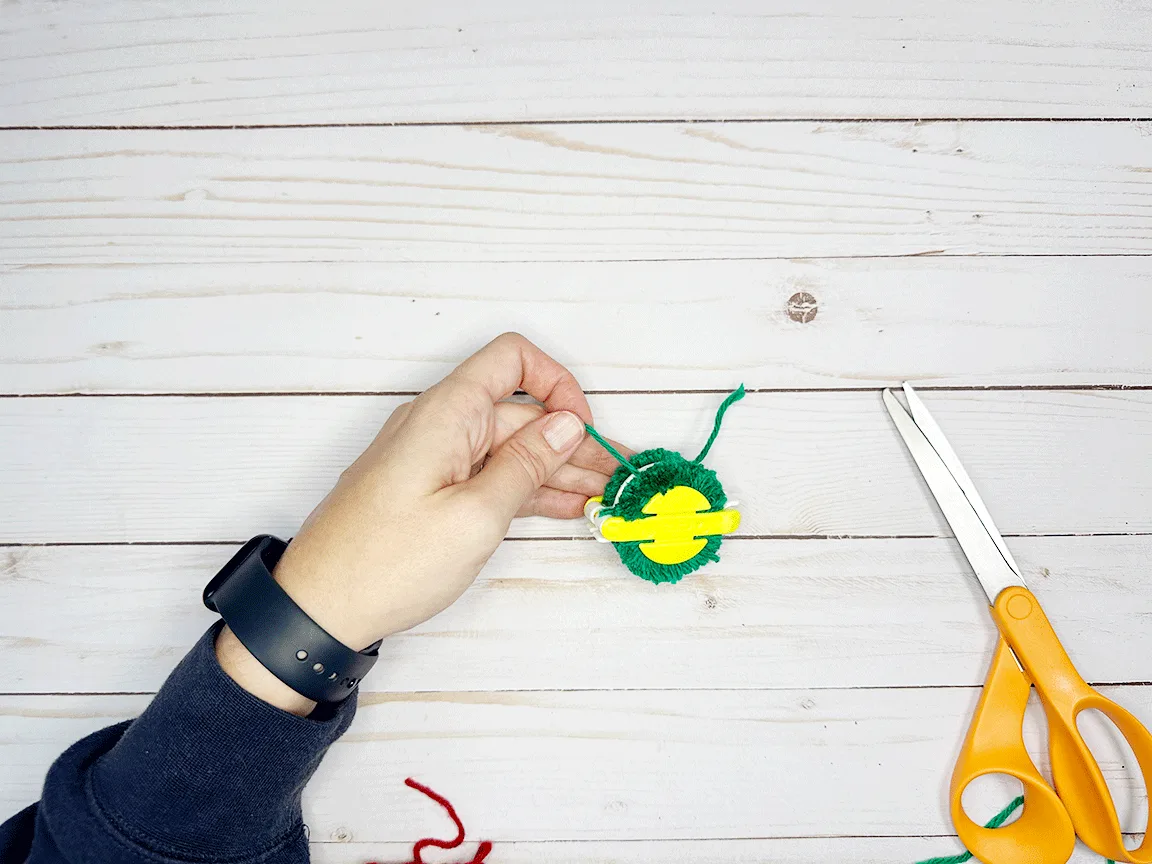
Step 6: Tie the Pom Pom
Cut a piece of yarn about 6 inches or so from your skein. Then wrap it around the center groove of the Pom Pom maker.

Pull the yarn tightly into the groove and tie a double knot. You want this to be SUPER tight, or your Pom Poms will fall apart.


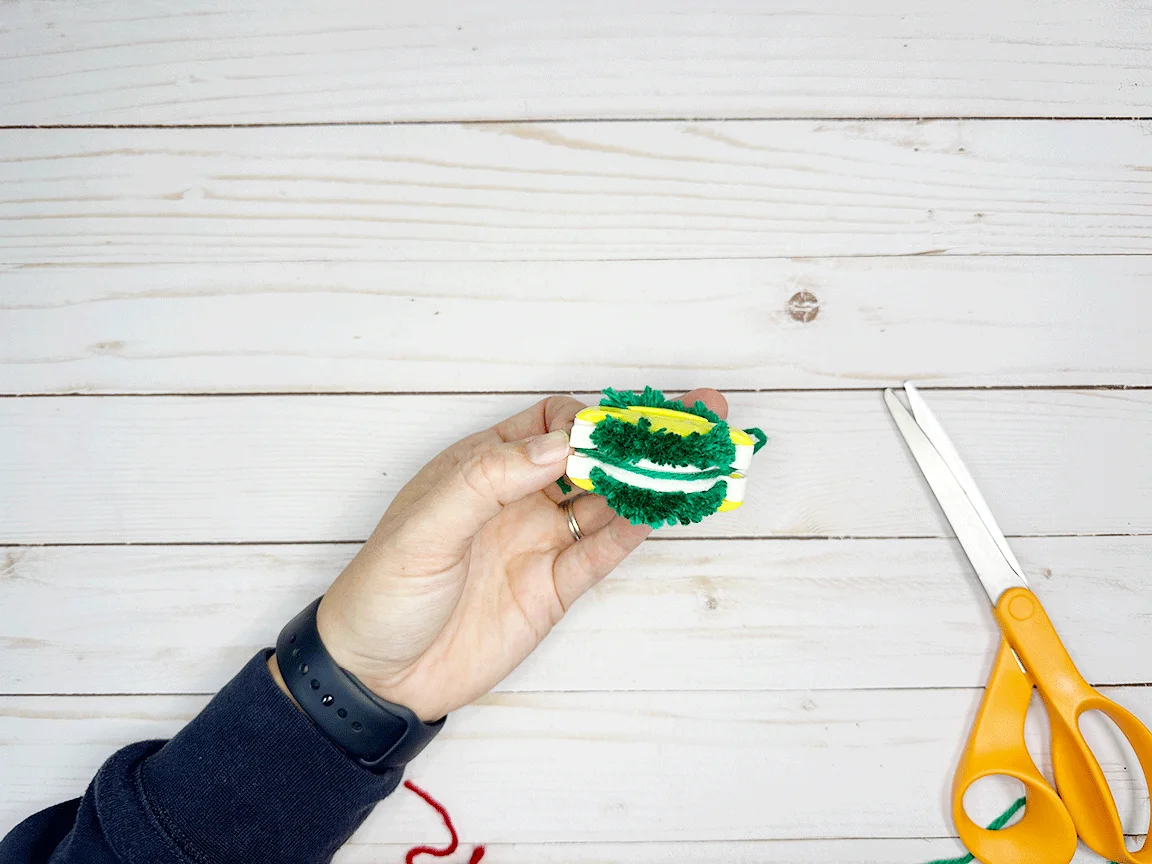
Step 7: Open the Pom Pom Maker
Open both sides of the Pom Pom maker.

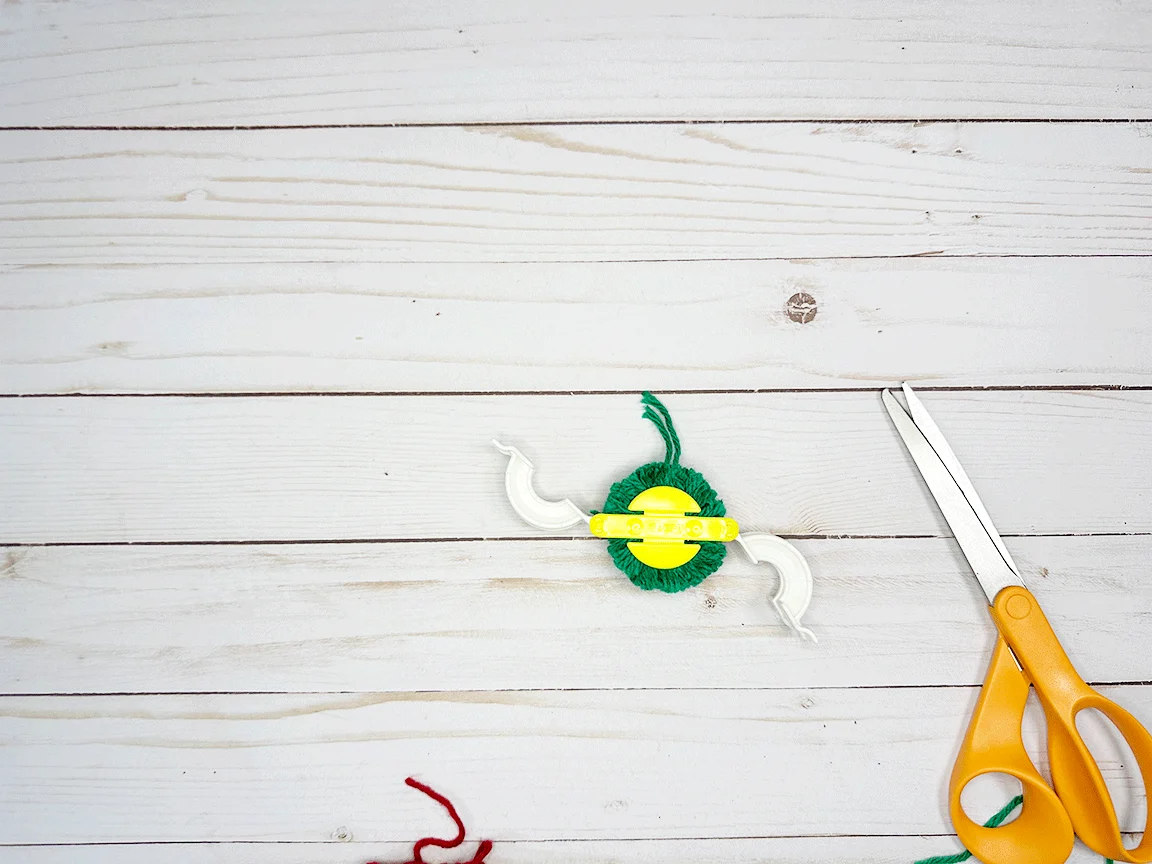
Then take one side in each hand and pull them apart. This will release the nearly finished Pom Pom.

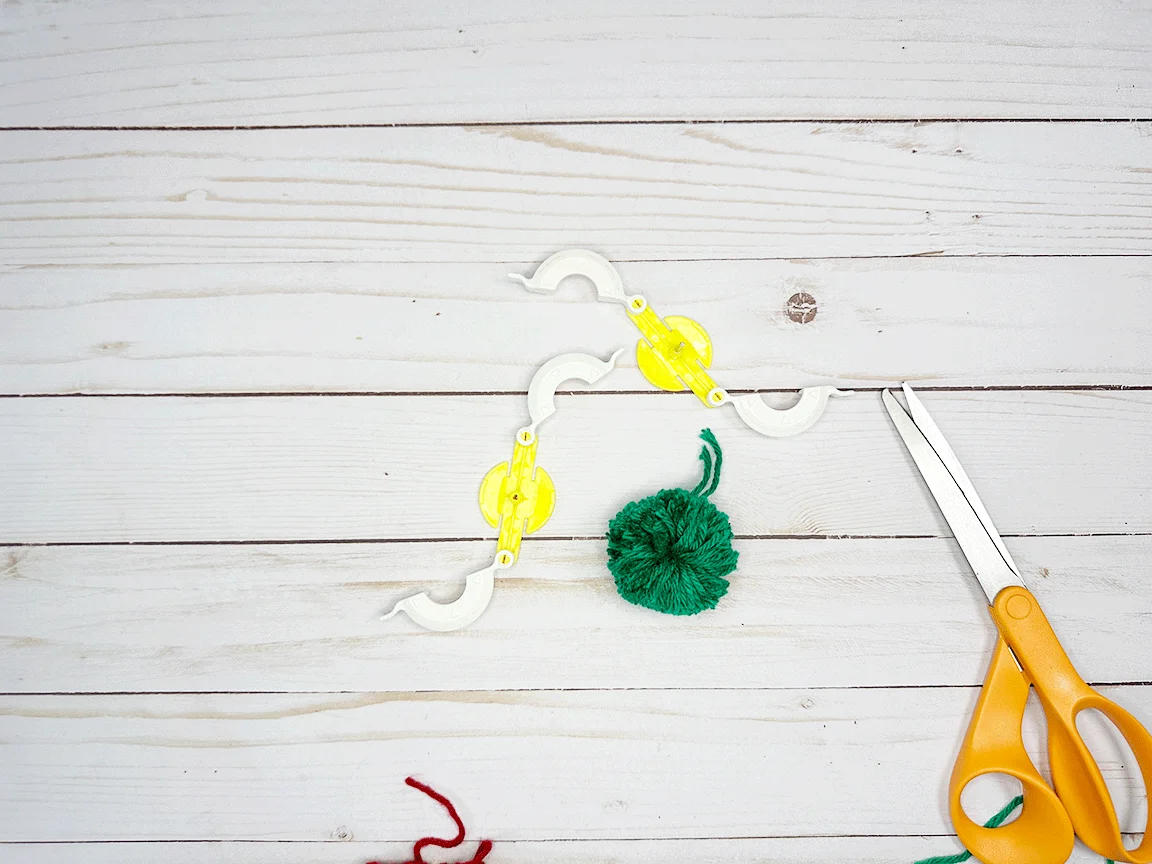
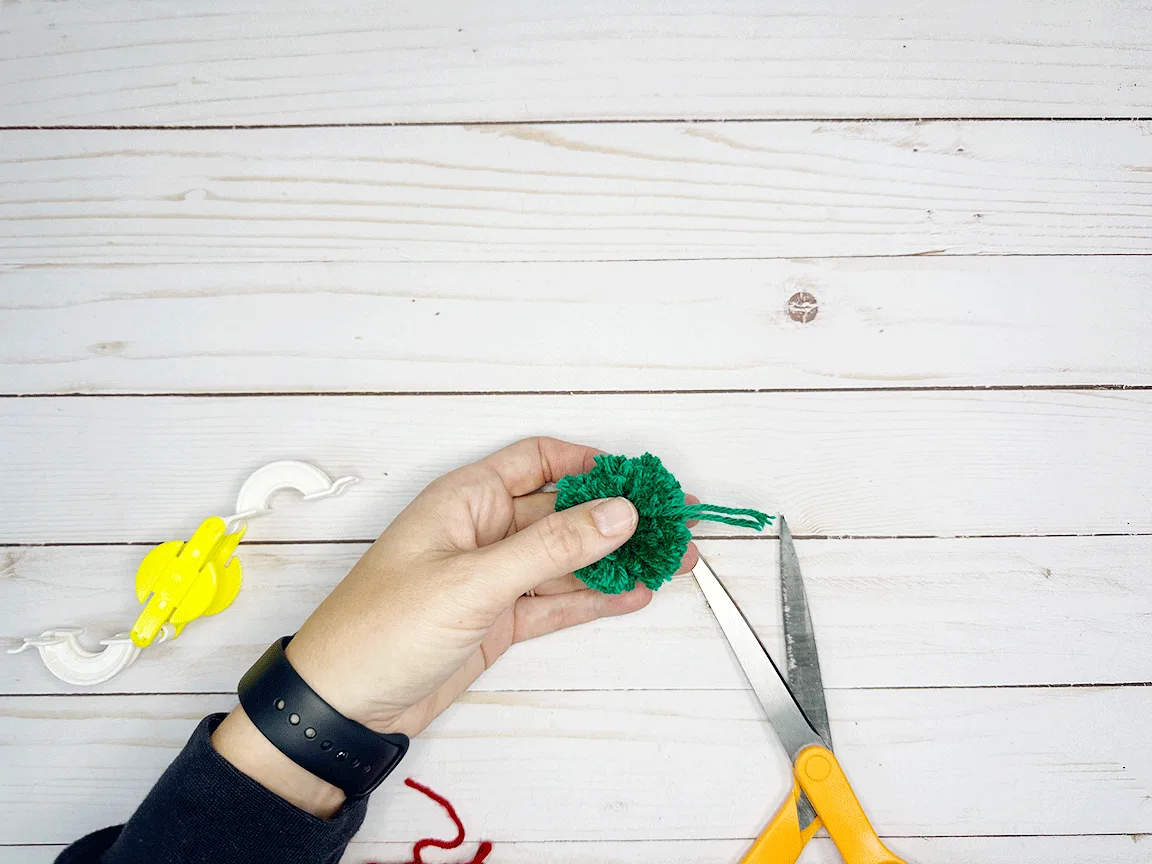
Step 8: Trim and Shape
You will have a few pieces of yarn that are longer than others. These are the pieces of yarn from the knot keeping it all together and the ones that crossed the middle, along with a few others that might be a bit longer from how you wrapped everything along the way. Trim all of the longer pieces of yarn to be more in line with the rest.

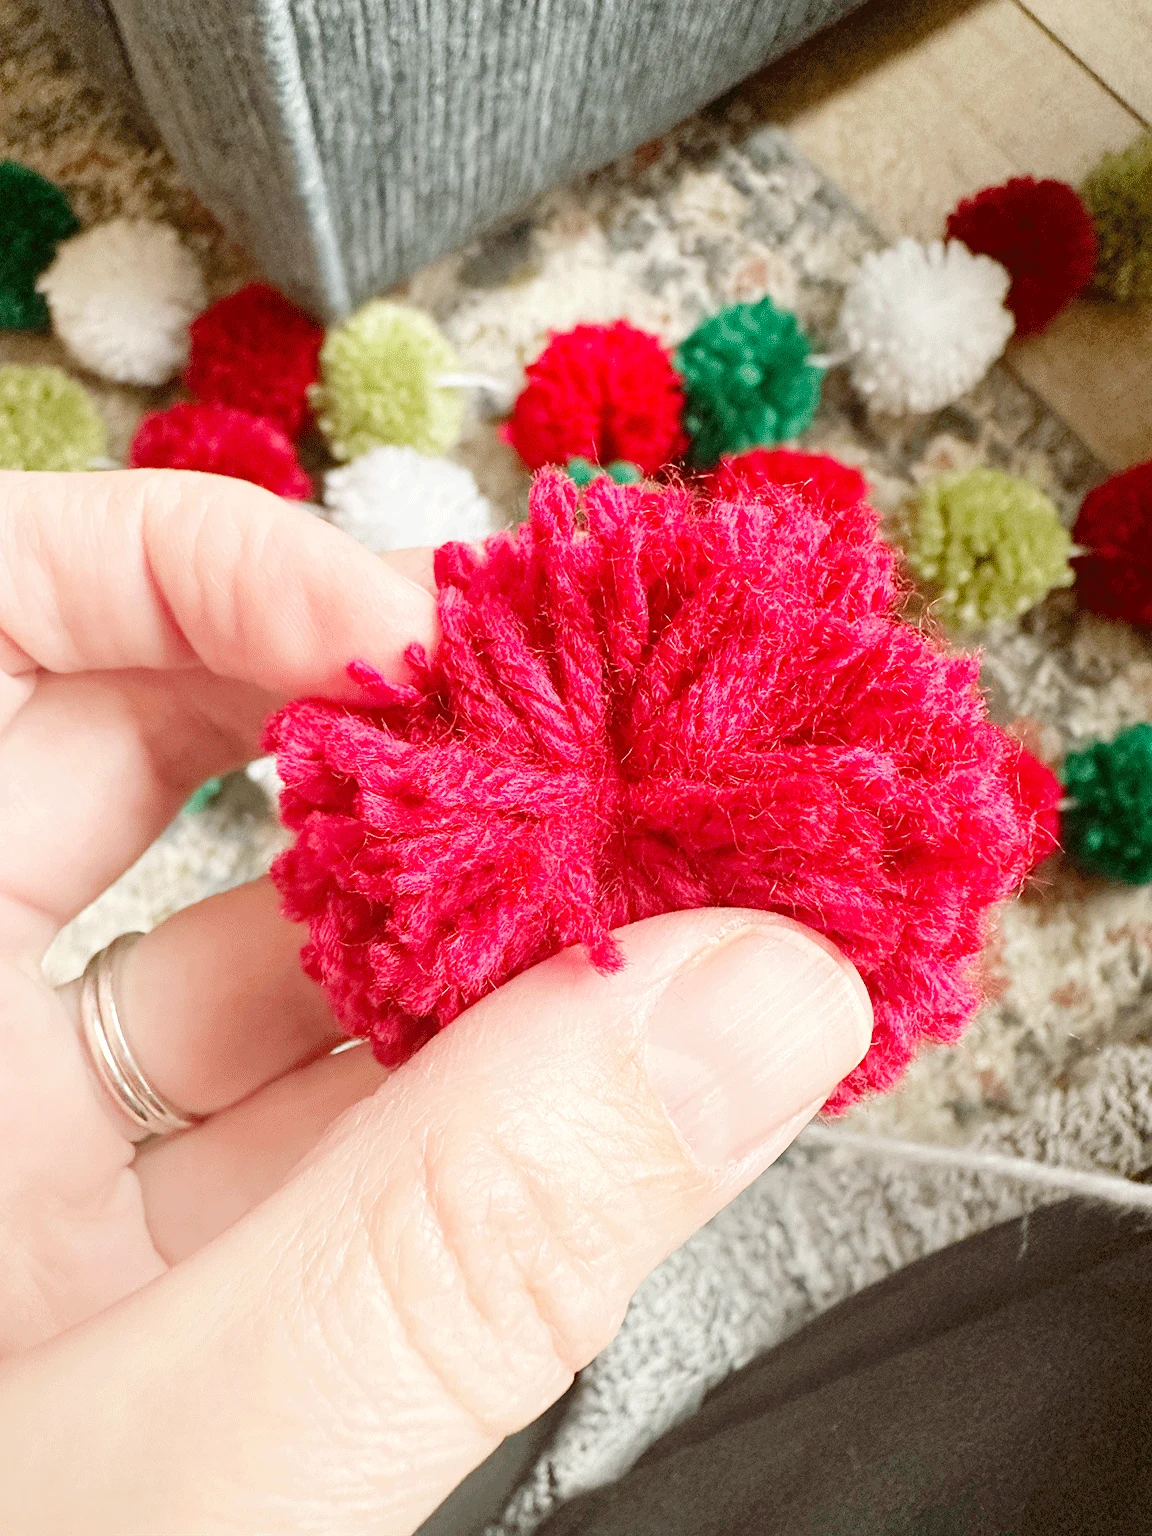
After I’ve trimmed the longer pieces of yarn I take the Pom Pom and roll it around in my hands to puff it up a little, then I look at again to see if there are any more pieces of yarn that need to be trimmed.
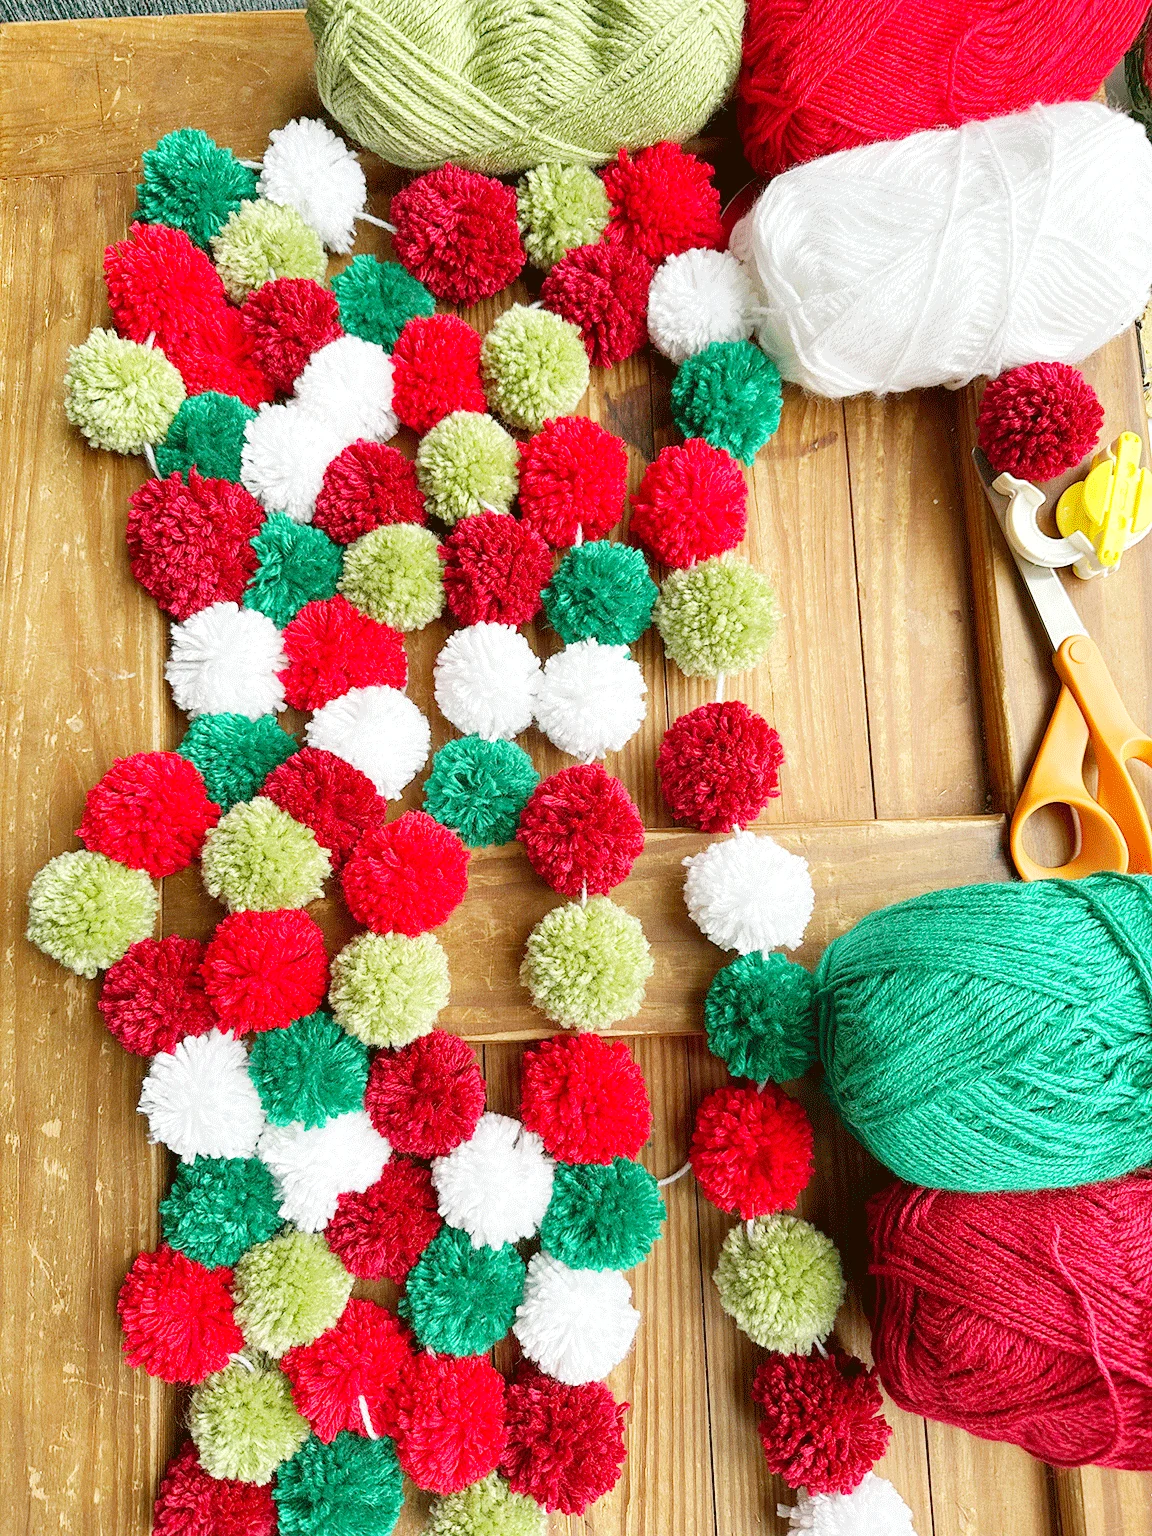
Step 9: Decide on Your Garland Length
So that is how you make a Pom Pom using the Pom Pom maker. You’ll make a bunch of those until you have enough to make a garland. But before you can do that, you need to figure out how long of a garland you want to make.
I honestly took a piece of yarn and wrapped it around my Christmas tree about where I thought I’d want a garland and then I used that length. Measure your mantel or doorway or whatever you are decorating to figure this out.
Then make a few Pom Poms and lay them out how you think you want them spacing-wise. Measure this layout once you like it and use it to calculate how many Pom Poms to make.

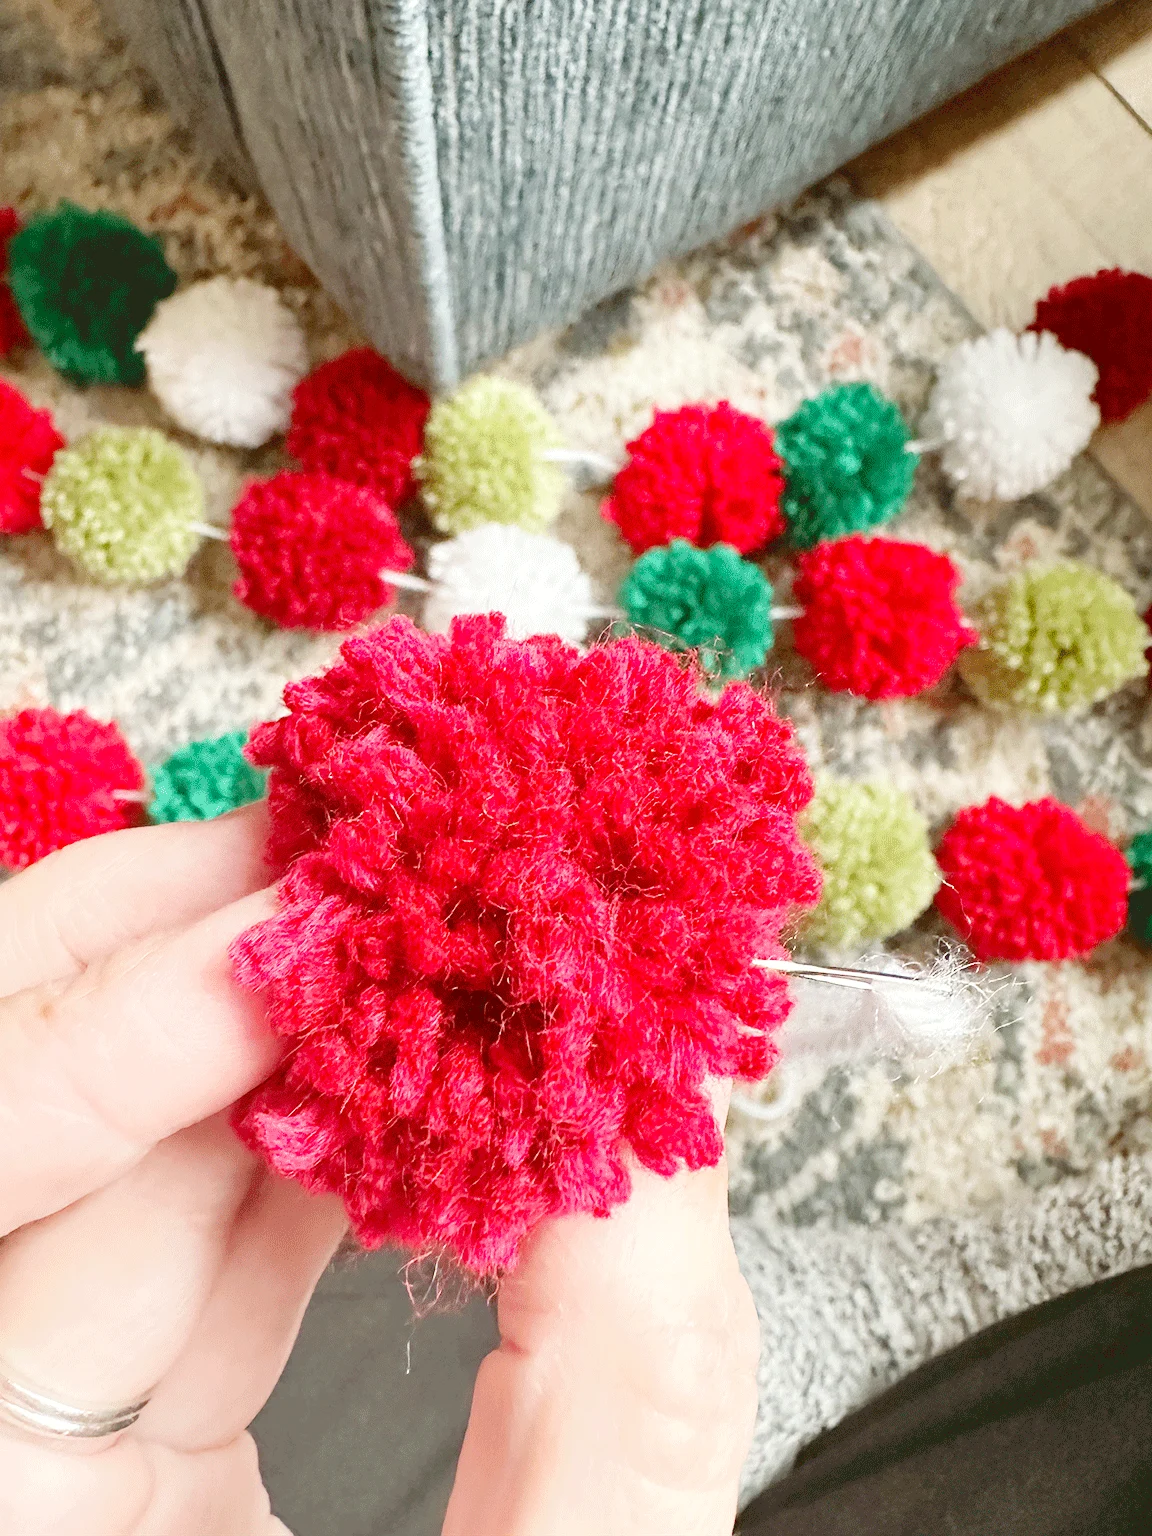
Step 10: String Your DIY Pom Pom Garland
Take the piece of yarn that you cut to the length of your garland and make a large knot at one end. Then thread the yarn through your needle. You are going to push your needle through the center of each Pom Pom. When you do this you need to make sure that you find the yarn that you used to tie each Pom Pom in the middle and make sure your needle is going through the center of the loop that that yarn made.


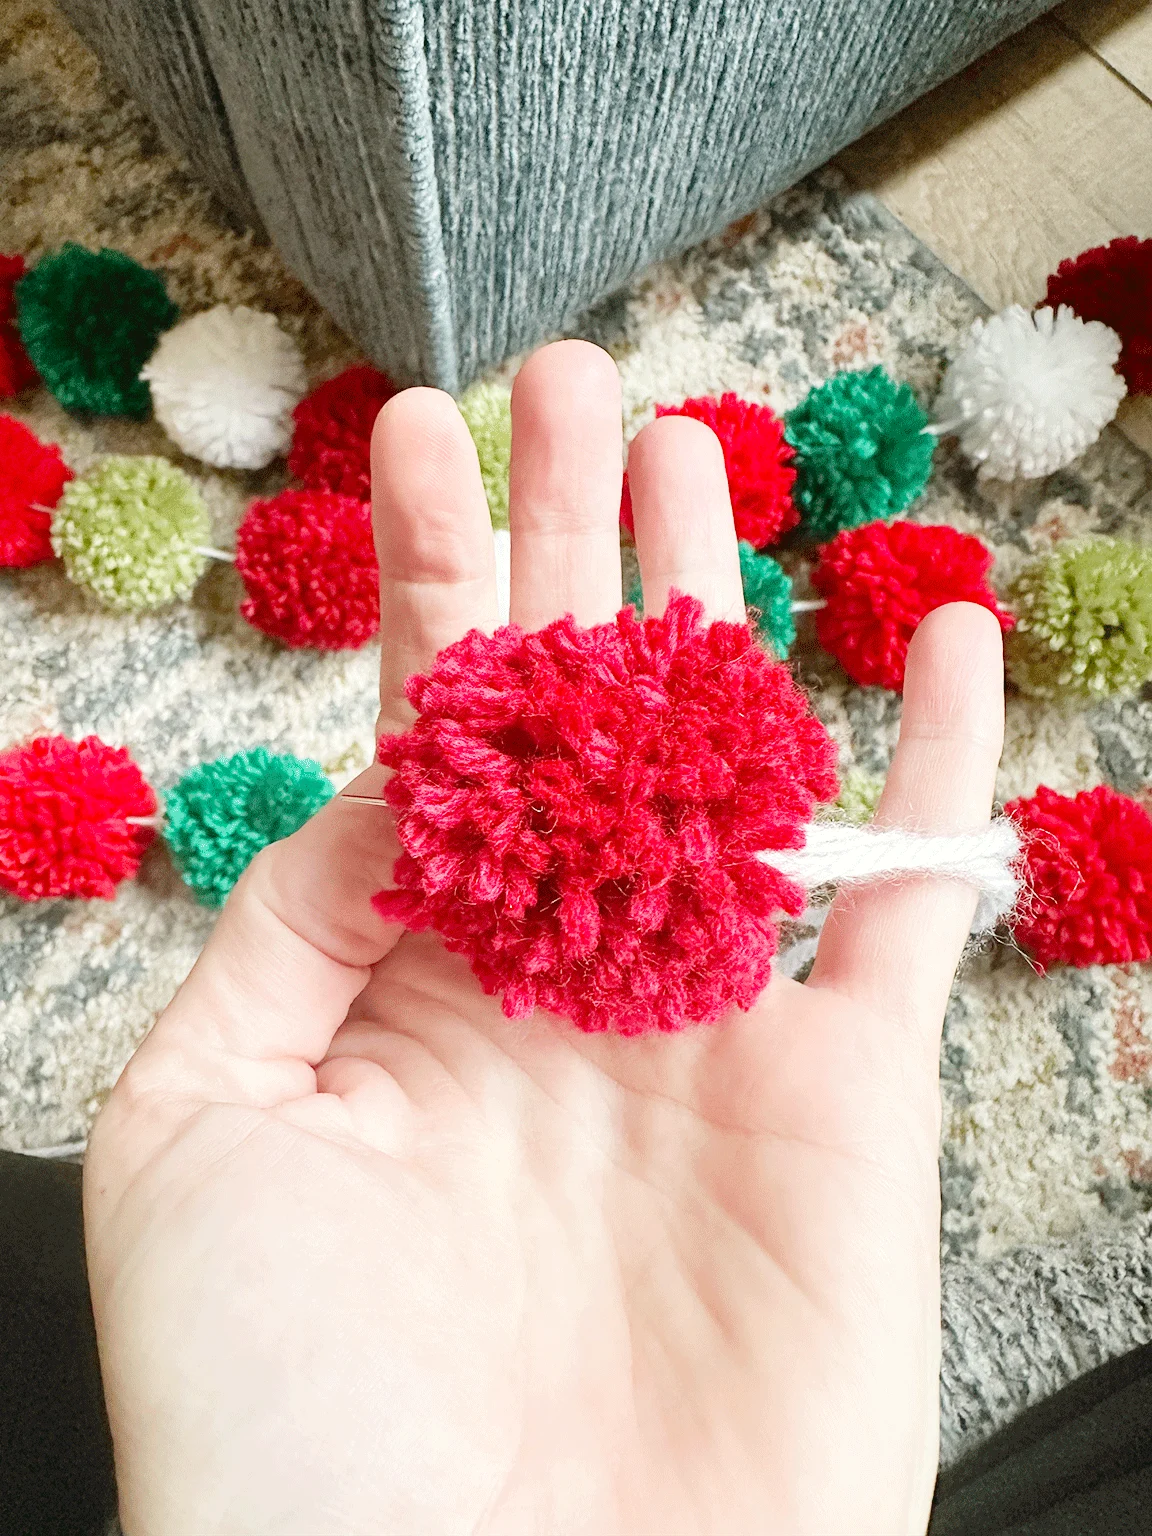
Pull the needle and thread all the way through the center of the Pom Pom. Keep stringing Pom Poms until you have filled your garland.

Once you have finished stringing the Pom Poms onto the garland you will want to tie a knot in the yarn at the end of the garland. Alternately, you could tie loops at the ends if you were hanging this from a mantel, but since mine was going on a tree I just tied big knots.
And that’s it! It takes a while, especially depending on how long your garland is, but it’s super cute in the end.


DIY Pom Pom Garland Tips
- The Pom Poms will slide a little on the yarn garland. If you want them to be more locked into place you would want to tie a knot on both sides of each Pom Pom.
- Avoid yarns that fray easily.
- Acrylic and bulky yarns work great for this project.
- Avoid yarns that are super thin unless you like that look.
I hope you enjoyed this DIY Pom Pom garland tutorial and that it gave you some great ideas for how you might create some festive decor for your own home. It’s a great customizable project that can be tailored to many different decor styles by varying the colors, sizes, and textures of yarn used.
More Craft Projects