This shop has been compensated by Collective Bias, Inc. and its advertiser. All opinions are mine alone. #WholeBlends #CollectiveBias
I’m so excited to share how to make a knotted turban headband with you all.

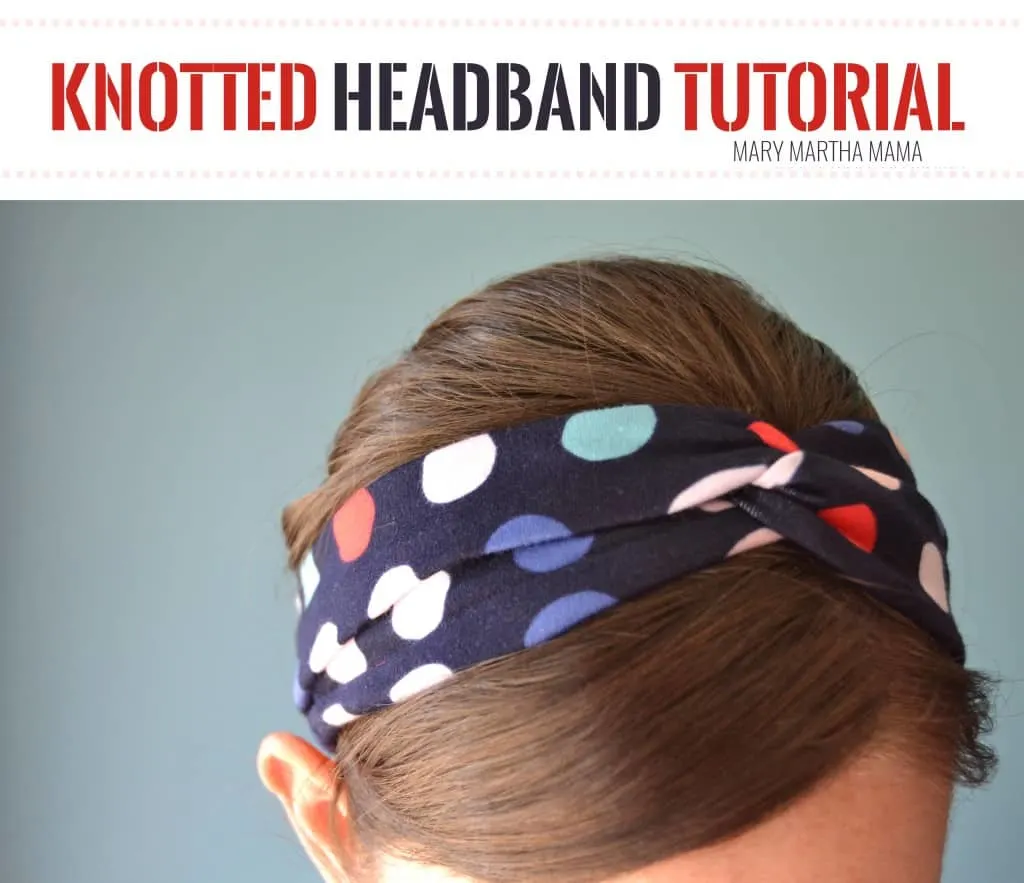 As I’ve mentioned a few times recently headbands are one of my go-to ways for taming my hair for the outdoor fun that comes along in the spring. I’ve been making a few headbands to beef up my arsenal and today I’m sharing my newest- the knotted turban-style headband.
To make your own you will need:
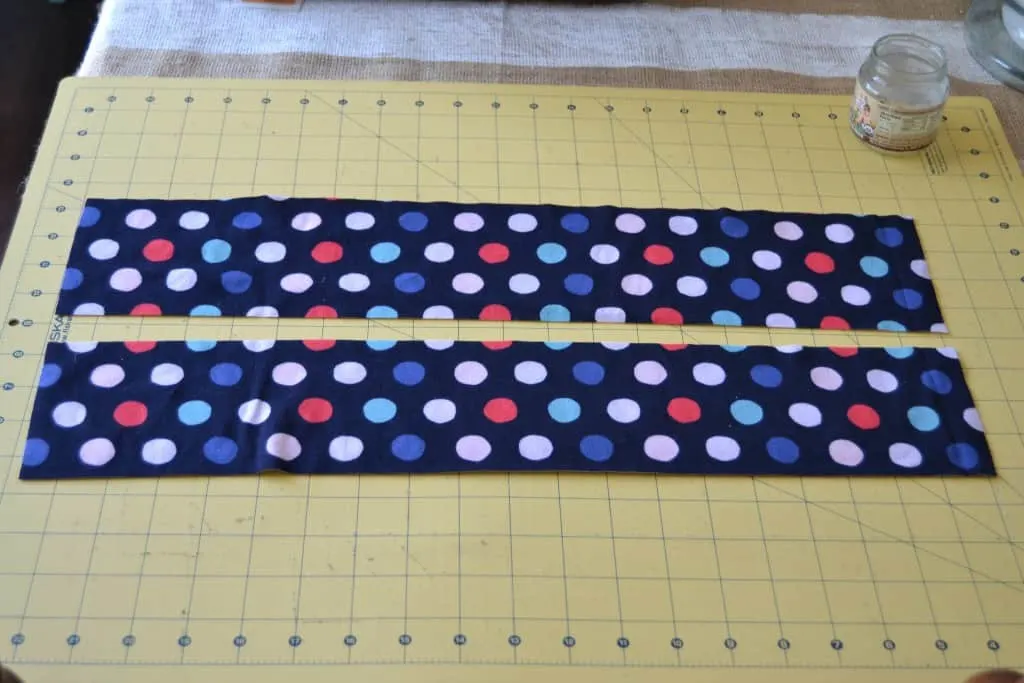
- 2 pieces of knit fabric measuring 4 in X 20 in each (If you have a small head or want to make one for a child you may need to adjust the length a little)
- sewing machine (but if you don’t have one you could do it by hand)
- ballpoint needle
How to Make a Knotted Turban Headband
Step 1: First wash, dry, and cut your fabric.

Step 2: Then fold your fabric strips in half lengthwise with the right sides of the fabric facing each other.


Step 3: Pin and sew along the edge. Sew 1/4 inch from the edge.


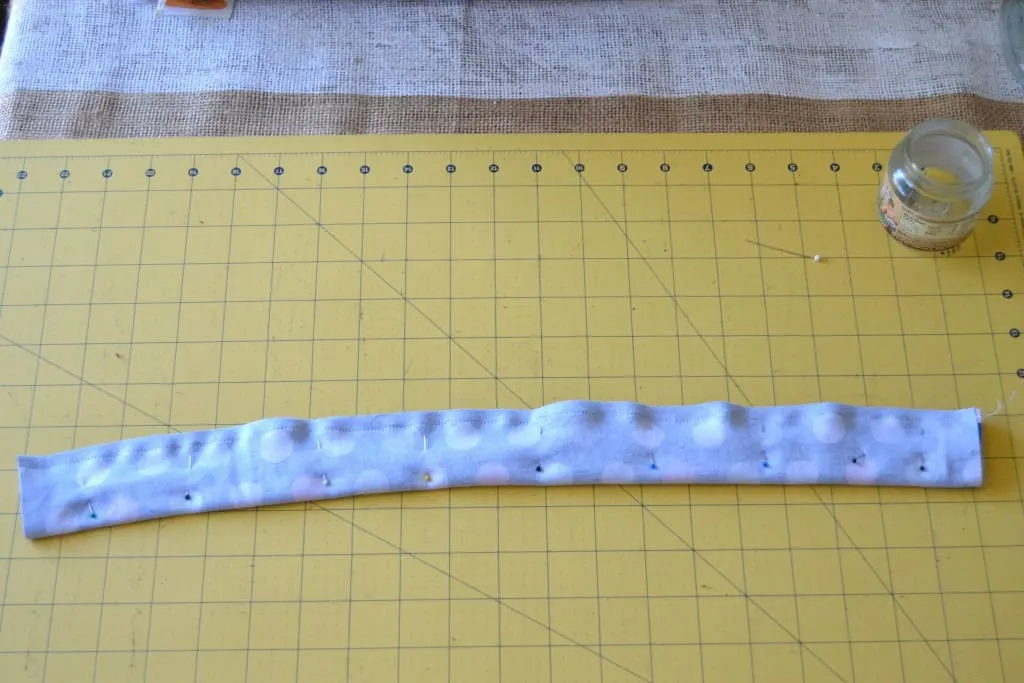
Step 4: You now have two tubes of fabric. Turn each tube right side out. Position the seam of each tube in the center of one side.


Step 5: Lay one tube down with the seam side up. Then lay the second tube perpendicularly on top of it with the seam side down. You should have an X like in the picture below.


Step 6: Fold the top half of the bottom tube down onto the bottom half. That sentence is not the most clear so look at the picture:


Step 7: Now fold the other tube in half in the same manner. Make sure the ends of each tube meet up evenly.


Step 8: Bring all four ends together and pin them. Sew all the way across all four. You will sew 1/4 inch from the edge.


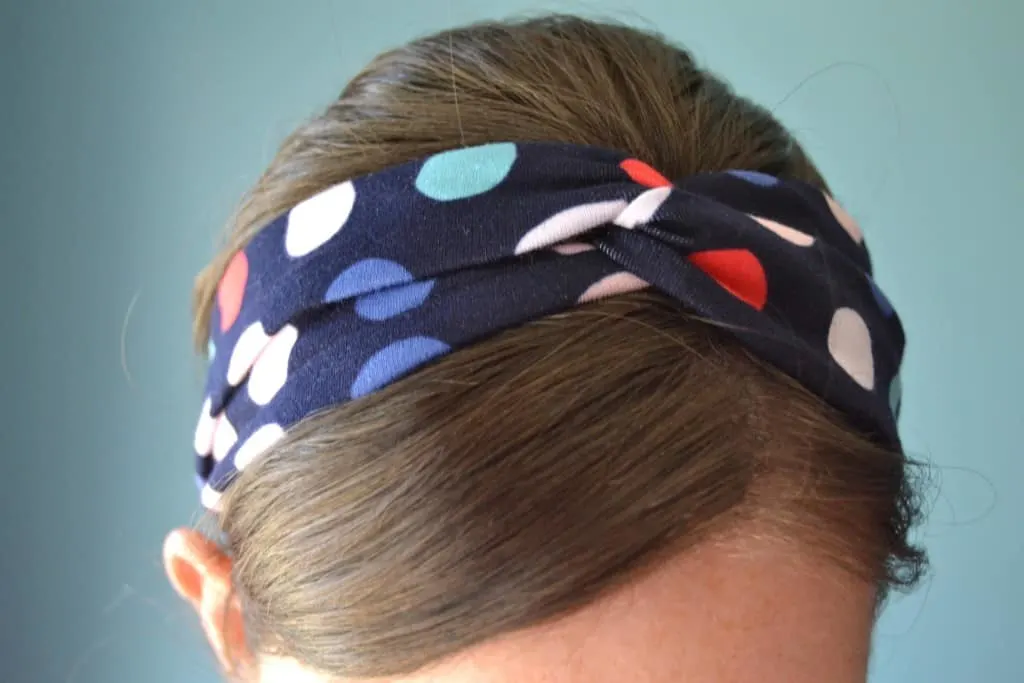
Step 9: Flip the headband around so that the ends are on the inside of the headband. This way you won’t see the stitching.


And you’re done!


Other Hair Care Tips
Along with a few cute headbands I like to use hair care products that help keep my hair smooth. I recently started using the new Garnier Whole Blends. They contain wholesome ingredients and come in a variety of lines to help meet various hair-care needs: Repairing, Hydrating, Smoothing, Refreshing, Nourishing, and Color Care.


My hair is pretty much have the hair of a Shetland pony but Garnier Whole Blends Smoothing line with Coconut Oil and Cocoa Butter helps smooth my frizz-prone hair. The scent of these products is so soothing and tropical.
I picked up my Garnier Whole Blends products on my last shopping trip to Walmart. You can find them in the hair-care aisle and right now in some Walmarts you can find them in a special display in the main aisle of the store.
Learn more about the Garnier Whole Blends lines here. Which blend do you want to try?
Want more headband tutorials? Check this out:


kristi@ishouldbemoppingthefloor
Tuesday 19th of April 2016
So adorable...I love wearing headbands in the summer, too! They're also great to hide my roots if I'm overdo for a hair appointment. And I'm loving the smell of these Whole Blends! [client]
Cat
Wednesday 20th of April 2016
Oh the smell is incredible!
Beth
Monday 18th of April 2016
Such a simple, cute idea!
Cat
Monday 18th of April 2016
Thank you!