This Cricut Joy Xtra Unboxing is a sponsored post written by me on behalf of Cricut. All opinions are 100% mine.
I’m so excited to share my Cricut Joy Xtra Unboxing with you all! In this post I will walk you through unboxing your new Cricut Joy Xtra and getting it all set up to make your first project. I know that starting something new can be intimidating but the Cricut Joy Xtra is easy for any crafter to learn to use. You do not need to have any experience with any cutting machine to be able to use the Cricut Joy Xtra.
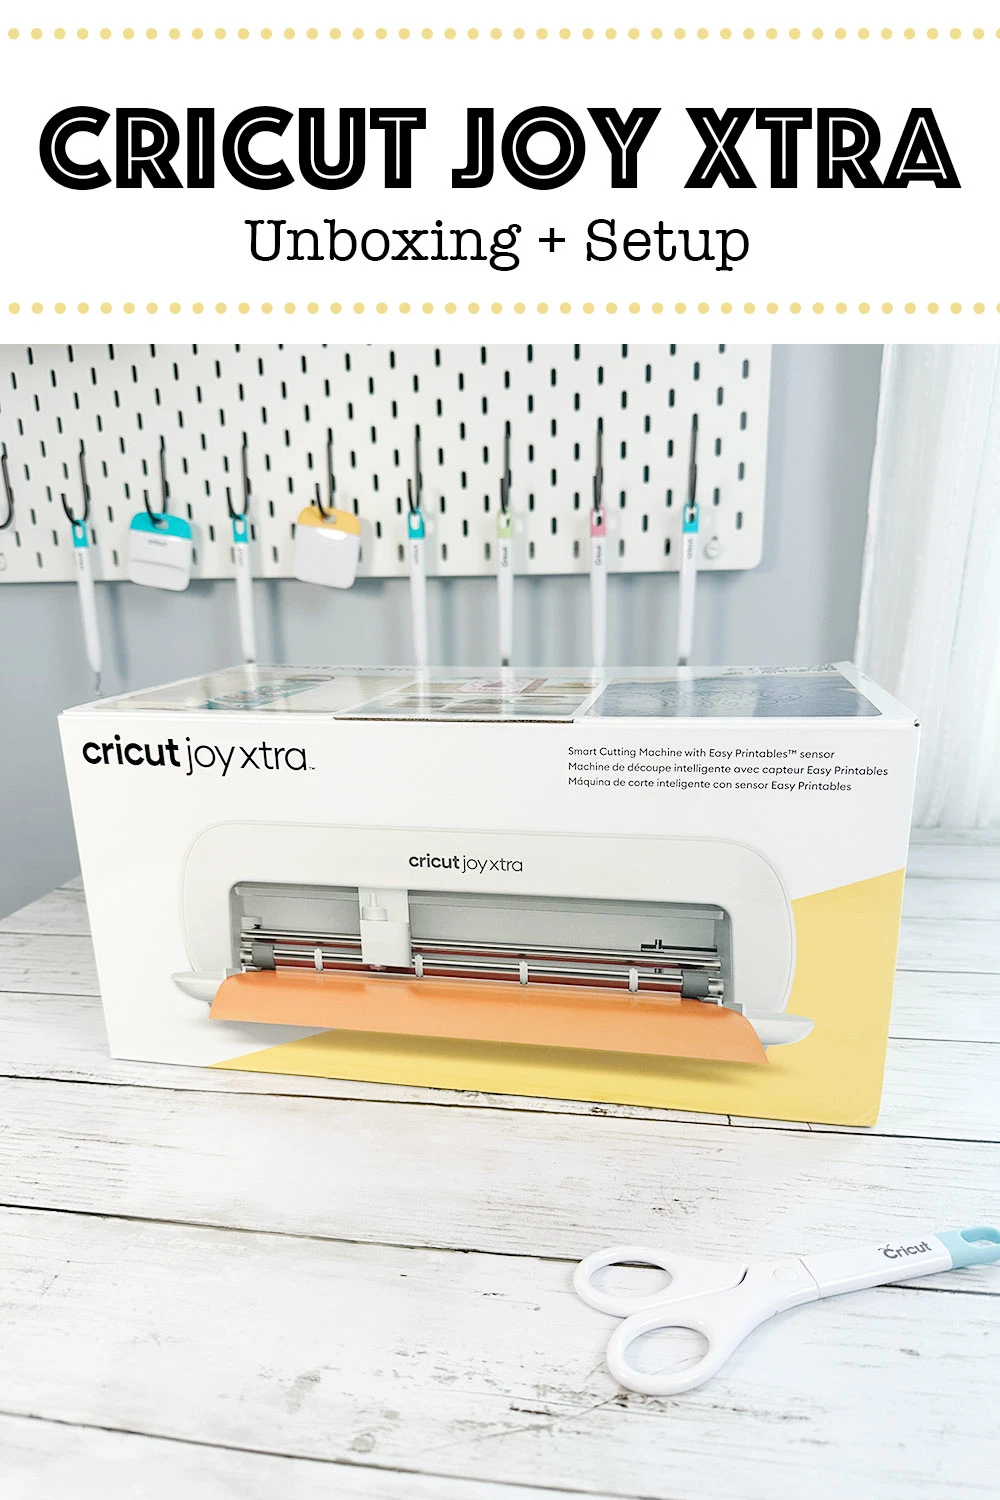
Cricut Joy Xtra Unboxing
You can watch my unboxing and setup video or read through the step by step unboxing and setup with photos below.
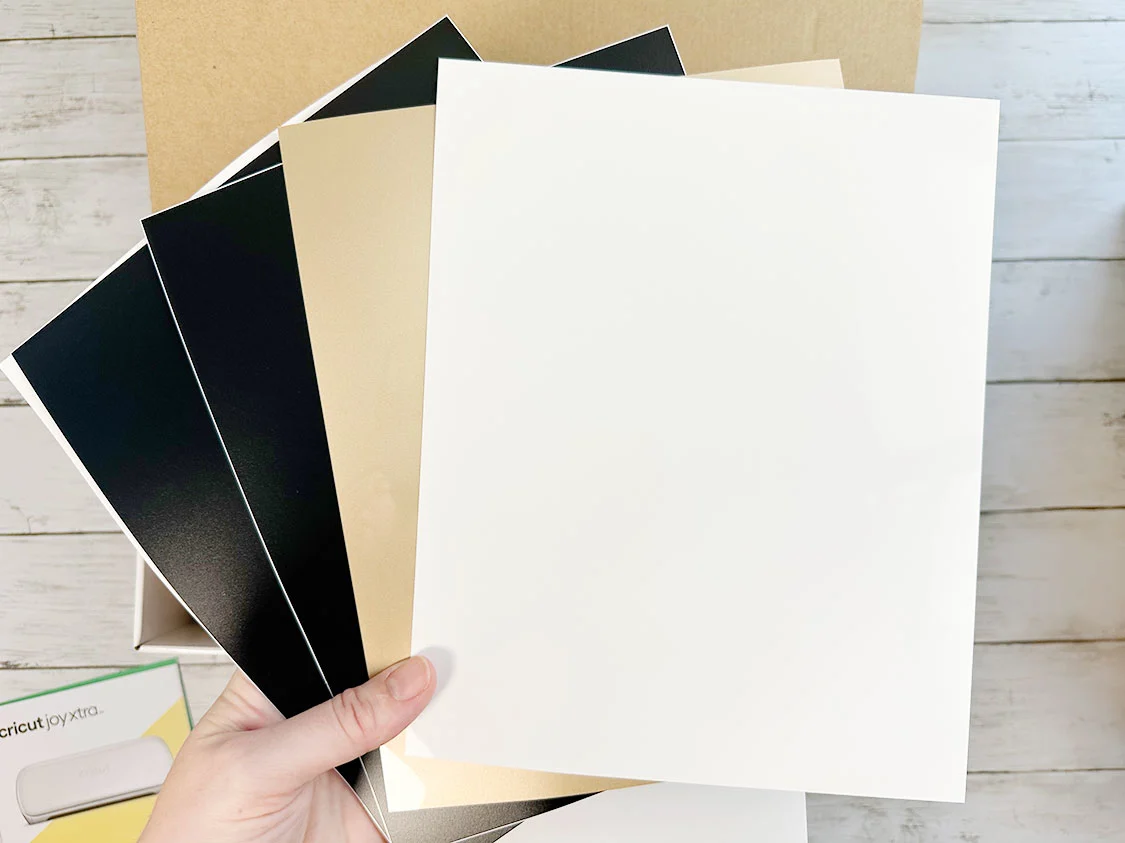
When you open up the box you will find an envelope inside. This has your instructions for set up inside as well as materials. The Joy Xtra includes some smart vinyl, smart label material, and transfer tape to help you get started.
If you would like more materials to get you going then you should check out the great Cricut Joy Xtra Everything bundle that Cricut makes. This bundle features a bunch of materials to help you get started making. Another great bundle that they offer is the Cricut Joy Xtra Everything bundle + Cricut Access subscription. We will talk more about Cricut Access later. For now let’s keep going.
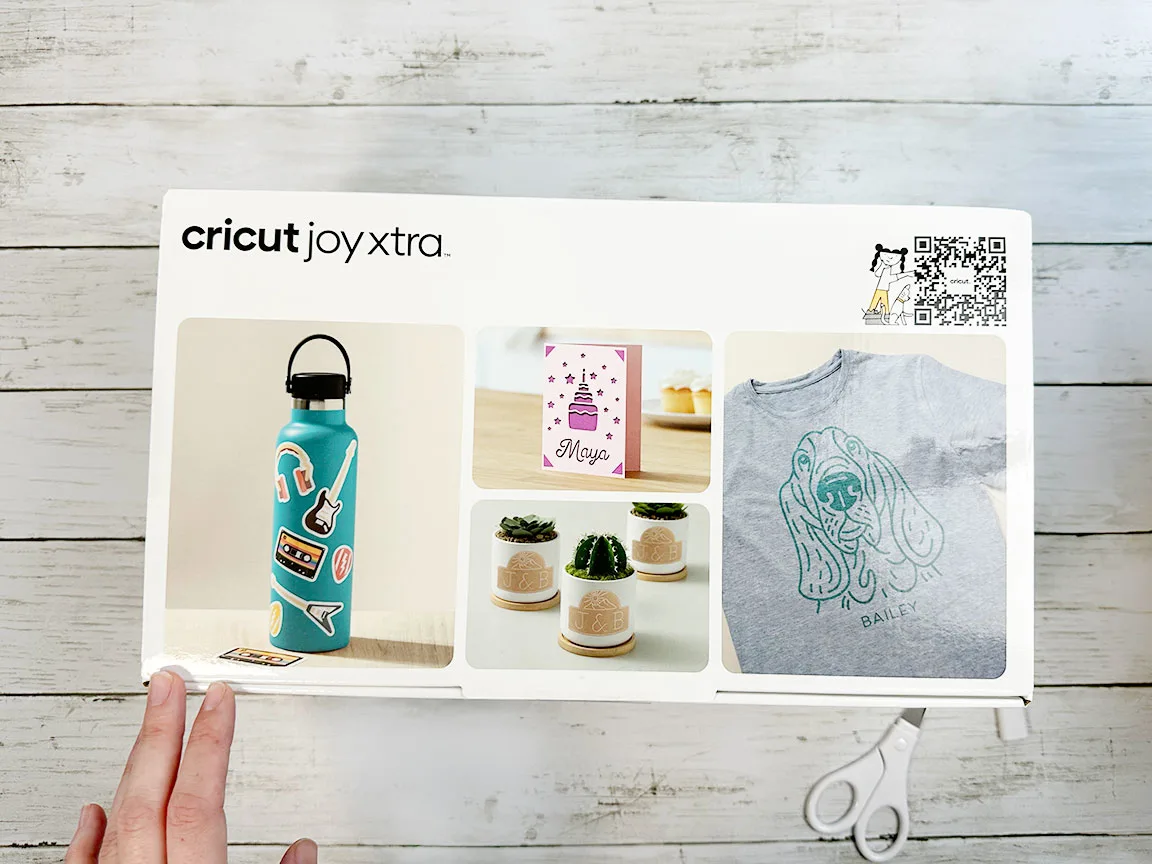
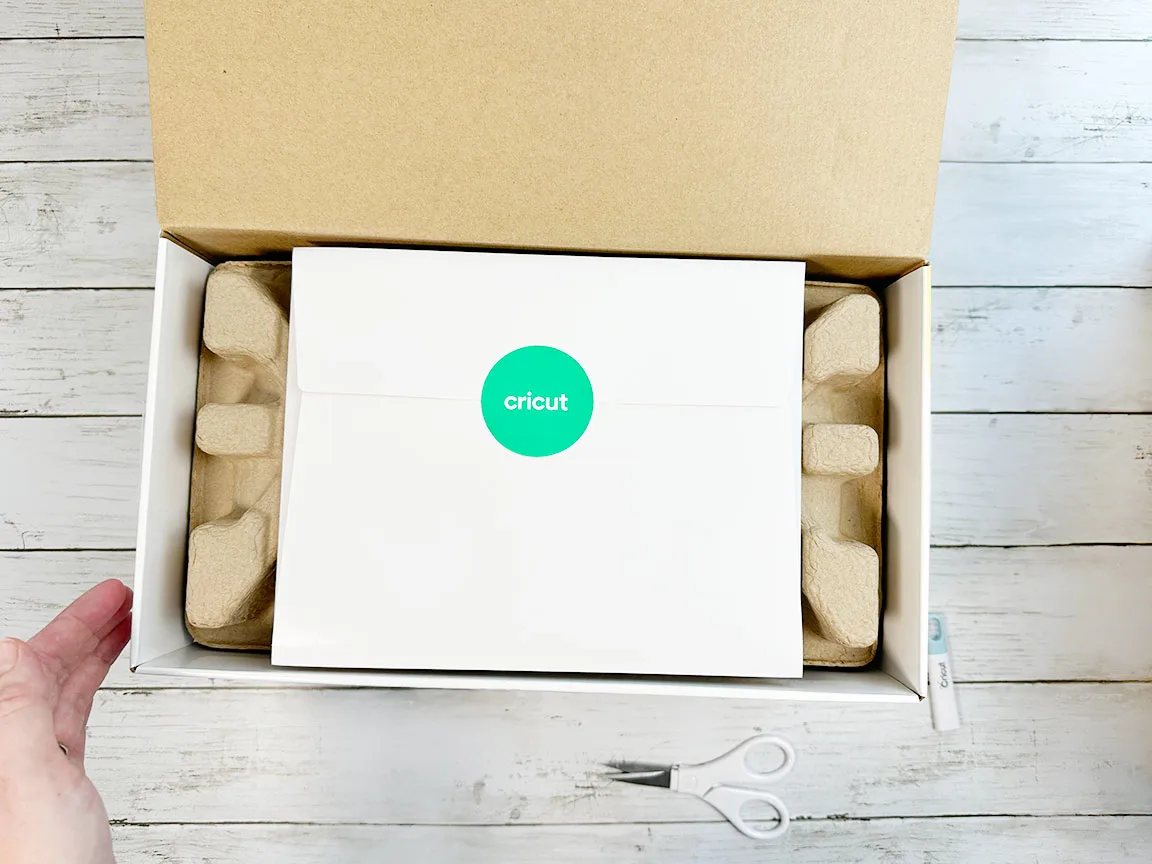
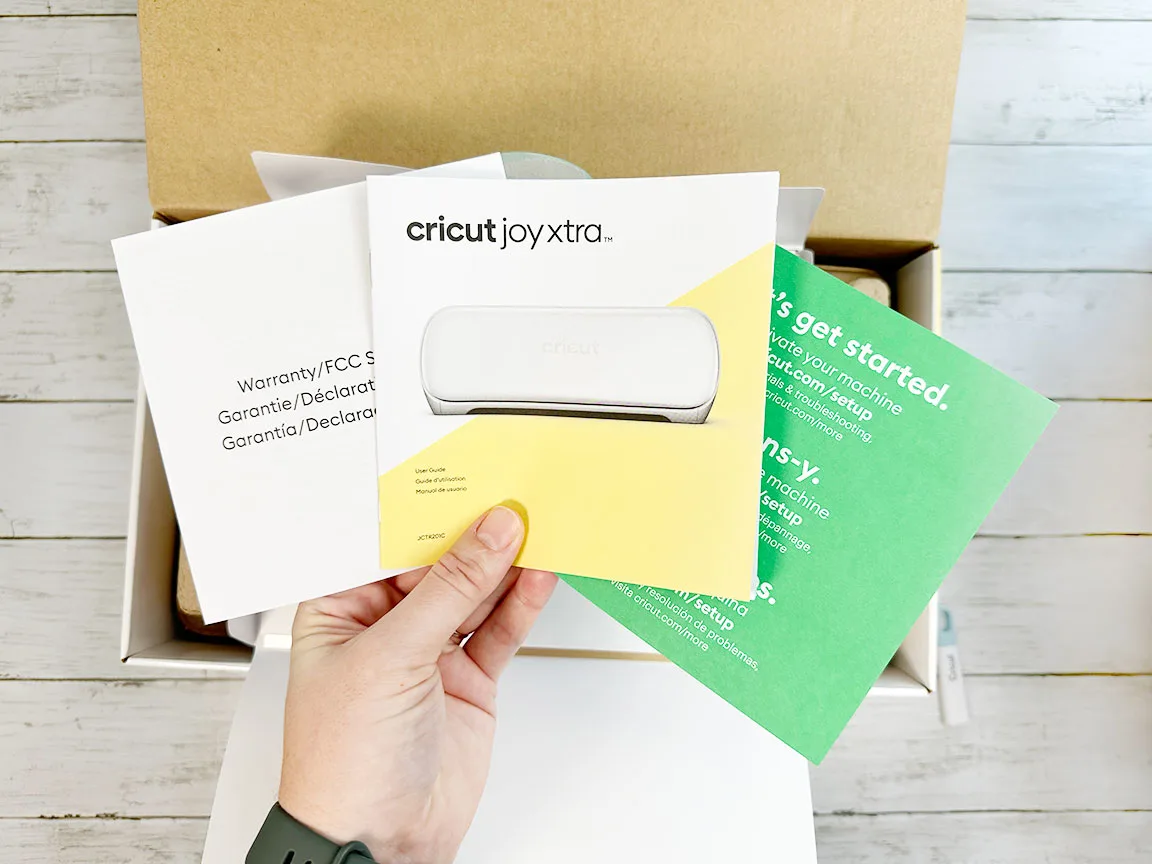
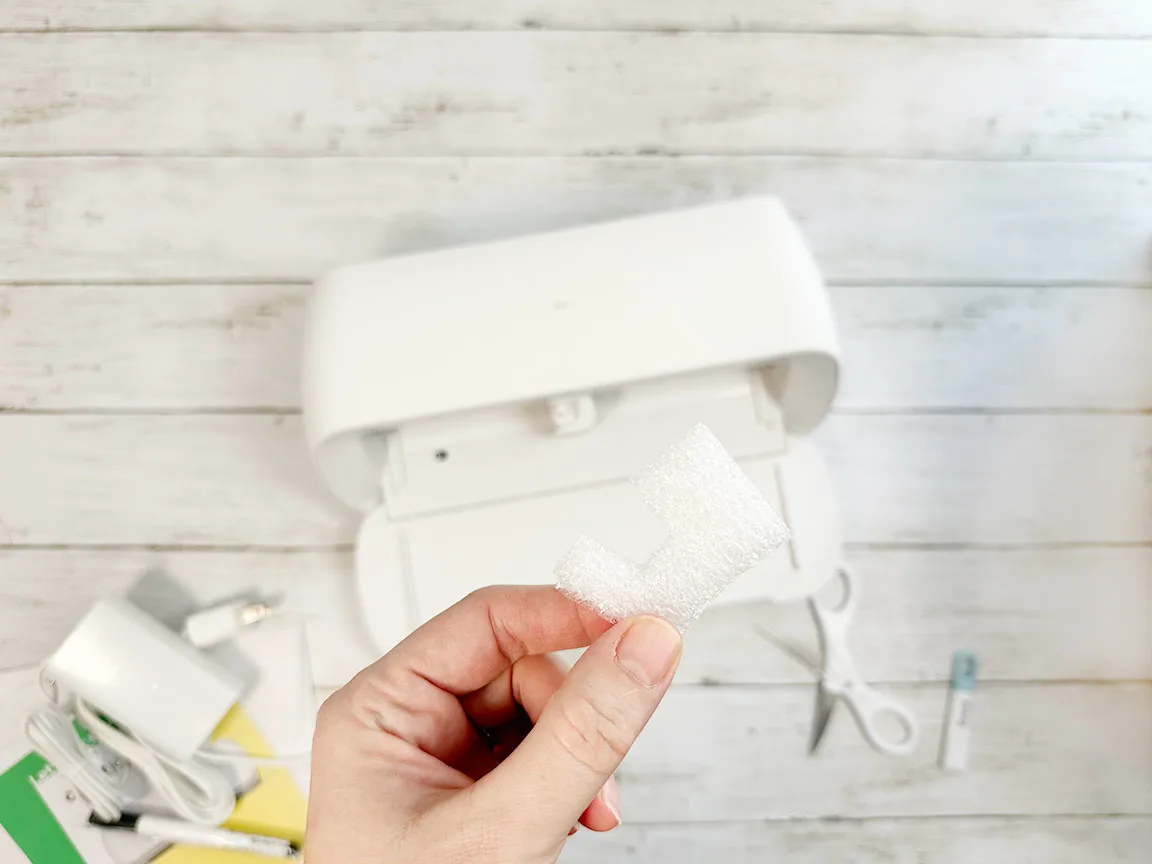
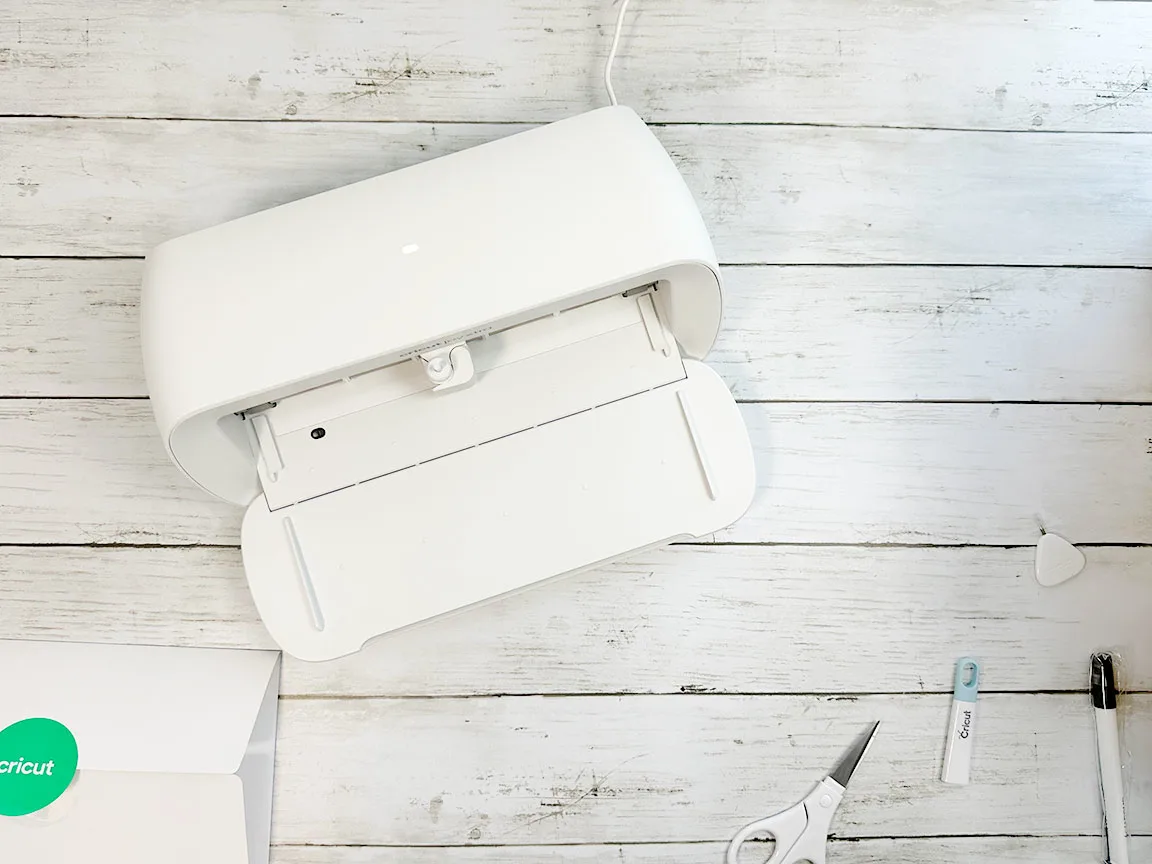
Set aside your envelop materials for now. Go ahead and continue to pull out your packaging. Pull the Cricut Joy Xtra out of the box. Remove the clear plastic around the machine. Then open it up. On the inside around the cutting blade you will see some protective packaging. Remove this piece of packaging.
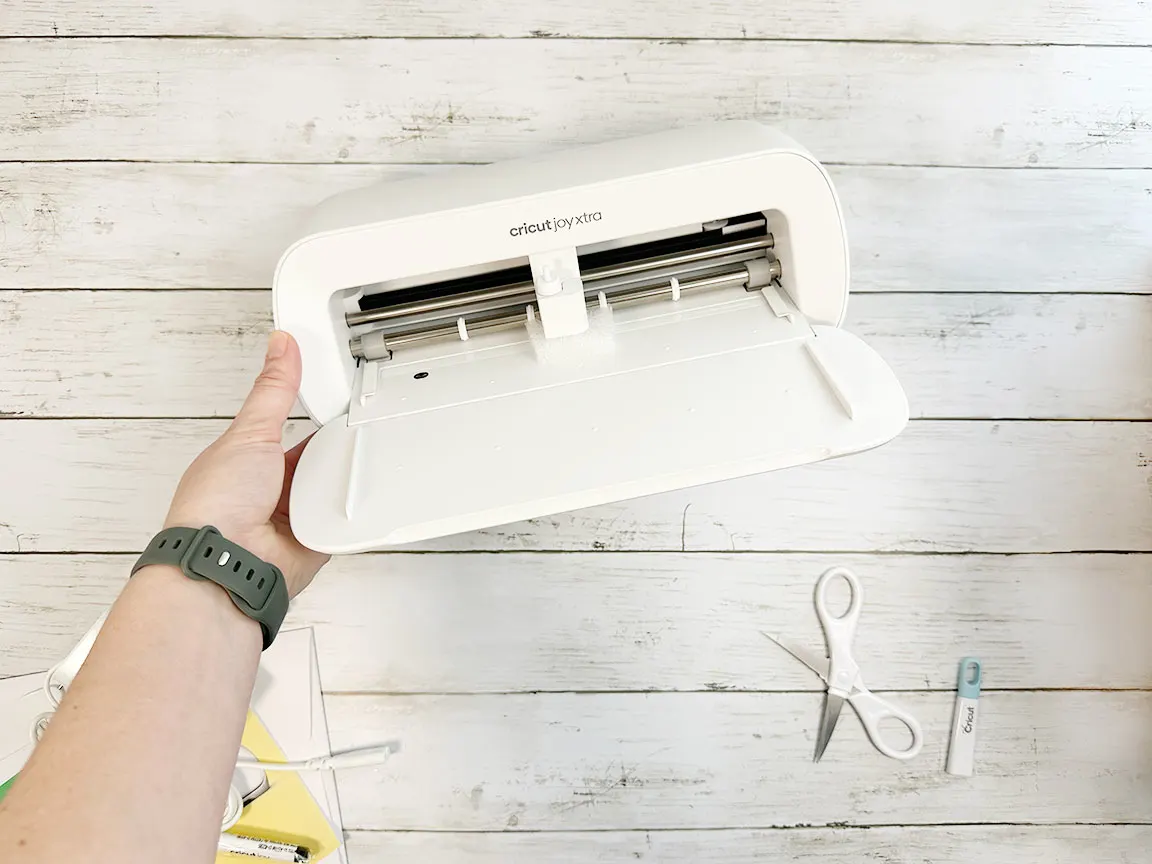
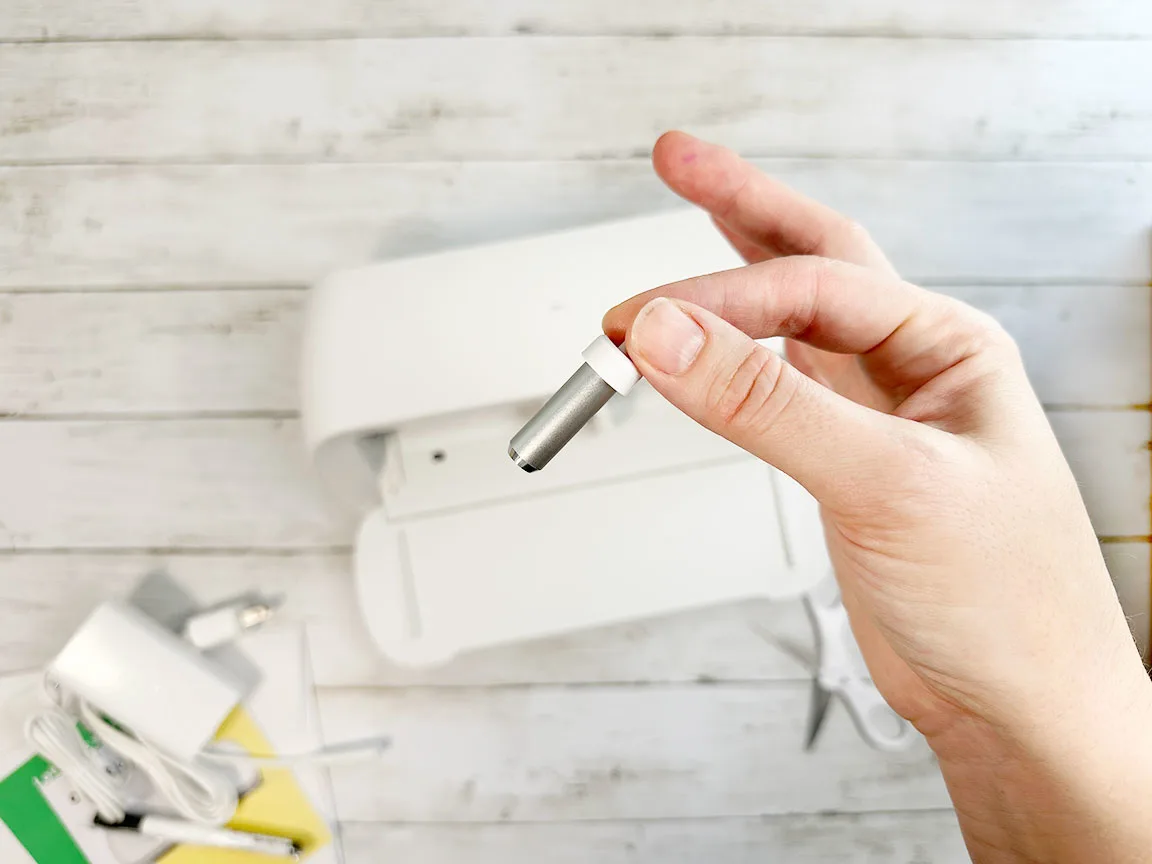
As you can see the premium fine-point blade is already loaded into your machine. I love that the blade is included already in the machine so you can get started right away with no need to buy anything extra! I pulled it out so you can see it but you can just leave it in there.
After a ton of cutting with your Cricut Joy Xtra eventually you will need to replace this blade. It’s super simple to do and it will last a long time before you would need to do that. Otherwise the Cricut Joy Xtra doesn’t require any other maintenance. I have a Cricut Joy that I have now had for 3 years and I have yet to replace the blade on it. So you have a good while before you need to even think about that.
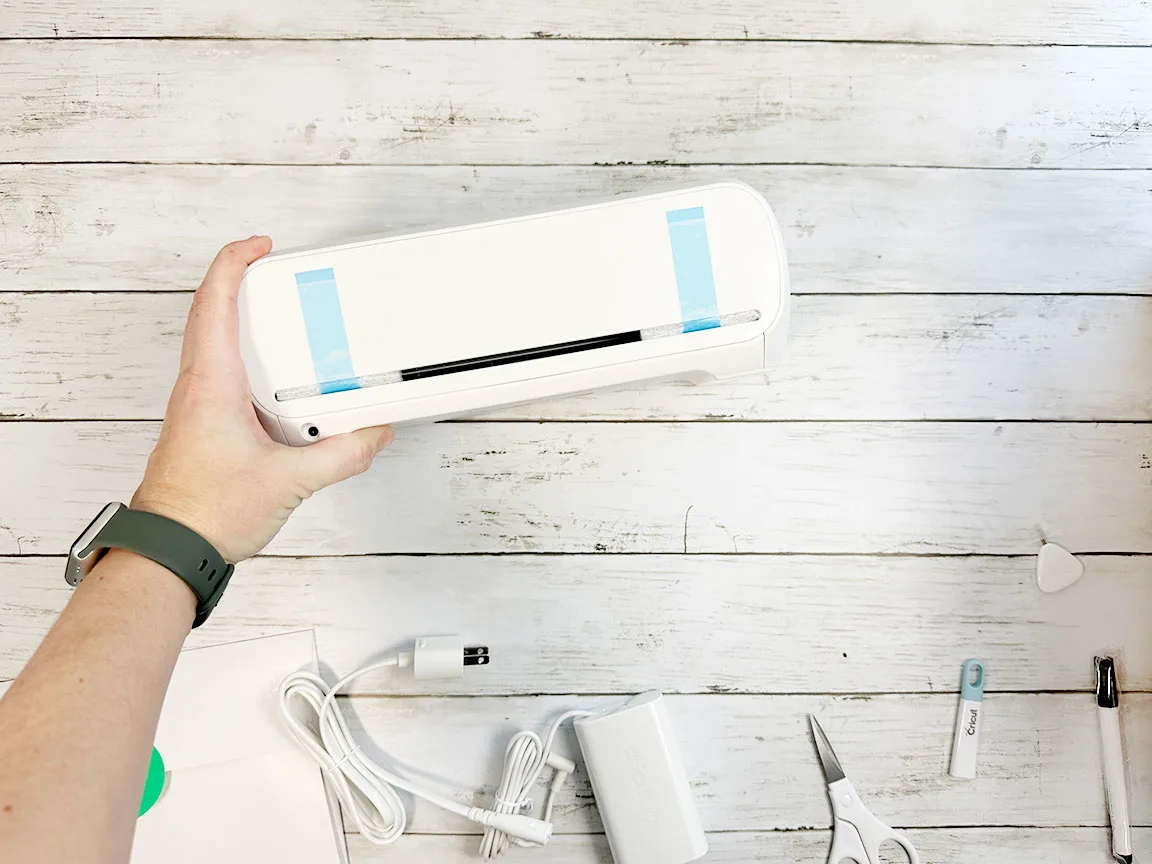
Turn your machine around and look at the back. Pull the tape off and remove the attached packing material.
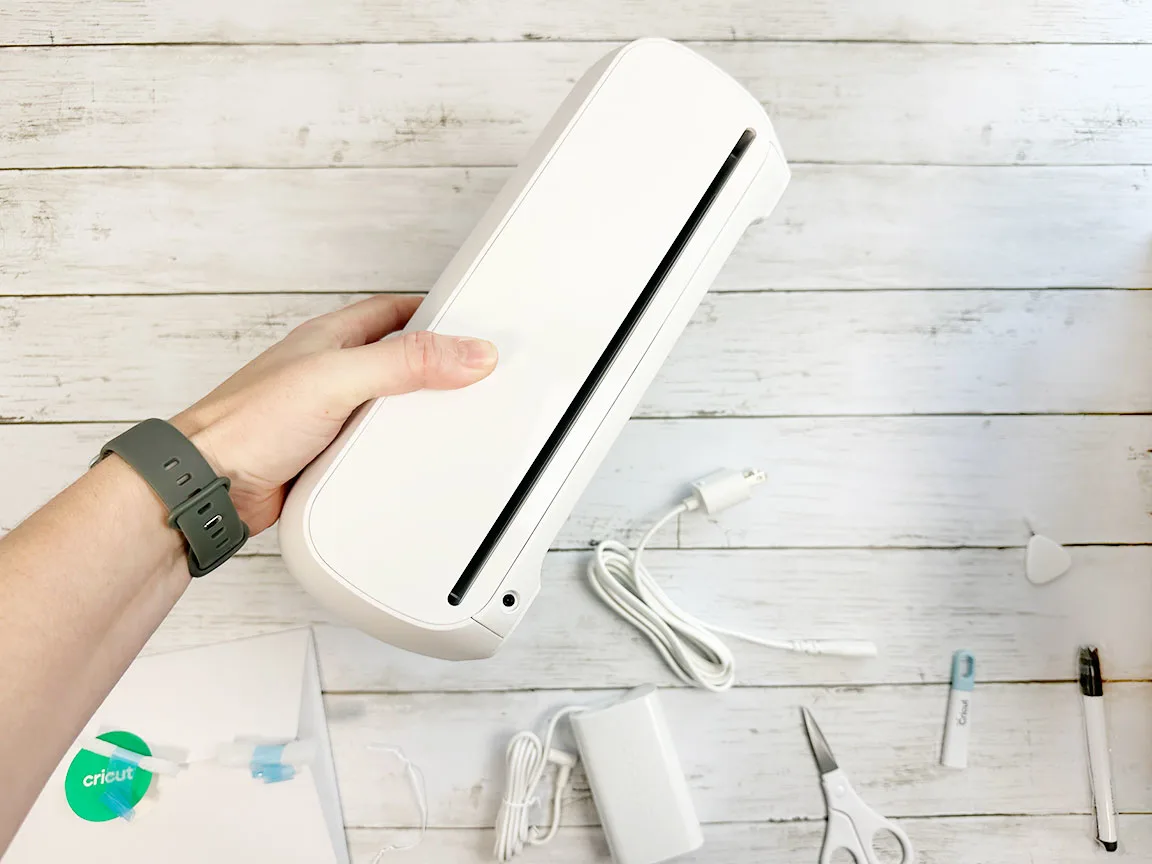
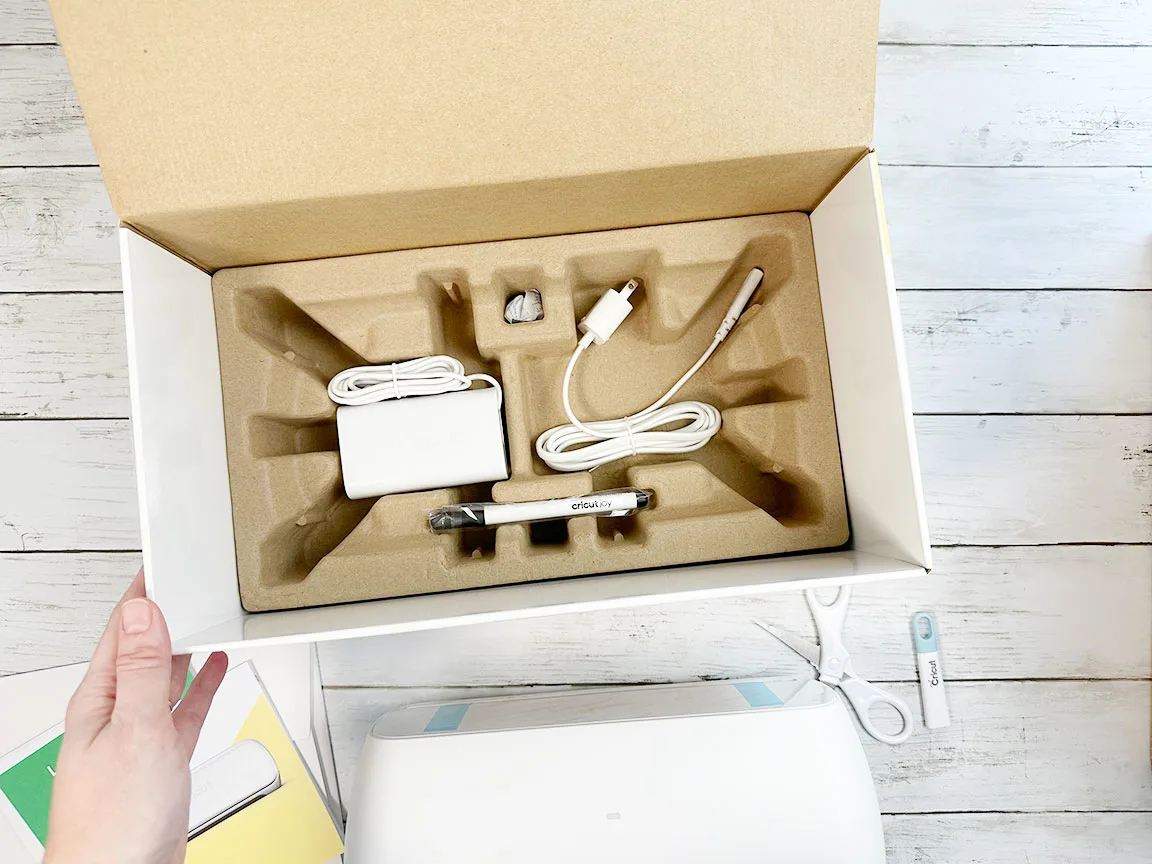
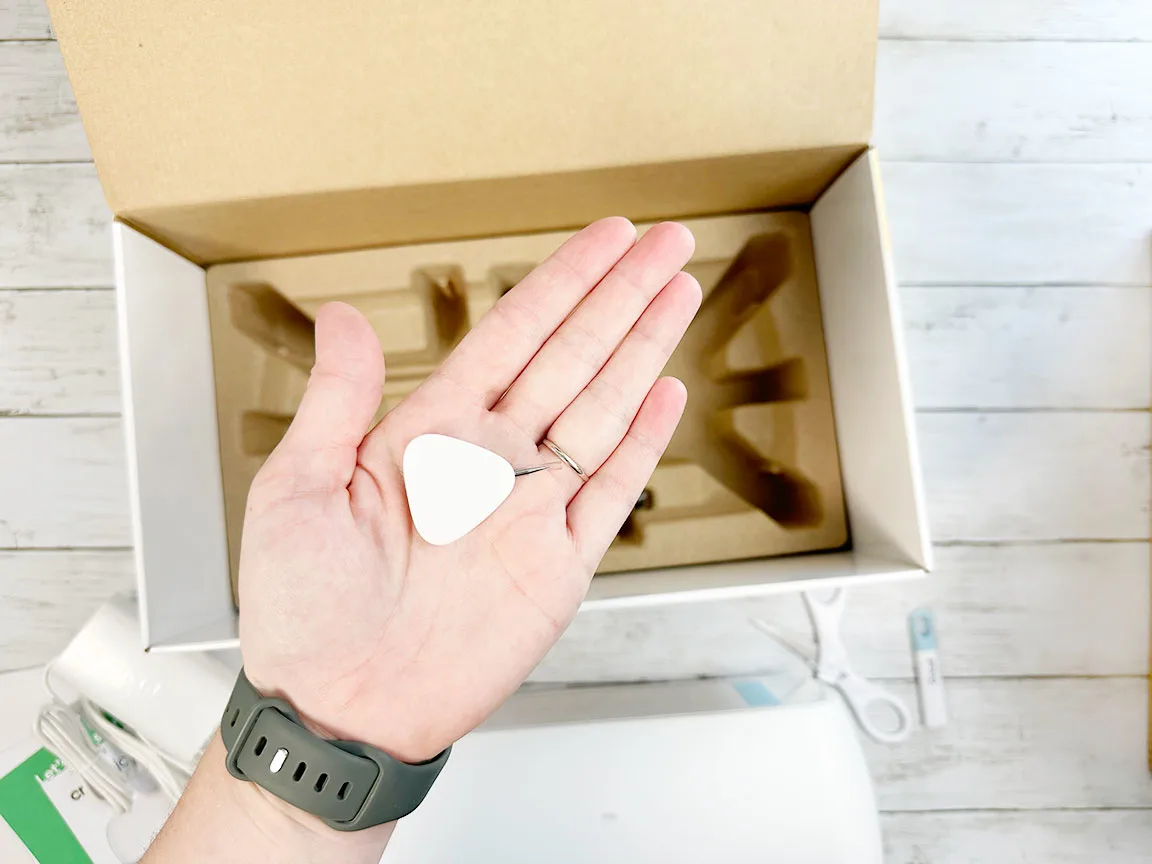
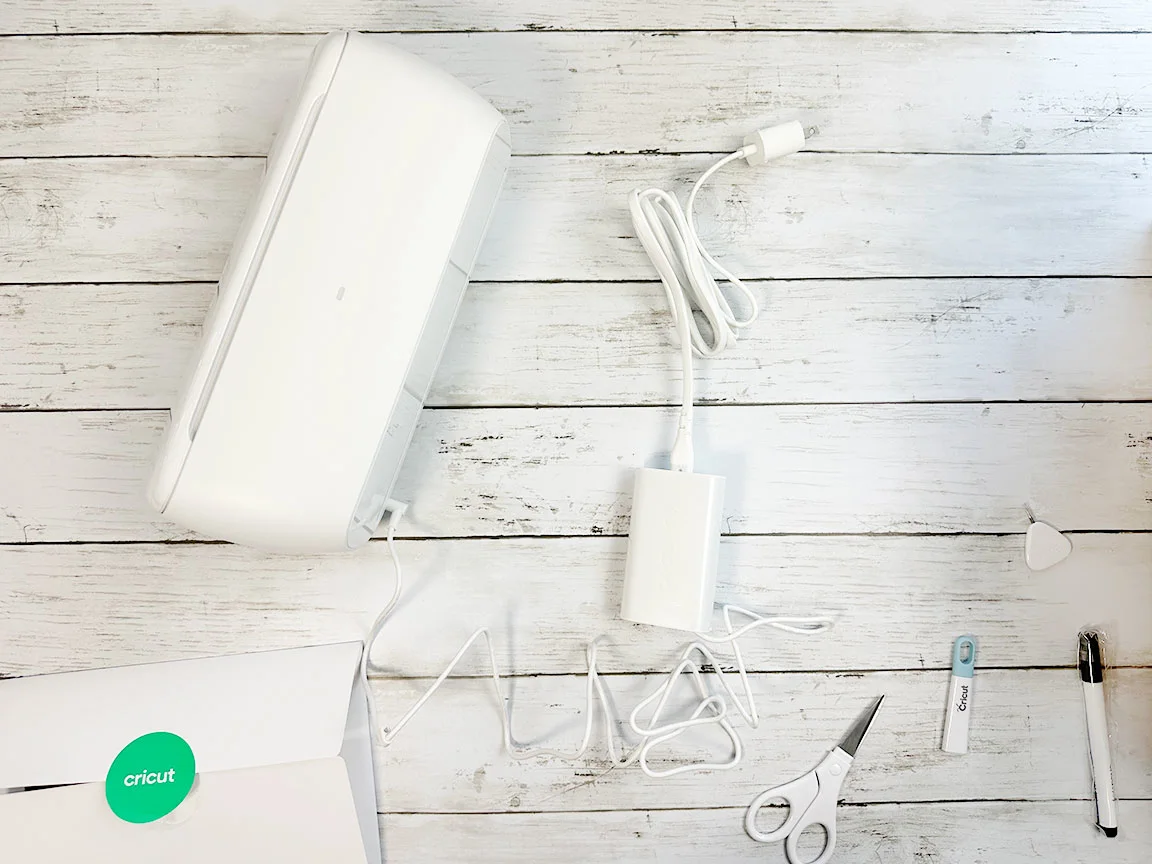
Now let’s get the rest of the items out of the box. Pull out the Cricut Joy pen, power cords, and mini weeding tool.
Connect the power cords and plug them into your Cricut Joy Xtra. Then plug the machine into an outlet.
Registration
Now let’s get started with setting everything up in Design Space. Design Space is Cricut’s application that you will use on your computer, tablet, or phone to create the designs you will make with your Cricut Joy Xtra. To begin, go to cricut.com/setup.
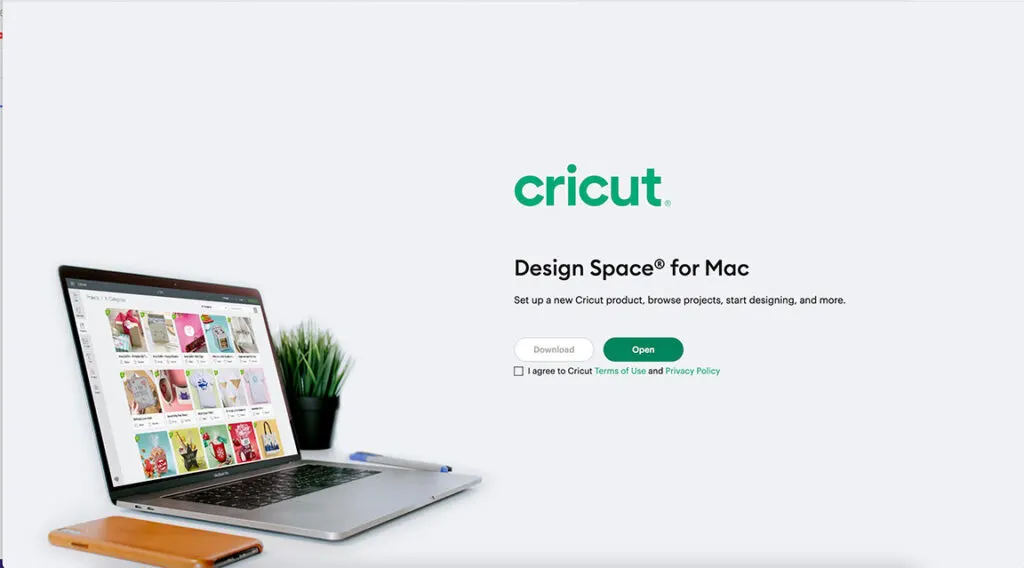
You screen may look a little different than mine depending on what device you are using but it will display an option to download Cricut Design Space if you do not currently have that app. You will download it and then create a Cricut ID if you have not done that before. Now that you have a login you can go ahead and log into Design Space.
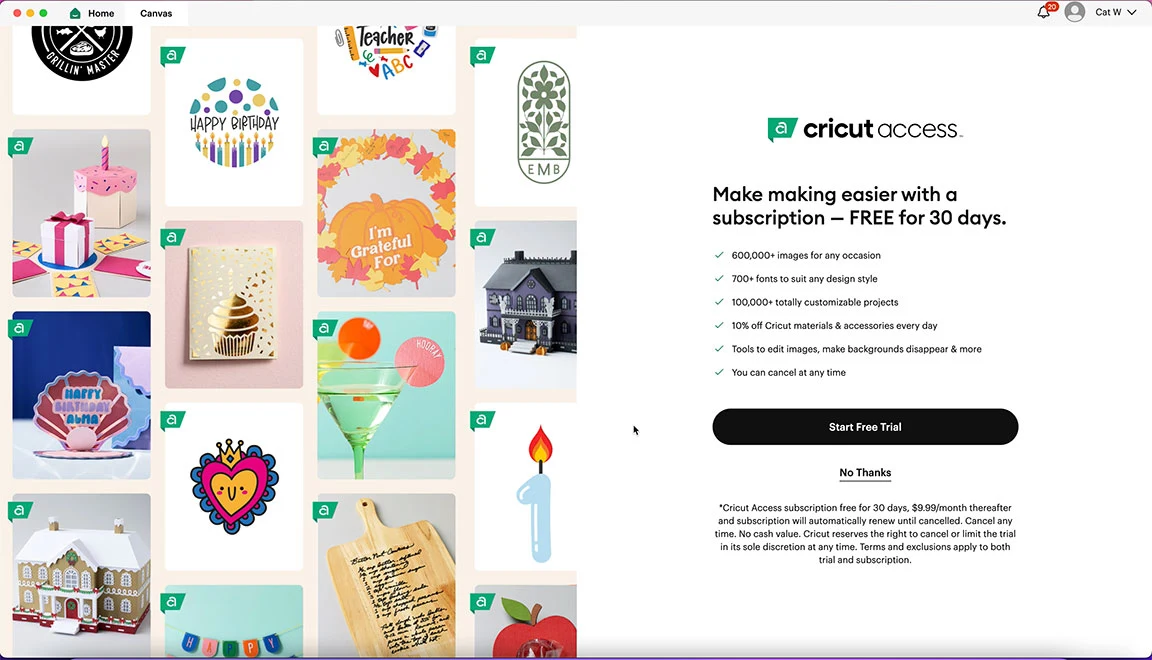
Your Cricut Joy Xtra comes with a free trial trial subscription to Cricut Access. Cricut Access is a monthly or yearly membership that allows you access to thousands of additional fonts, images, and project instructions. You do not have to have a Cricut Access subscription to use Design Space or your machine but it will give you a whole lot more that you can do with those extra fonts, images, and projects. I have found it to be an incredible value and I highly recommend it.
Setup
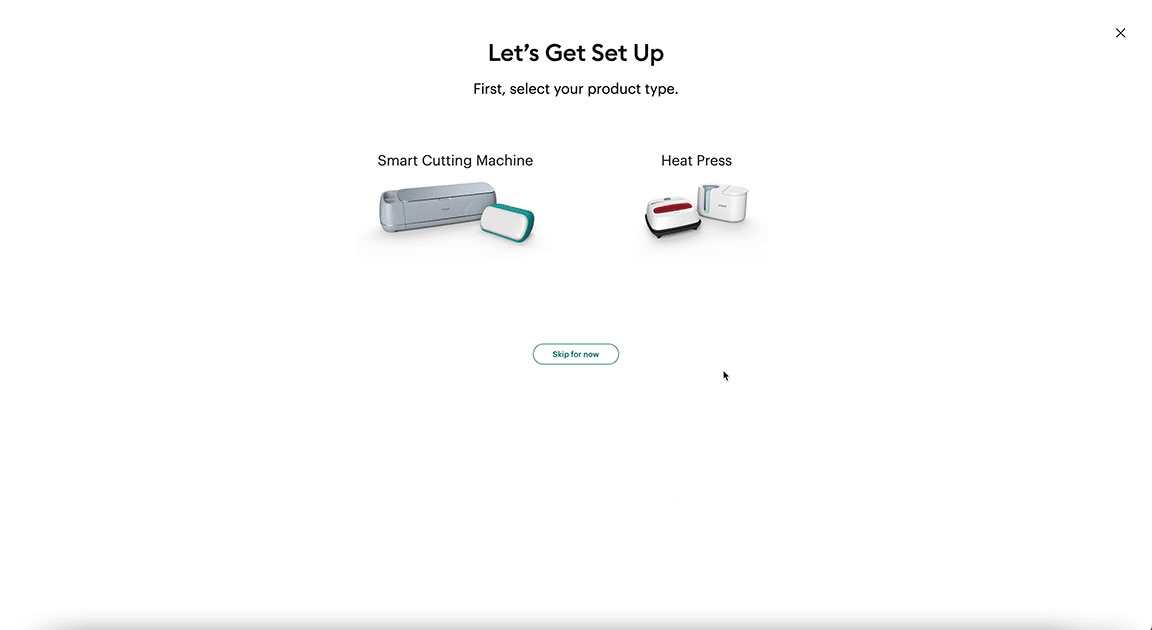
Now you will be able to do Product Setup. You will be prompted to choose between setting up a cutting machine or heat press. You will select cutting machine. Then click on the Cricut Joy Xtra.
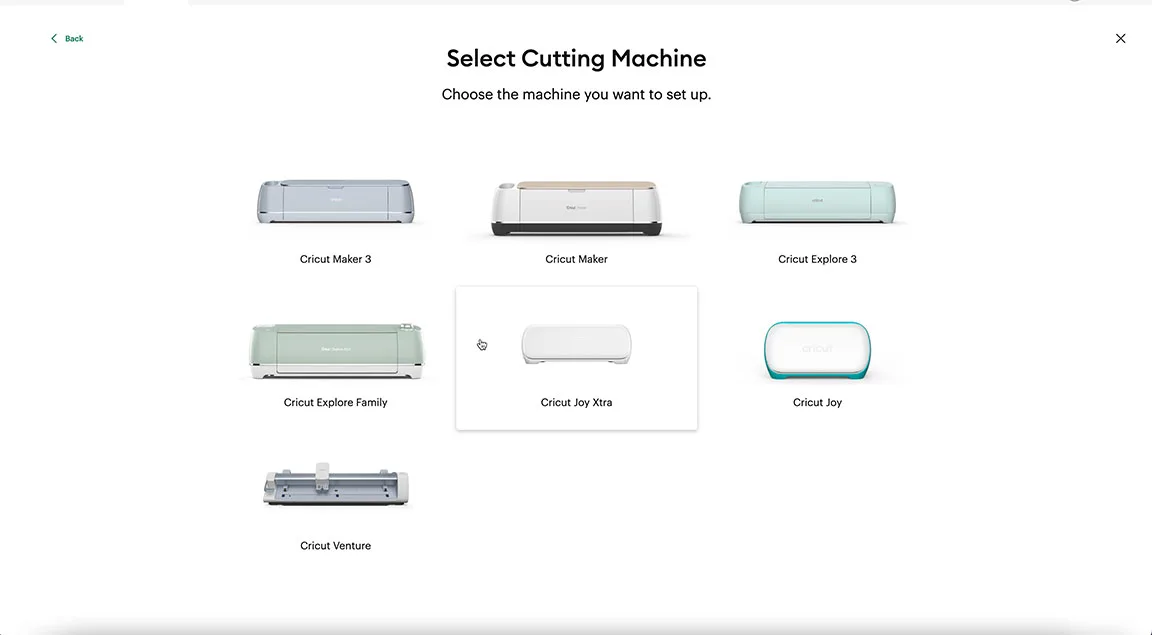
Now your device will connect with your Cricut Joy Xtra via bluetooth. If for some reason your device is not connecting properly click on the green “Need connection help?” link near the bottom. Design Space will walk you through figuring it out. I love how Cricut always holds your hand and helps you through not only machine setup but also projects as well.
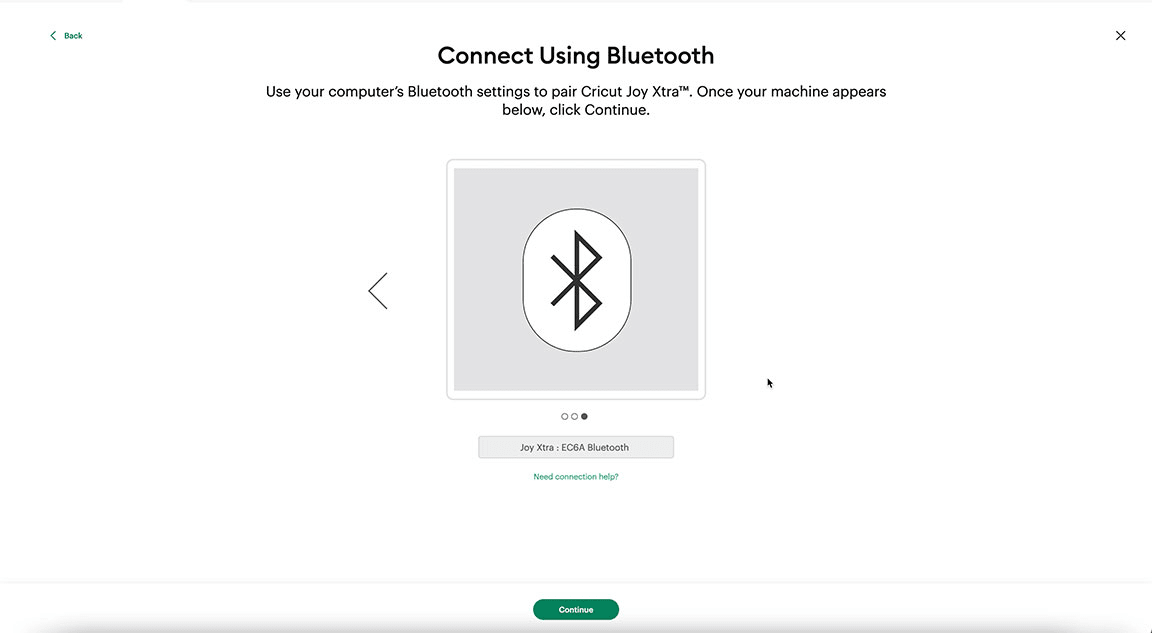
Click continue and then you will be prompted to activate your machine by connecting it to your Cricut ID.
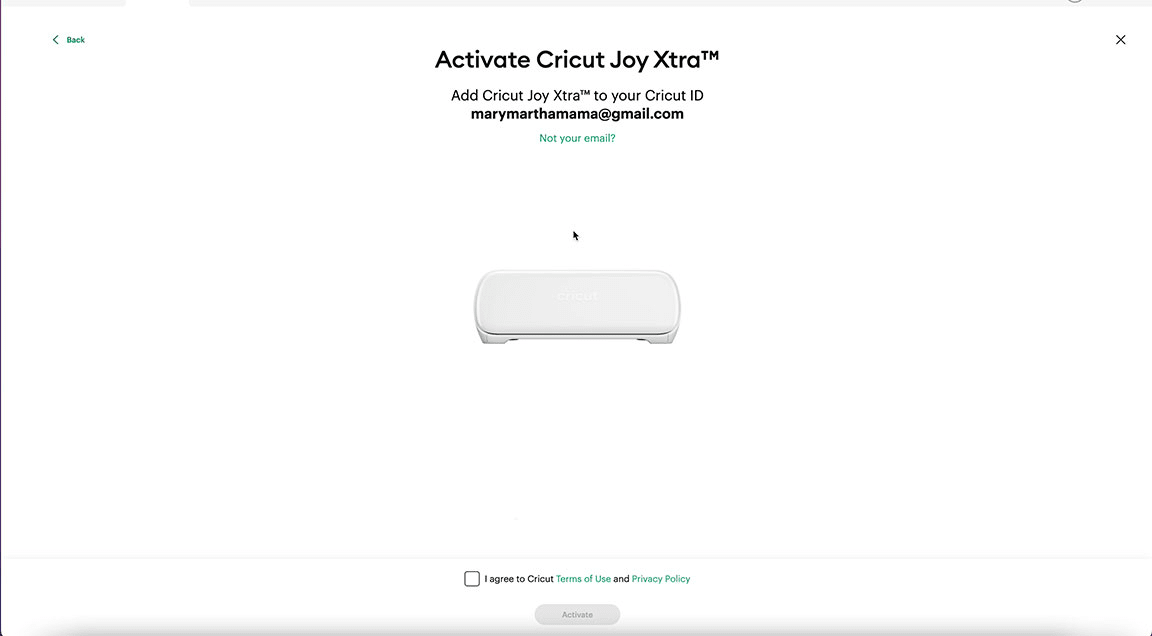
Once you have done this you are all set up!
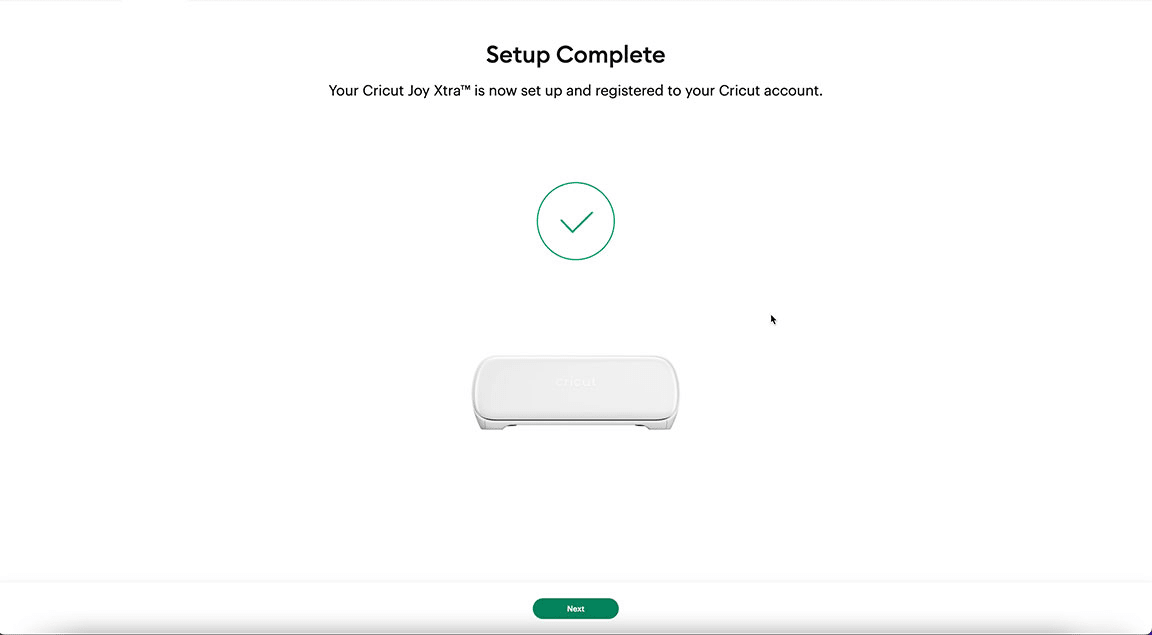
At this point you will be offered a free trial subscription to Cricut Access if you do not already have it and have not had it before.
First Cut
Now Design Space is going to walk you through making a practice cut. I highly recommend you do this to become familiar with the machine and make something really simple before moving on to something more complex.
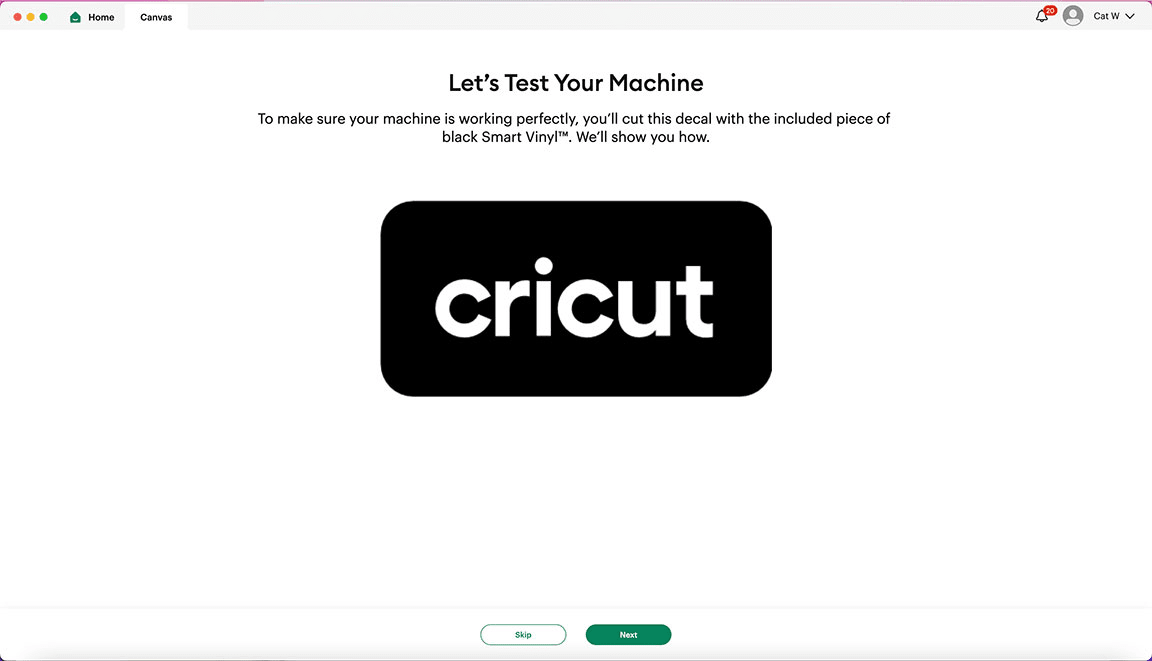
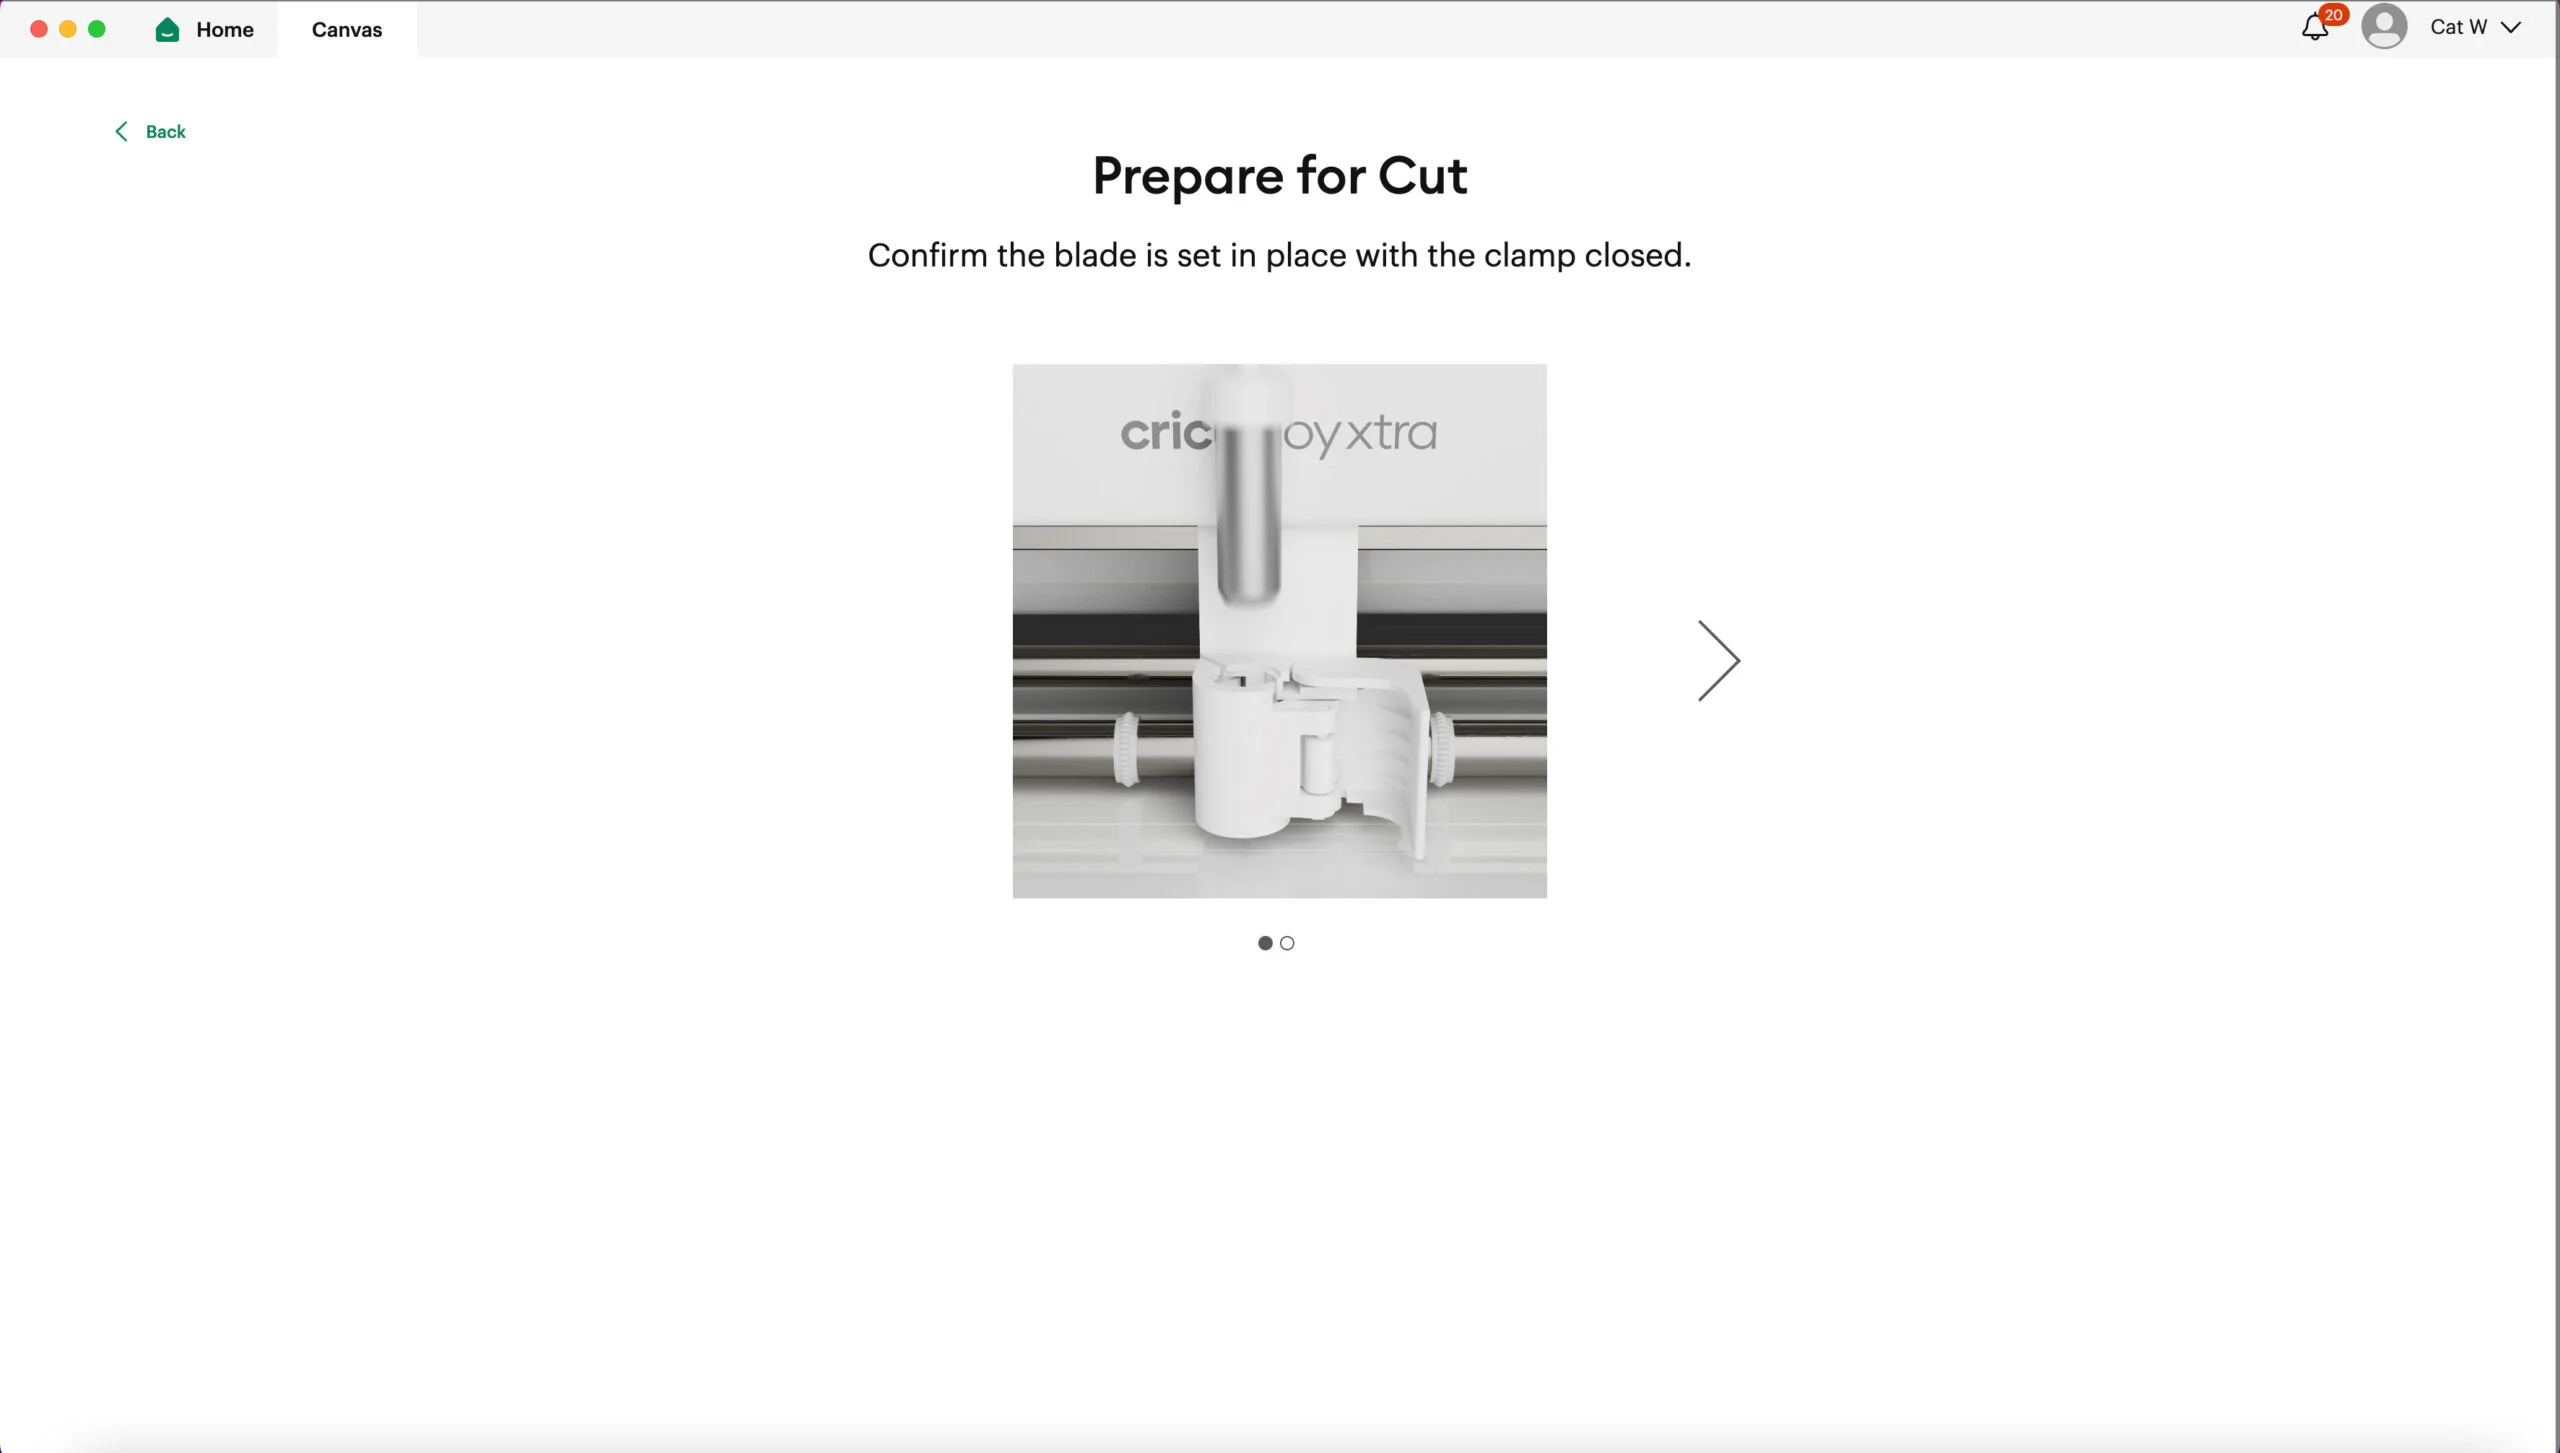
First your machine will walk you through a couple of prompts to be sure everything is set.
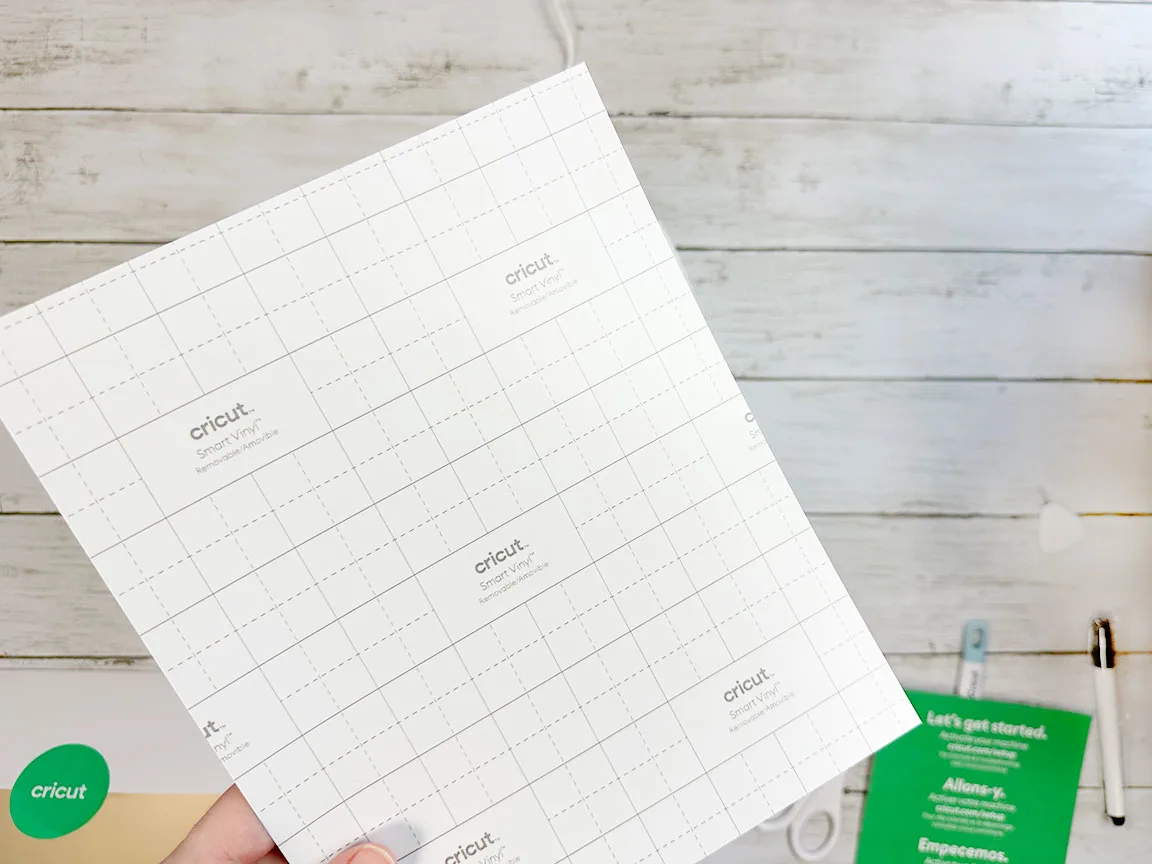
Then you will load your Smart vinyl sheet into the machine. If you’re not sure which material is the Smart vinyl you can peek at the lining on the back and it will tell you.
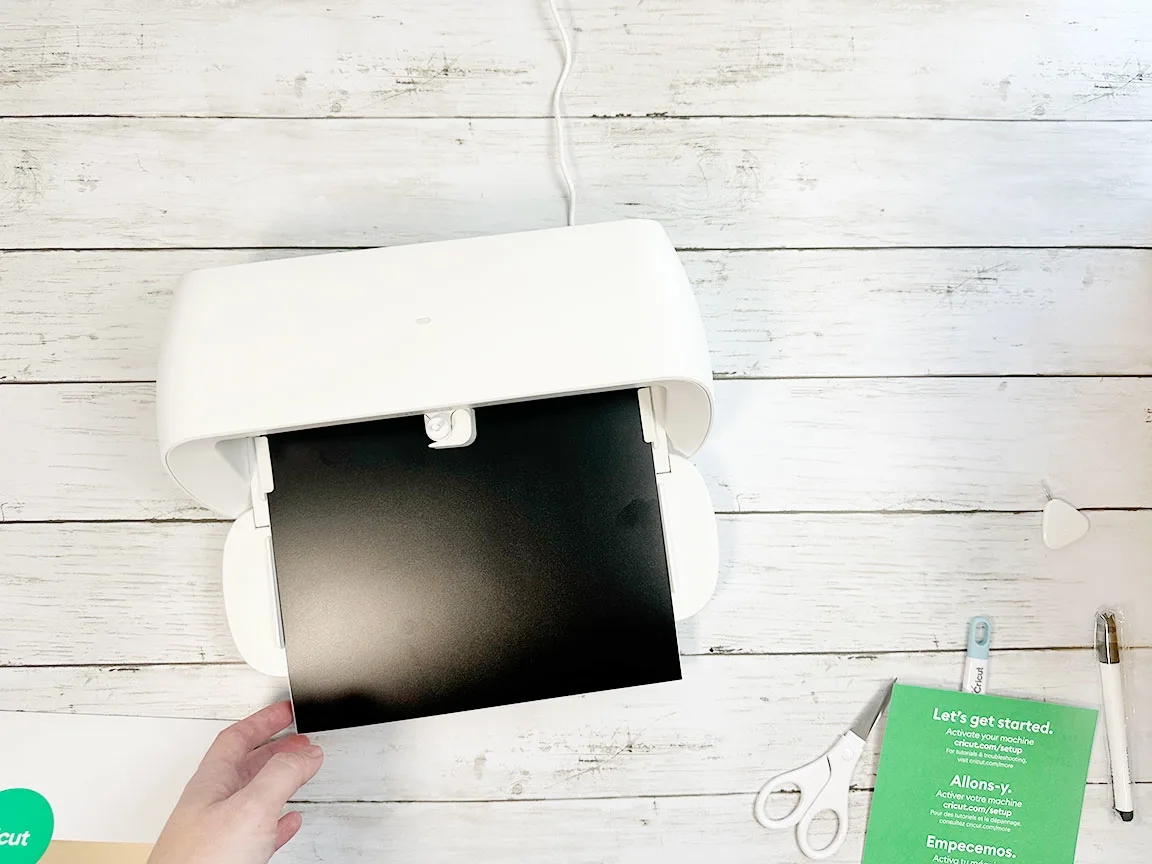
Push your vinyl sheet under the guides on the side until the rollers grip it and pull it in. Once you have loaded your vinyl into the Cricut Joy Xtra it will start cutting.
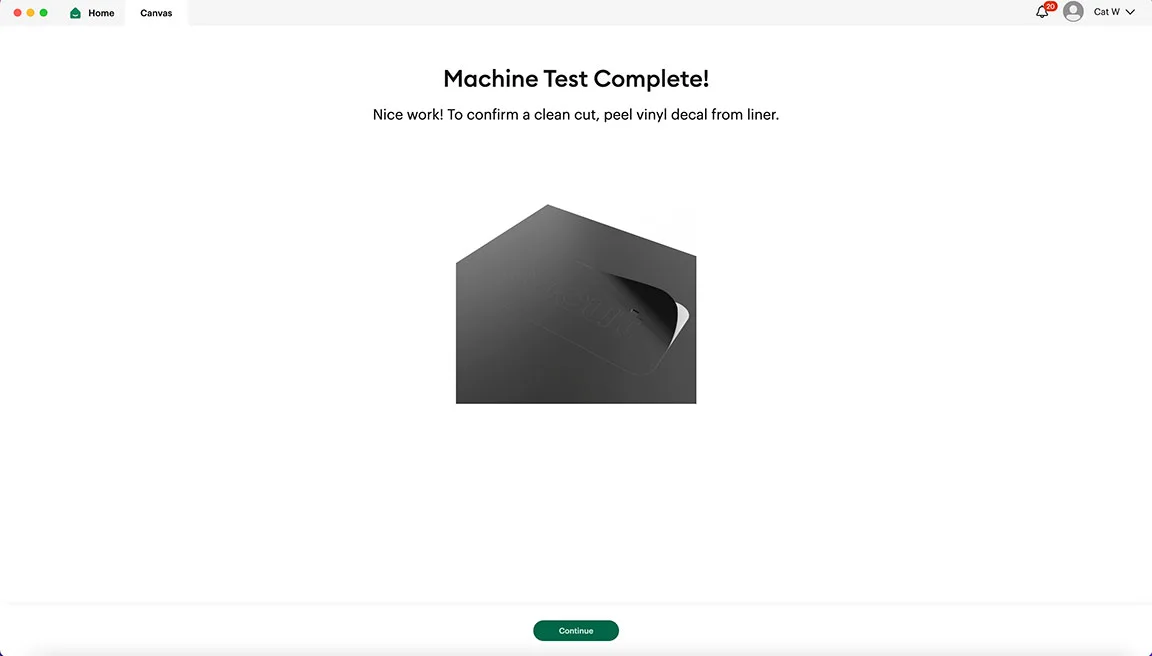
Once the machine is done cutting it will unload the vinyl. Then you will peel the decal from the liner. You’ve now made your first cut!
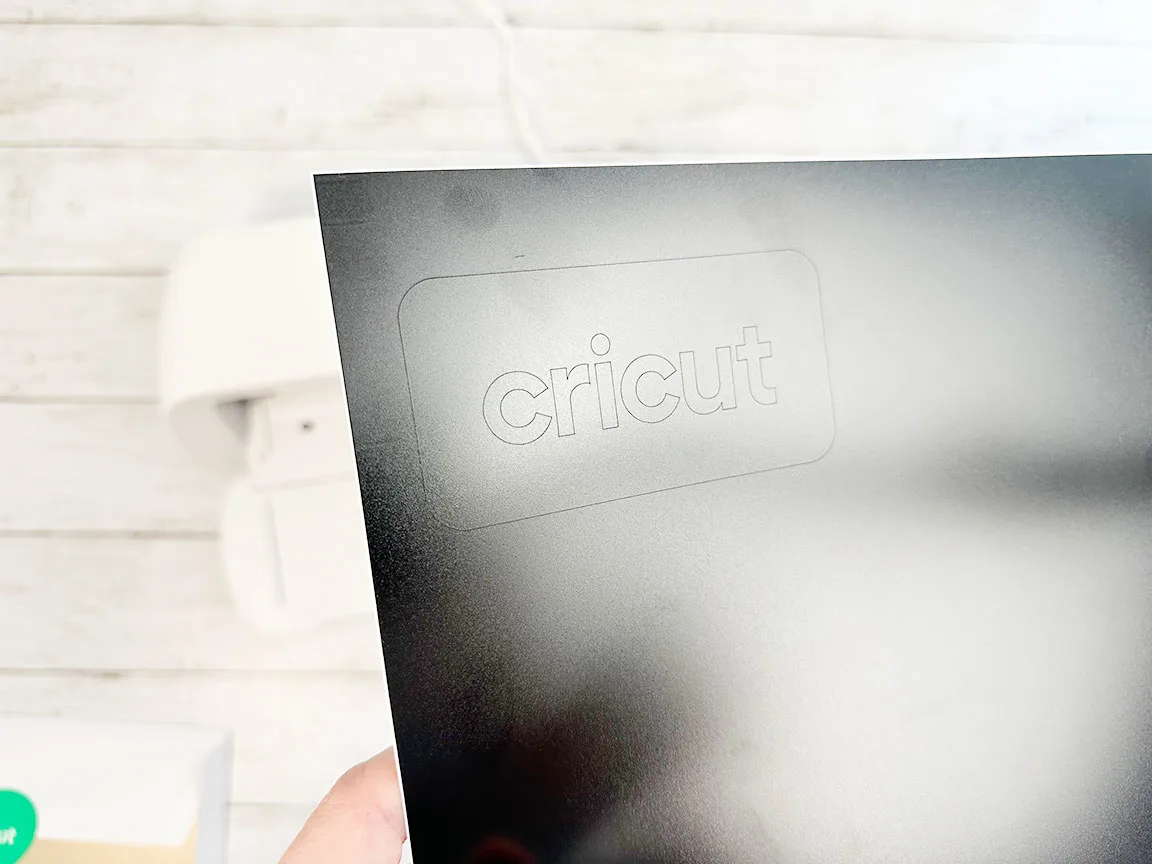
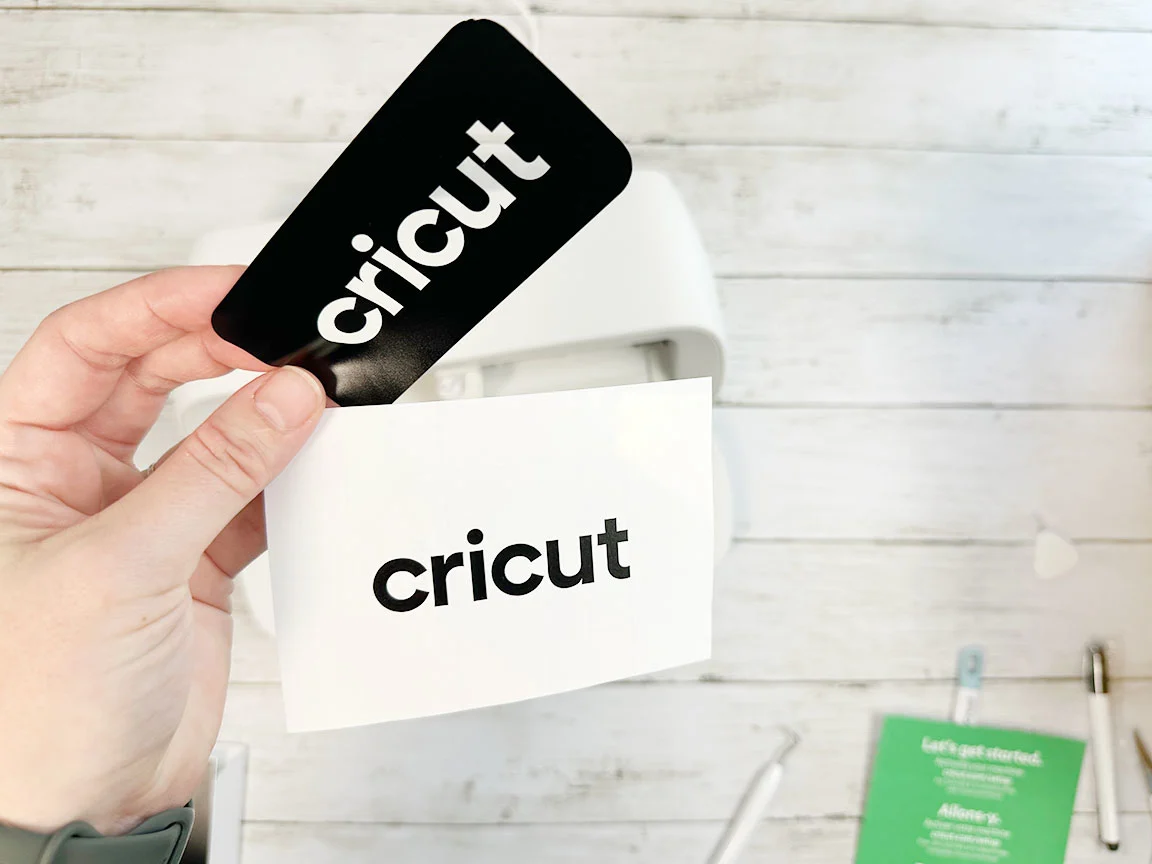
Now that you’ve gotten everything all set up and your first cut complete Design Space will show you some great resources for learning how to make all kinds of projects with your Cricut Joy Xtra. Here you can find some great lessons, the Heat Guide, and Cricut Learn.
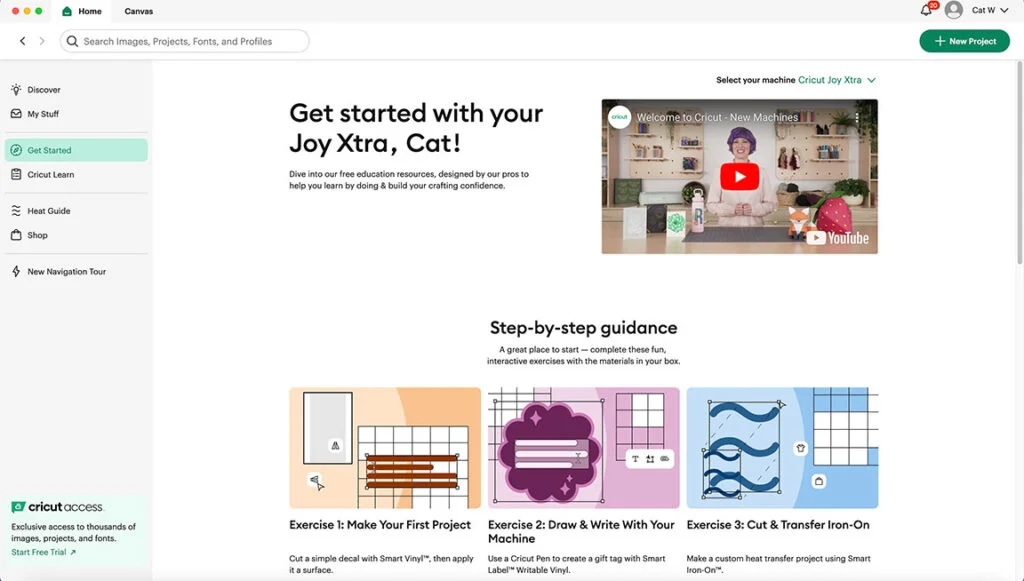
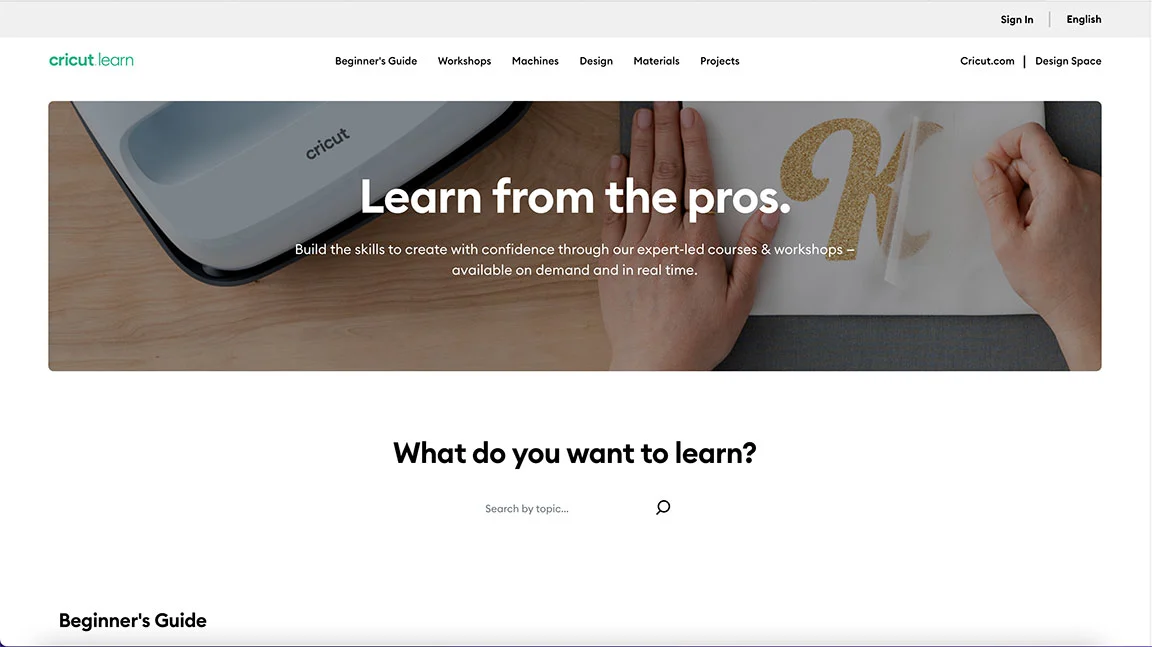
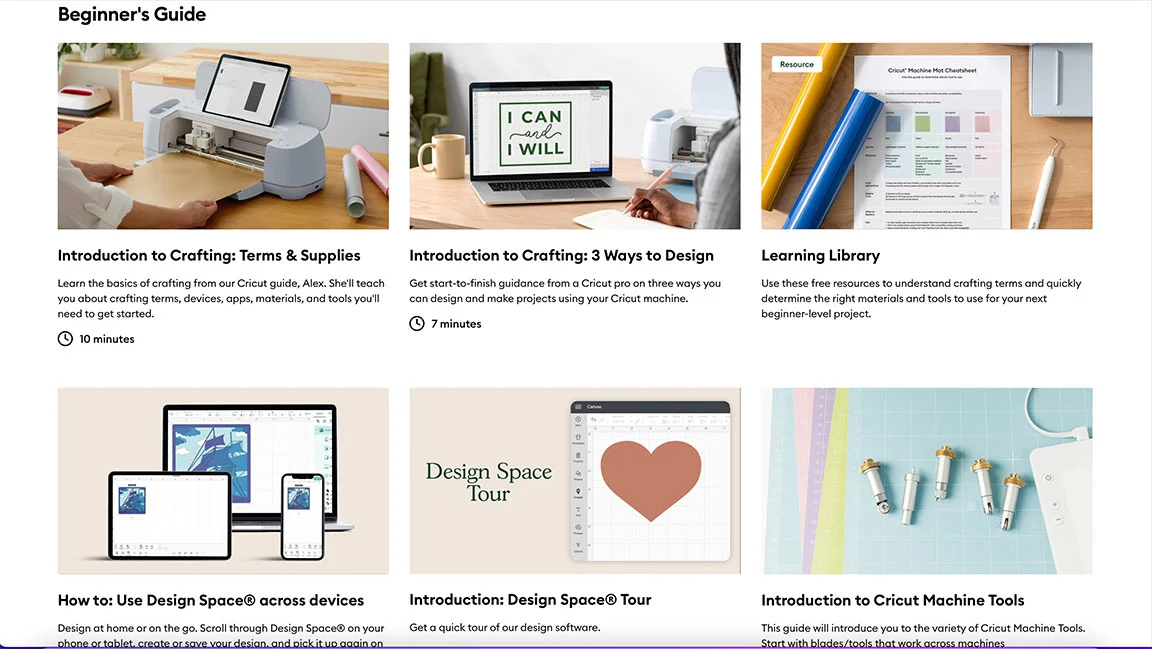
Cricut Learn is an amazing resource offered by Cricut to help you make the most of your Cricut machine. Cricut Learn has a ton of expert-led videos and classes to help you learn whatever you want to learn about your Cricut machine. I also love the learning library which is full of quick reference guides that you can download, print, and keep handy in your craft room for reference.
Cricut Learn is a huge resource especially for beginners and you should definitely take advantage of it. I wish that I had this amazing resource when I was first learning how to use my Cricut.
First Project
So I thought it would be fun to work through a project together. Cards are one of the great project options with the Cricut Joy Xtra so I thought it would be fun to make a Valentine’s Day card.
To make a card with the Cricut Joy Xtra you will need:
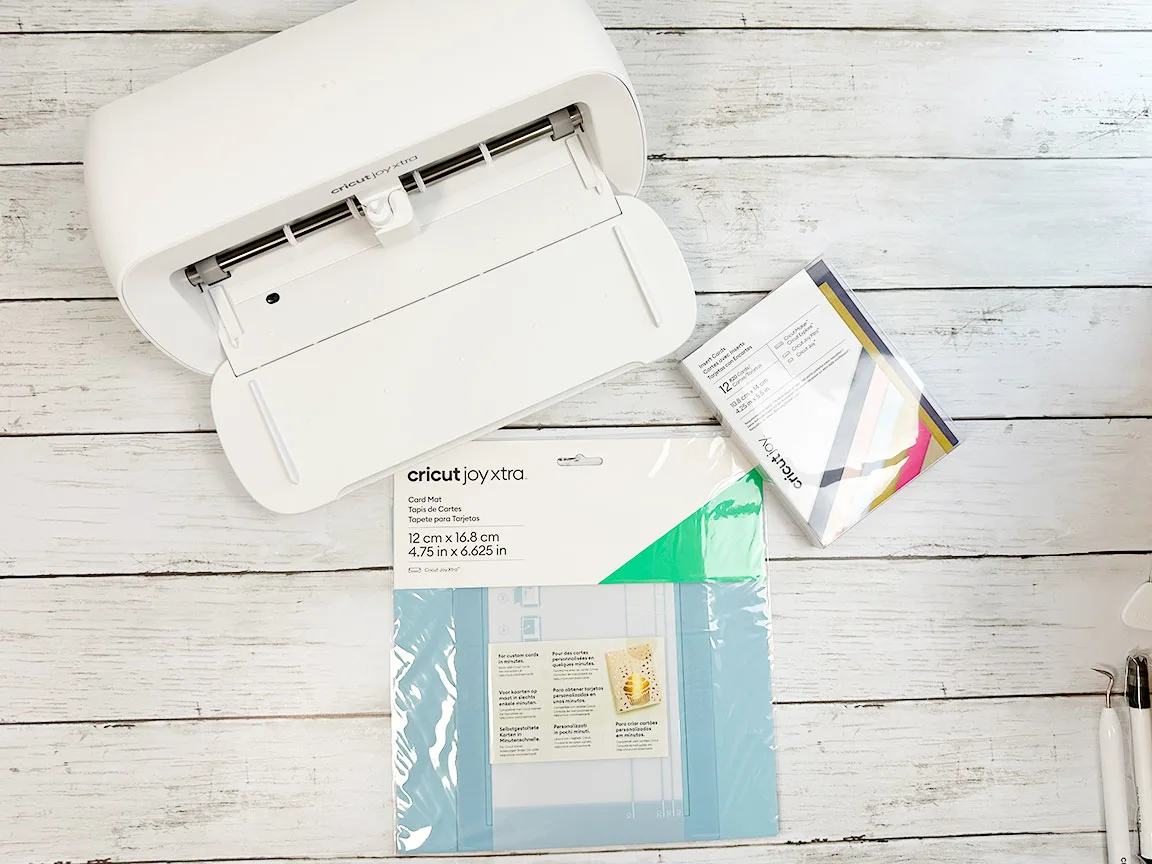
In Design Space I made a card design. If you search “card” in images you will find different designs for the little corners that you need for an insert card. I combined those with a heart image that I found in images. If you don’t want to make your own card design there are a ton available on Design Space just search in the projects for cards. You can also use my design project file if you like.
So once I had my heart image and insert card corners aligned how I wanted them I did 2 things that you need to do if you’re designing a card like this. First, I clicked on each image to ensure that they were set to cut out the same color. You can see the color they are set to and change it if necessary by looking at the square next to operations on the top left of your screen. Setting them to the same color tells the machine that they are being cut out of the same material.
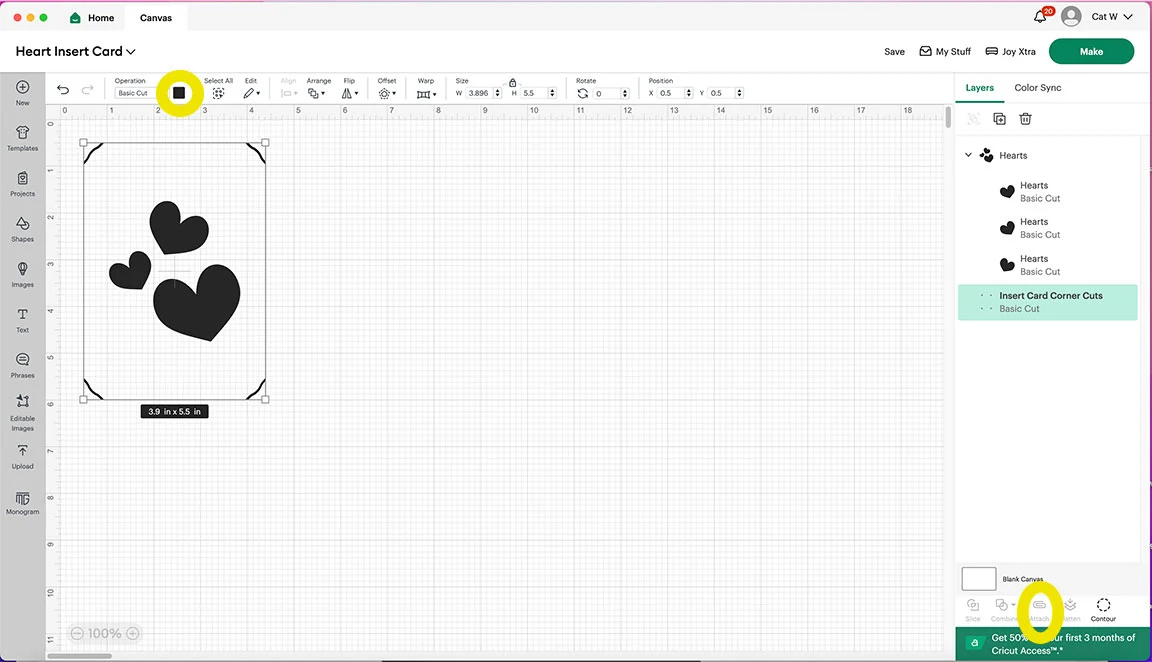
Then on the right hand side under layers I selected both images and then clicked “Attach” at the bottom. This ensures that the Cricut Joy Xtra will cut them out exactly as I have them laid out in Design Space. Once you have done those two things and ensured your card size is what it should be for your cards then click “Make”.
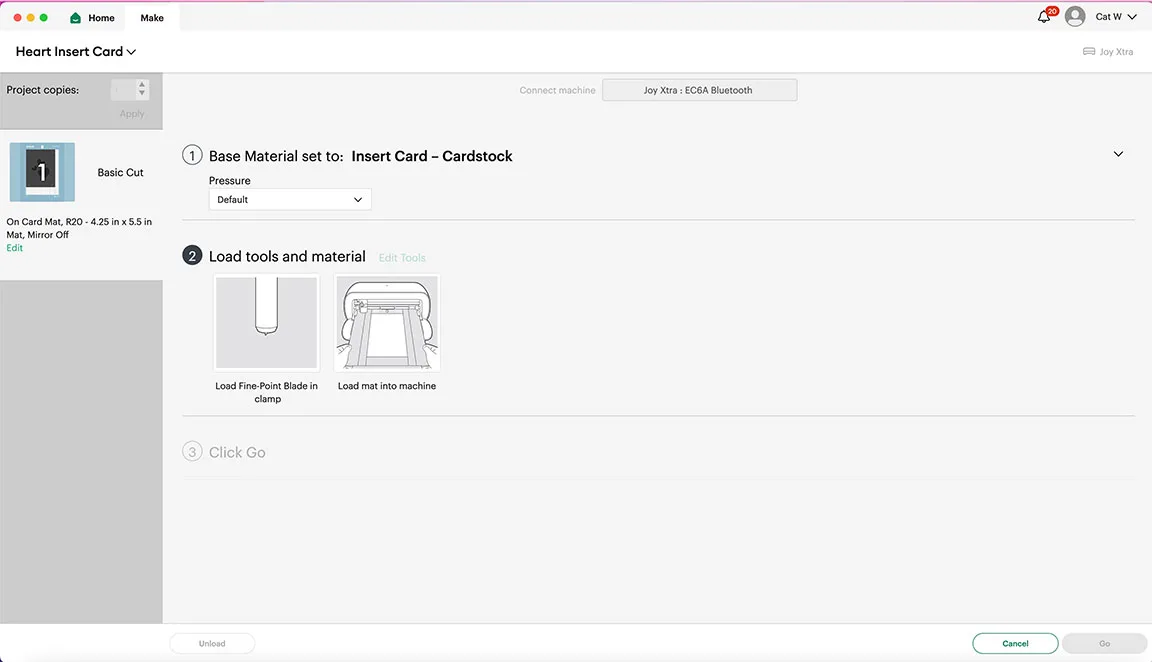
Now you will see your card as it will be cut on the card mat. On the left hand side you will see a box labeled “Material Size”. Check that to make sure you have it set to the correct card size. Then click continue.
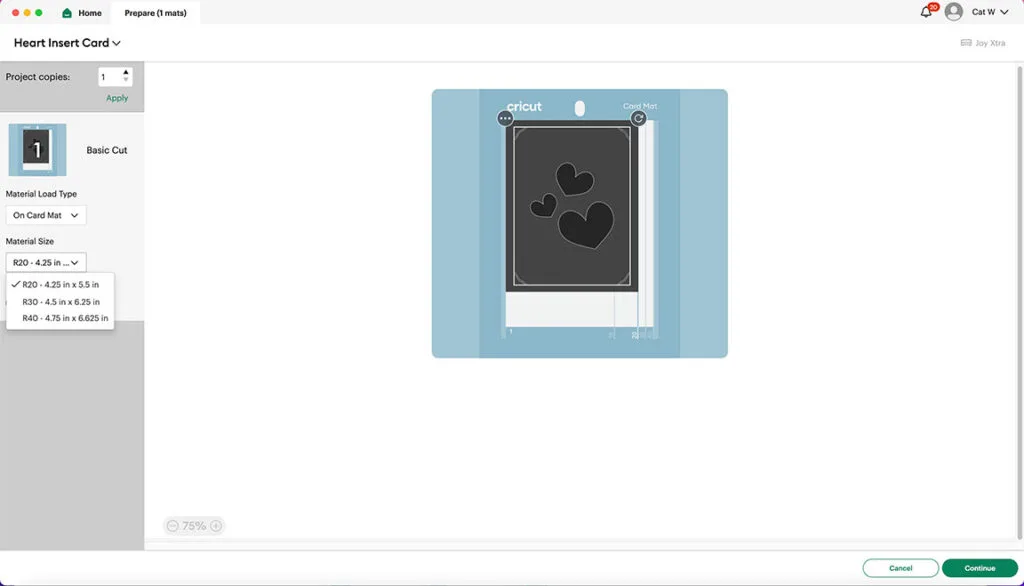
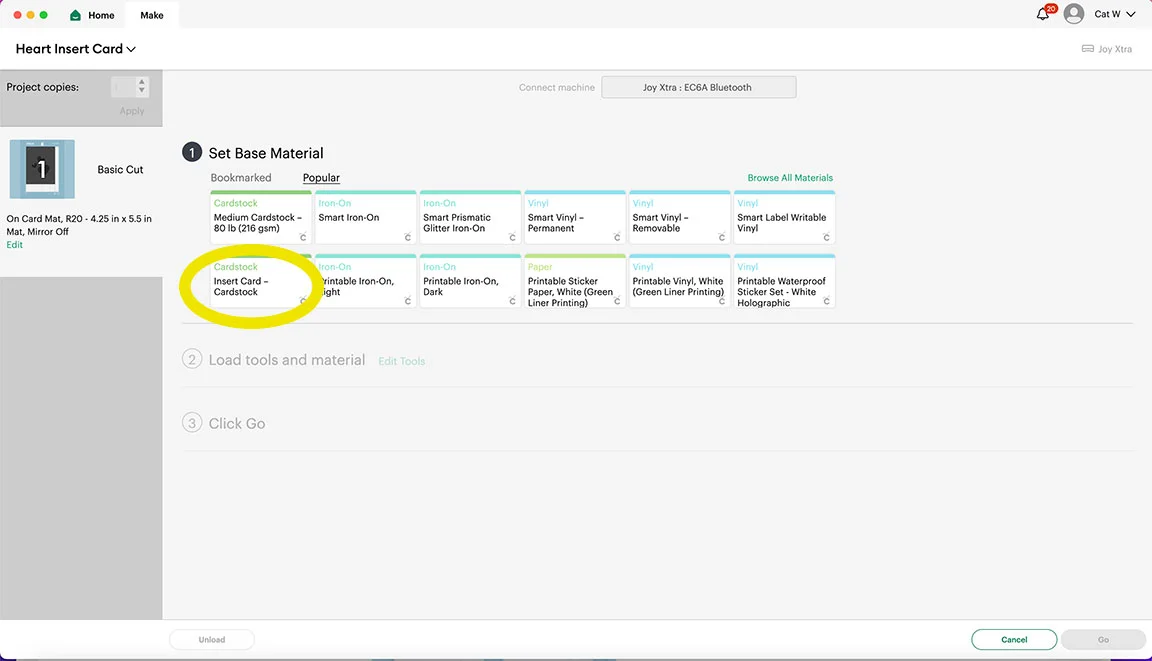
Now Design Space will walk you through selecting your materials and tools. I love how easy Design Space makes projects. They walk you through it all step by step helping you to succeed, even when you’re a beginner and it’s all new. Select “Insert Card” as your material.
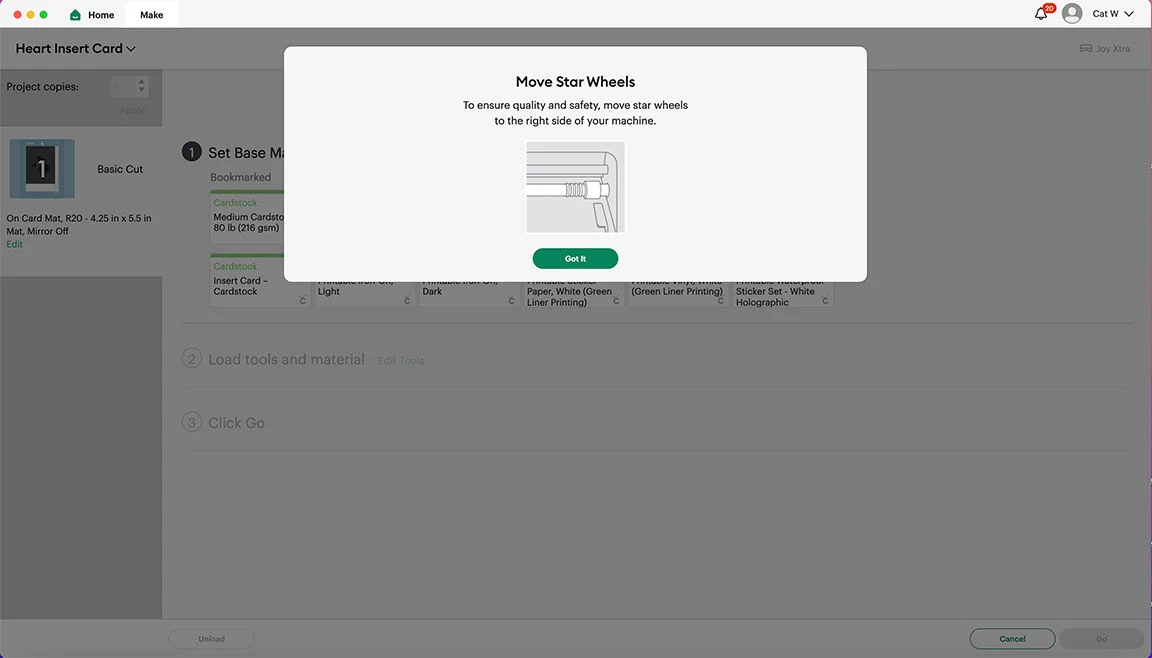
Design Space will then prompt you to move the star wheels because this is a card project and if you left them in place they would indent your card.
Once you have moved the star wheels then you will load the card mat into the machine.
To put your card into the card mat you slide the back of the card behind the front part of the mat that is white. Then remove the sticky cover off of the front and press the front of your card down. Then you can load your card mat into the Cricut Joy Xtra.
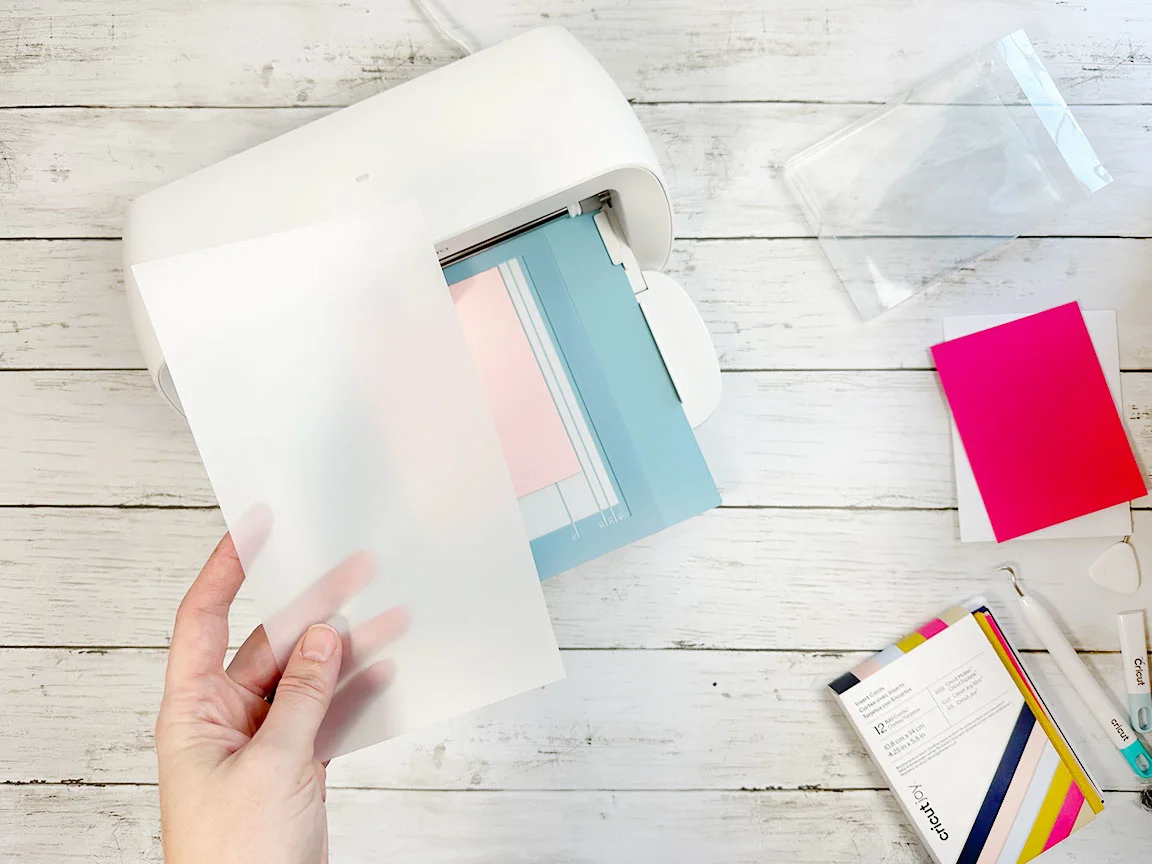
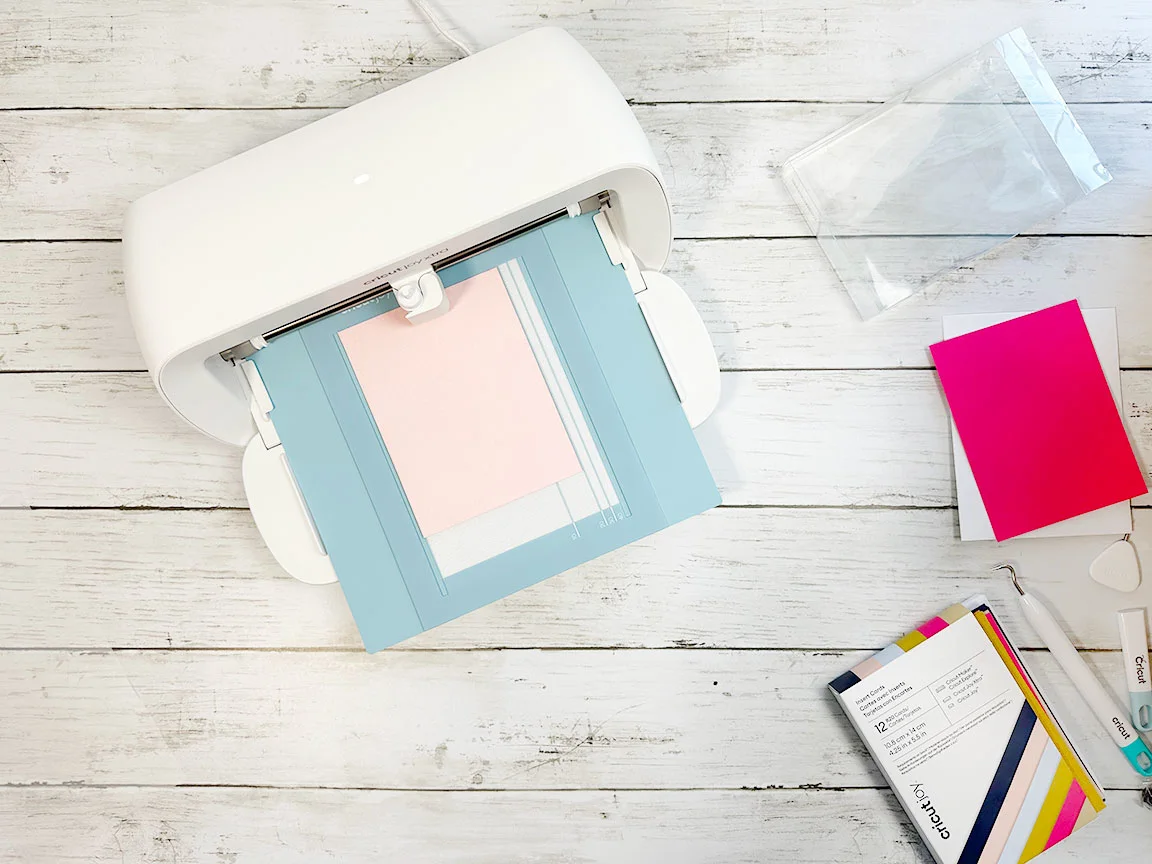
When the card is finished cutting it will unload the mat. Carefully peel the card off of the mat using your Cricut tools. I like the spatula one for this. Then you slide the inset for your card into the corners and you are all done!
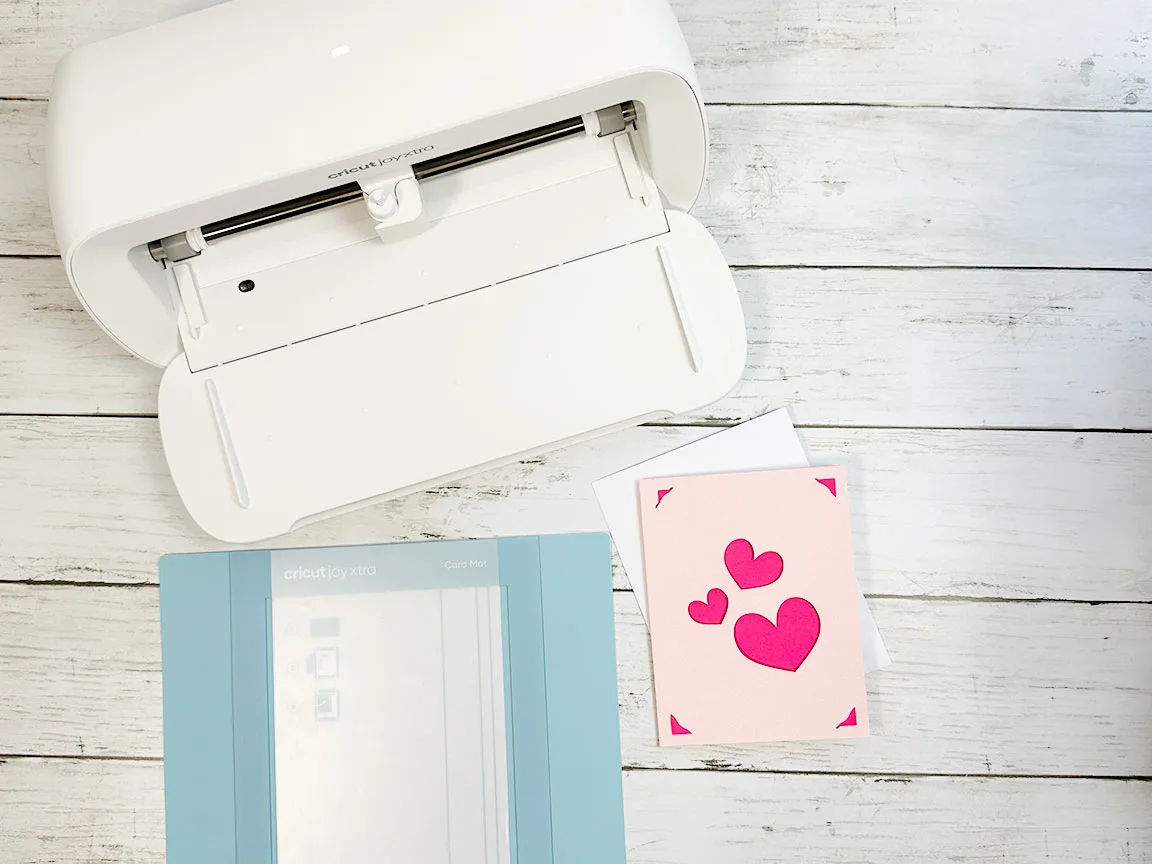
Beyond cards you can use your Cricut Joy Xtra to make stickers, personalized shirts, cups, and more. You can use your own designs or utilize the amazing designs available in Design Space. What materials you need to get to go with your Cricut Joy Xtra and their cost will depend on what you want to make with it. I would suggest you take a look around the projects tab in Design Space and get some inspiration for what you want to make.
I hope you found this Cricut Joy Xtra Unboxing helpful. Let me know what questions you have in the comments below!


