This is a sponsored post written by me on behalf of Cricut. All opinions are 100% mine.
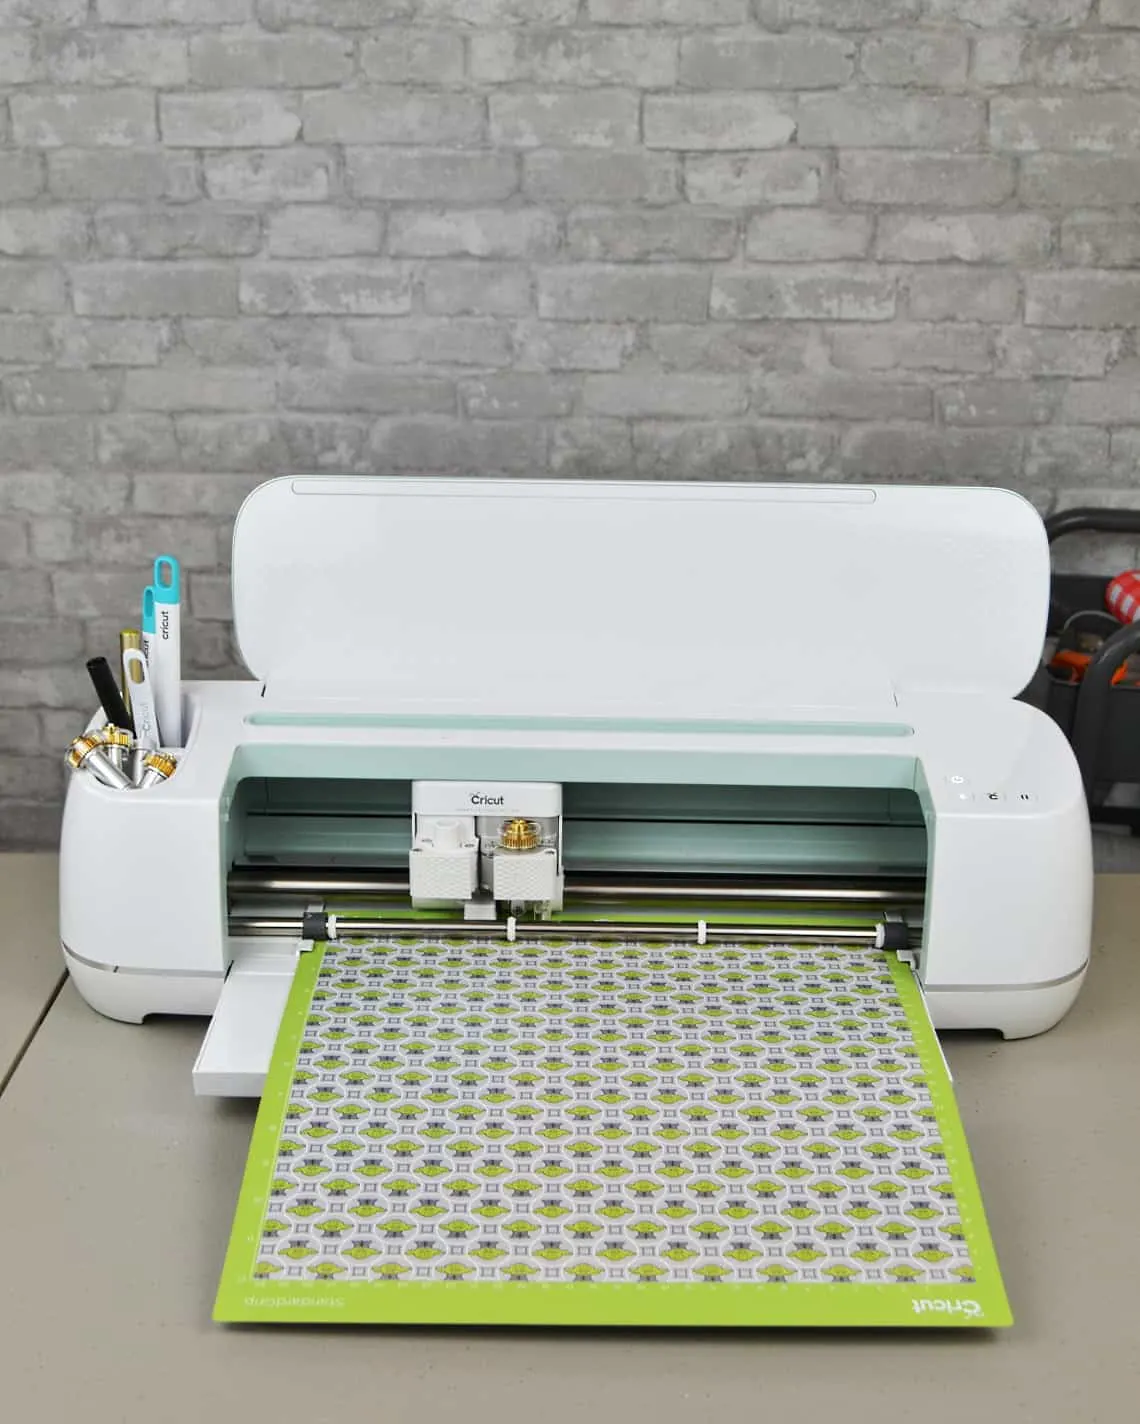
Back to school is different this year and with everything that we have gone through I want to make it special. I used my Cricut Maker to personalize all of my boys’ school supplies and I’m going to show you how easy it is.
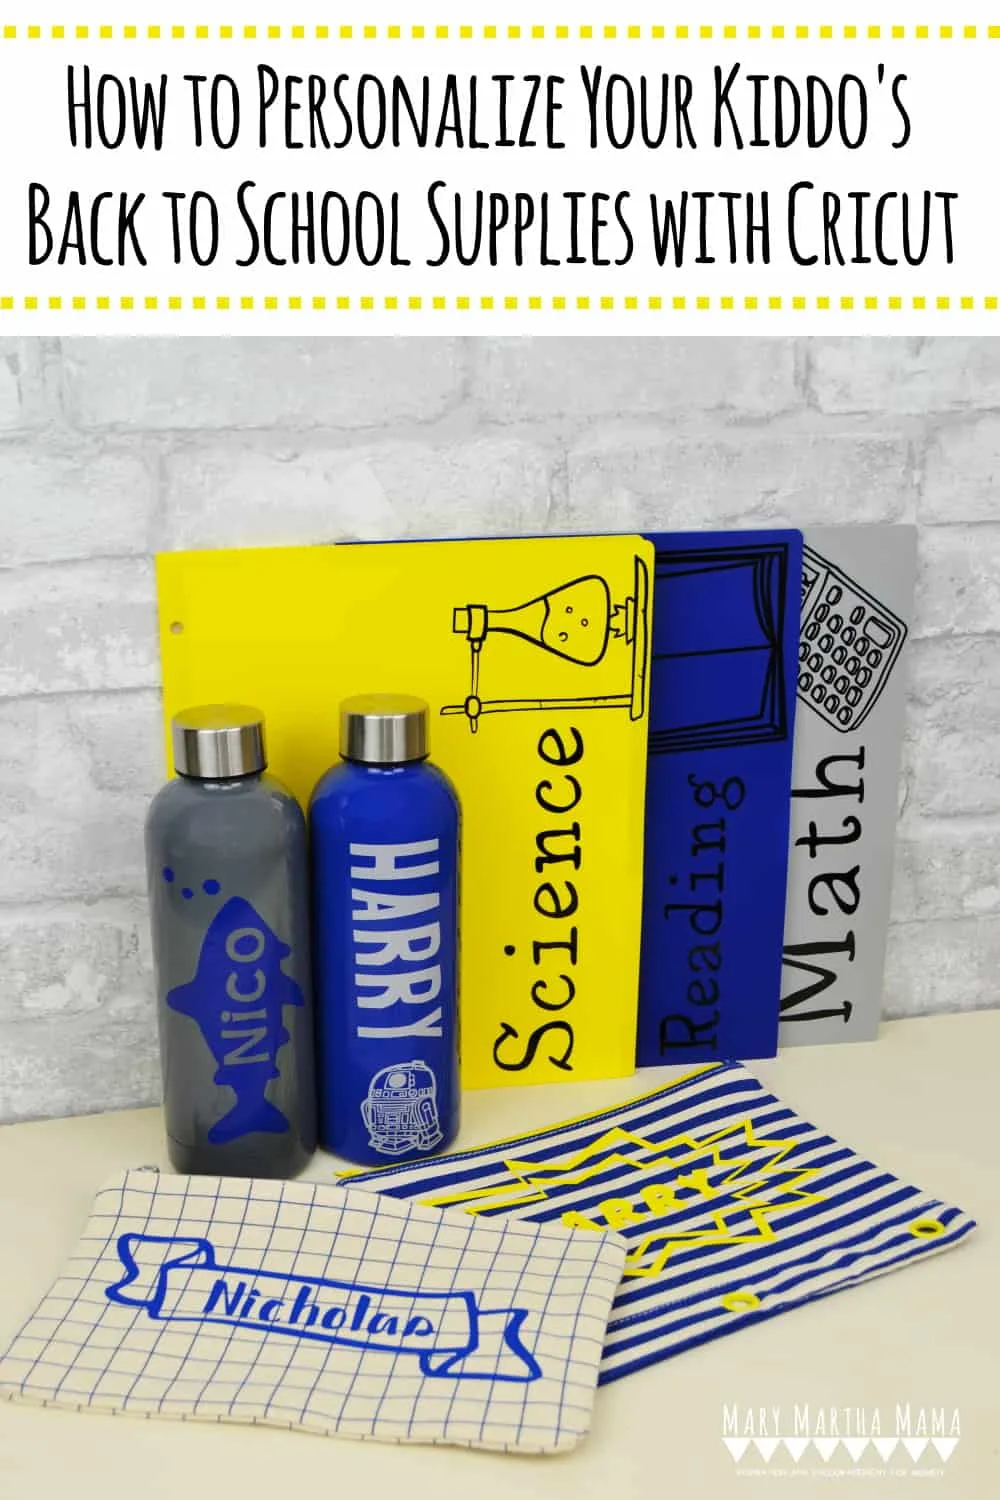
With a Cricut you can personalize so many of your kiddo’s back to school essentials. You can personalize backpacks, folders, binders, t-shirts, pencil pouches, flash card boxes, and so much more! I’m going to show you how I used my Cricut Maker to add a personal touch to a few of our items.
Water Bottles
We love these plain stainless steel water bottles for our boys because they hold a decent amount of water and they keep it well chilled. I also love that they can load into the bottom rack of my dishwasher. They are very plain so I decided to add my son’s names and a design to them.
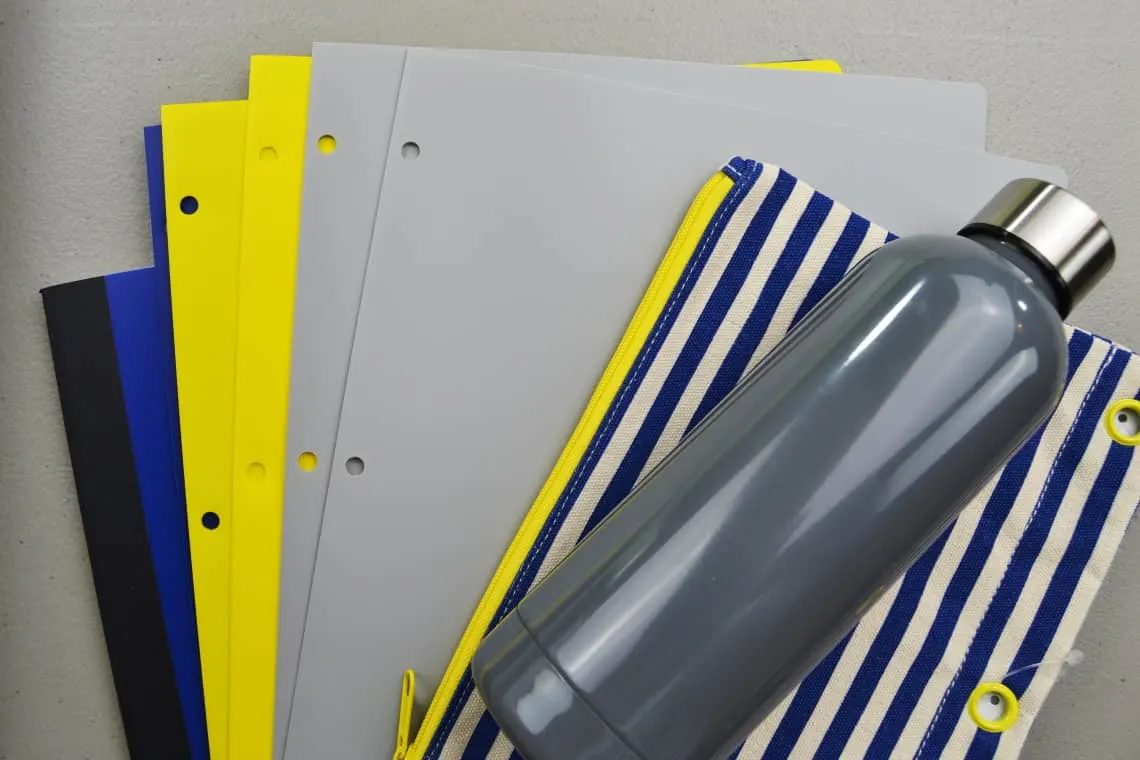
Supplies
- Cricut Maker
- Permanent Vinyl
- Transfer Tape
- Weeding Tool (comes in the basic tool set)
- Scraper Tool (comes in the basic tool set)
Tutorial
I’ll explain how to make a water bottle with your child’s name and a graphic on it like the “Harry” one. Start by typing out your child’s name. You can change the font and size on the tool bar. Then add a graphic.
I wanted to turn it sideways for the water bottle. You can do this by clicking “More” on the upper tool bar and then typing in the “Rotate” bar however many degrees you want it to turn.
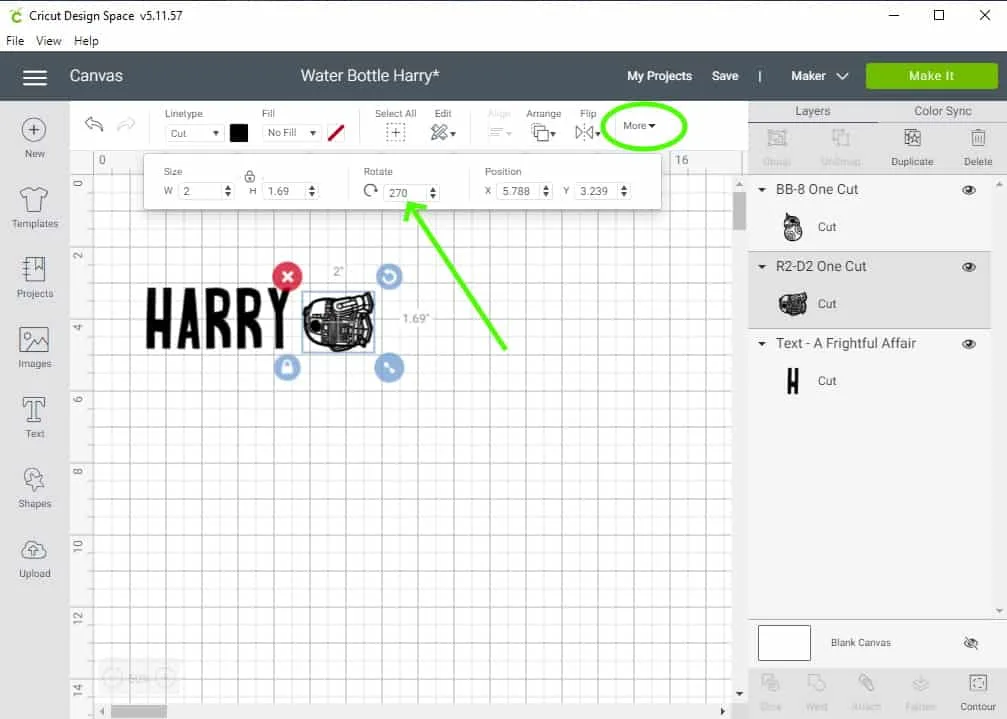
To make sure your images line up you will click “Align” and Center them vertically.
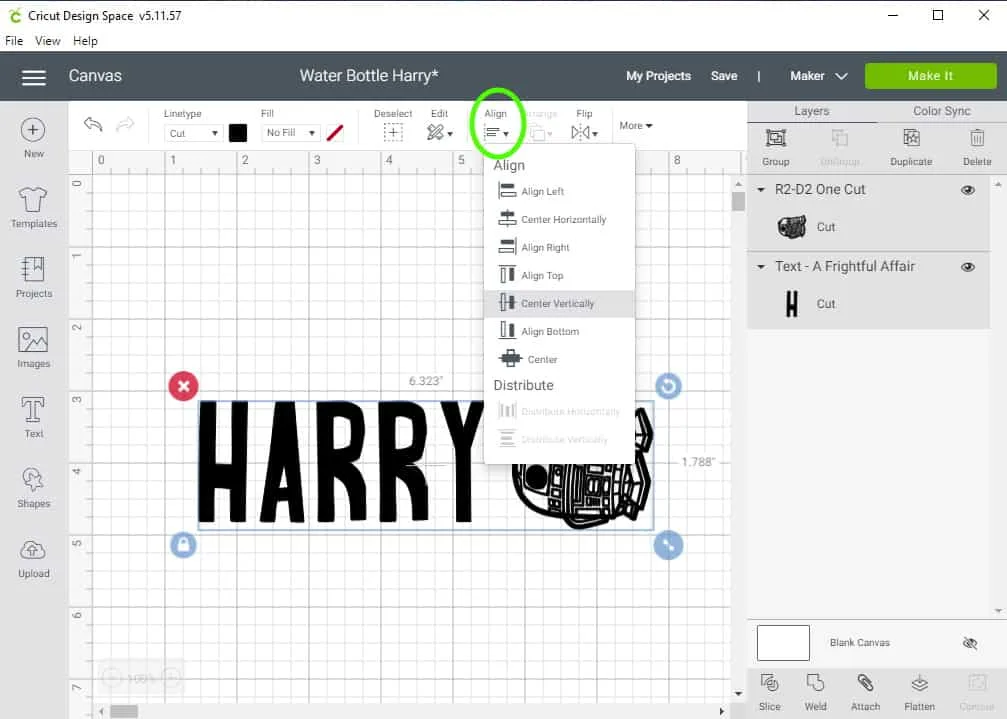
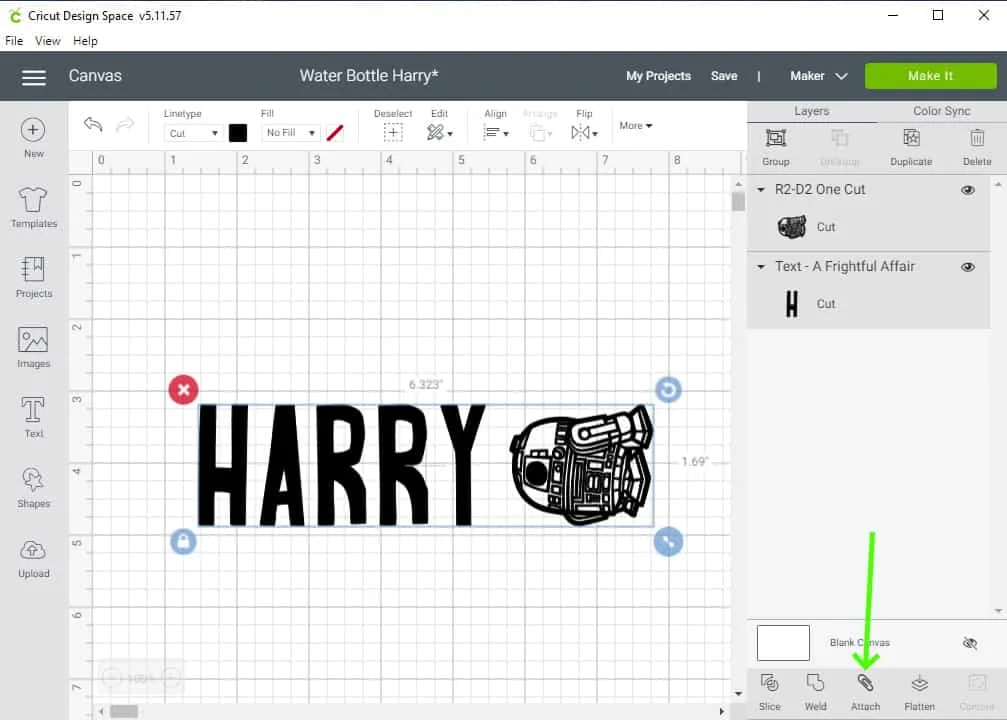
In order to get the Cricut Maker to keep them together when cutting you will then want to attach them.
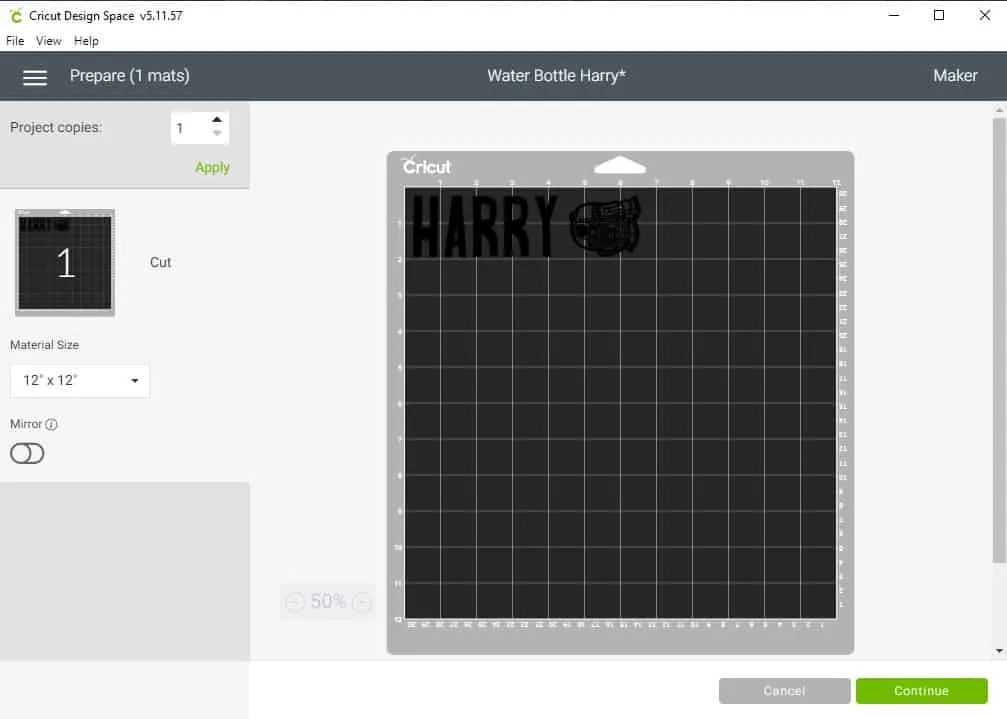
Click the “Make it” button. You’ll then see a preview of where the Maker will cut the vinyl on the mat. If you need to move it for some reason this is the time to do it. Click “continue”.
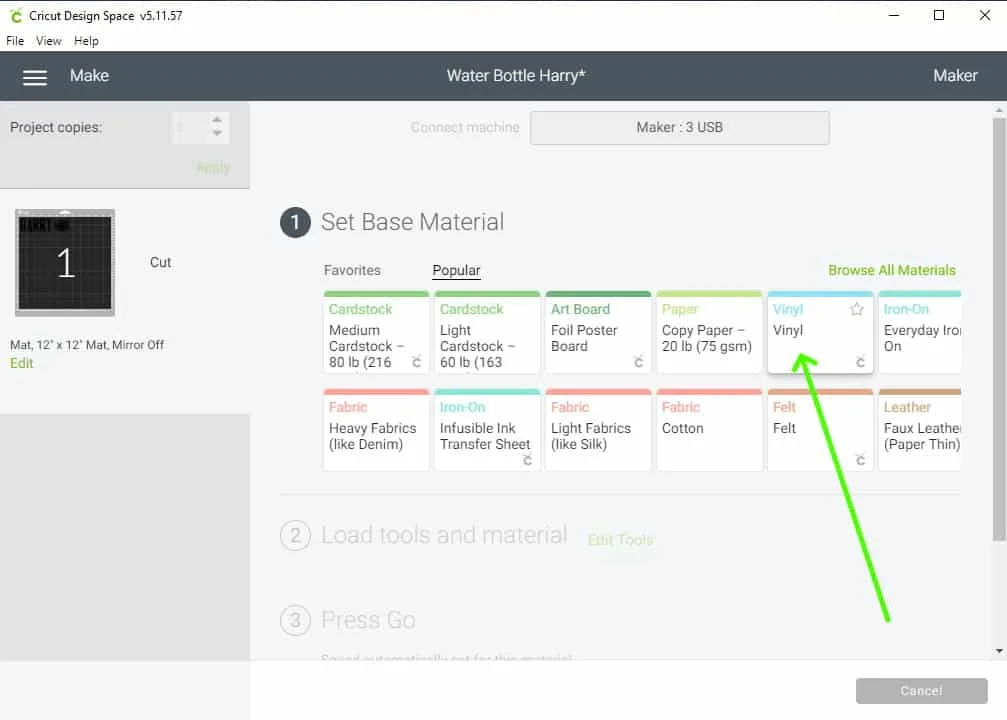
Now Design Space will prompt you to select your material. For the water bottles you will use vinyl.
Once you have selected your material then you’ll be prompted to load your blade and then load the mat into the machine. You will lay the vinyl down on the mat with the colorful side up.
When you’re all ready to go hit the “Go” button on your Cricut Maker.
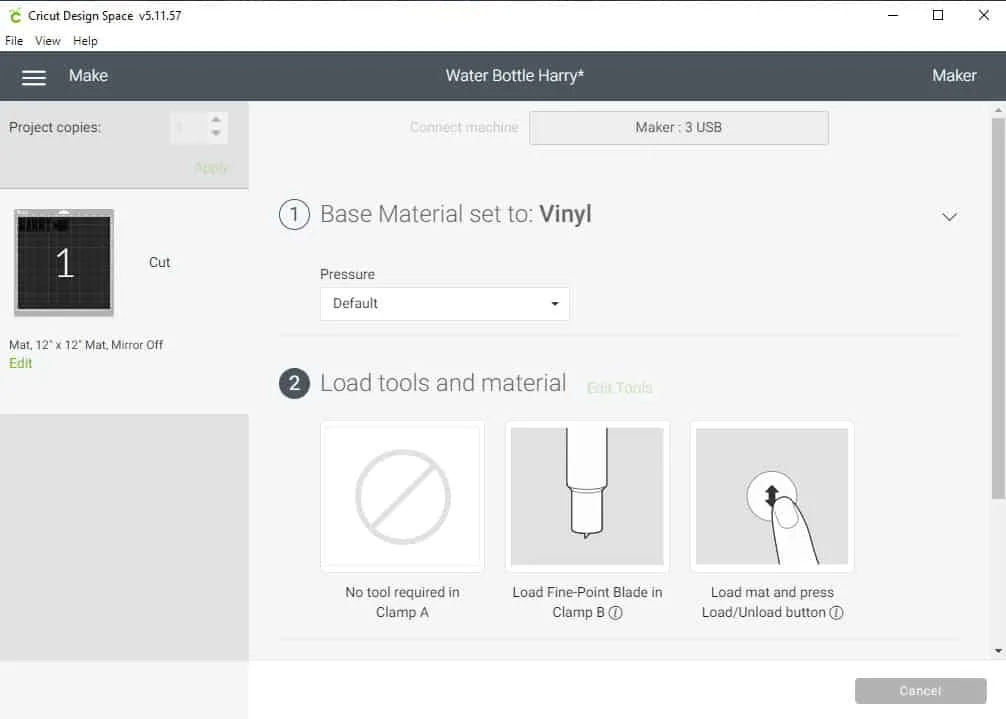
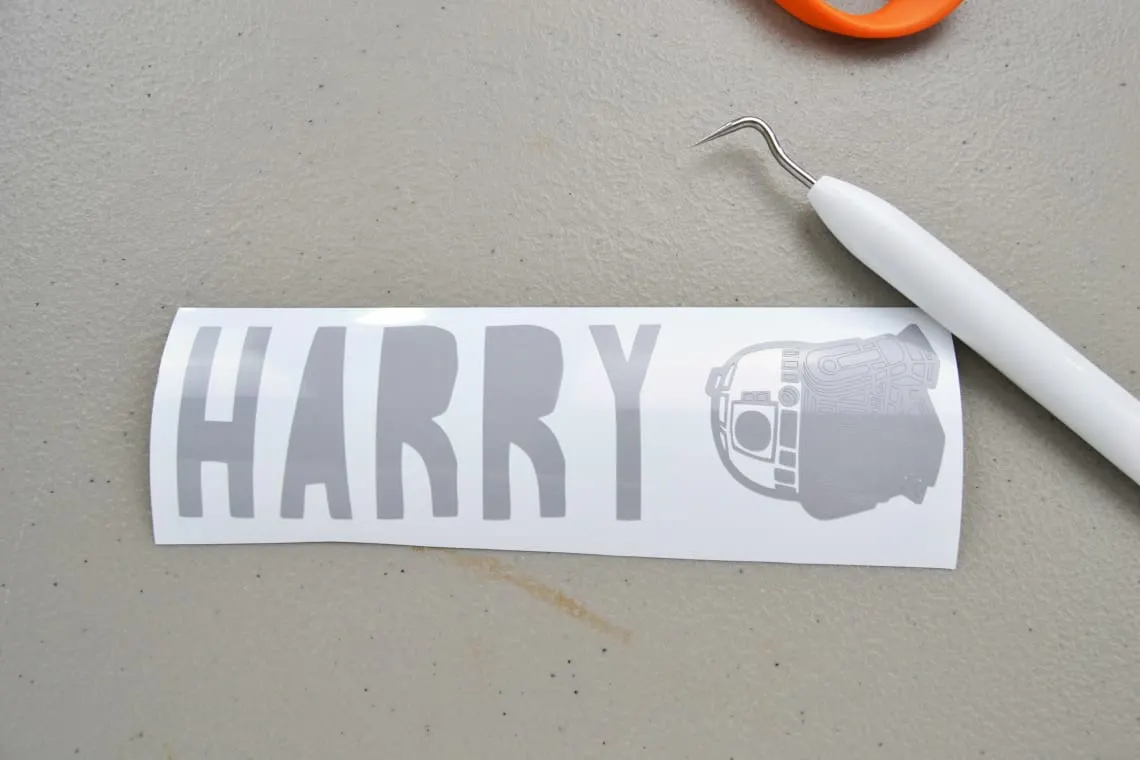
Cut out the bit of vinyl that has your designs on it. Weed out (remove) the bits of vinyl that you don’t need. I find that the weeding tool really helps with small, intricate designs like this one.
Cut a piece of transfer tape to just slightly larger than your design. Peel the transfer tape off of the paper backing and then press it onto the front of your design.
Use the scraper tool to really smooth and press it down.
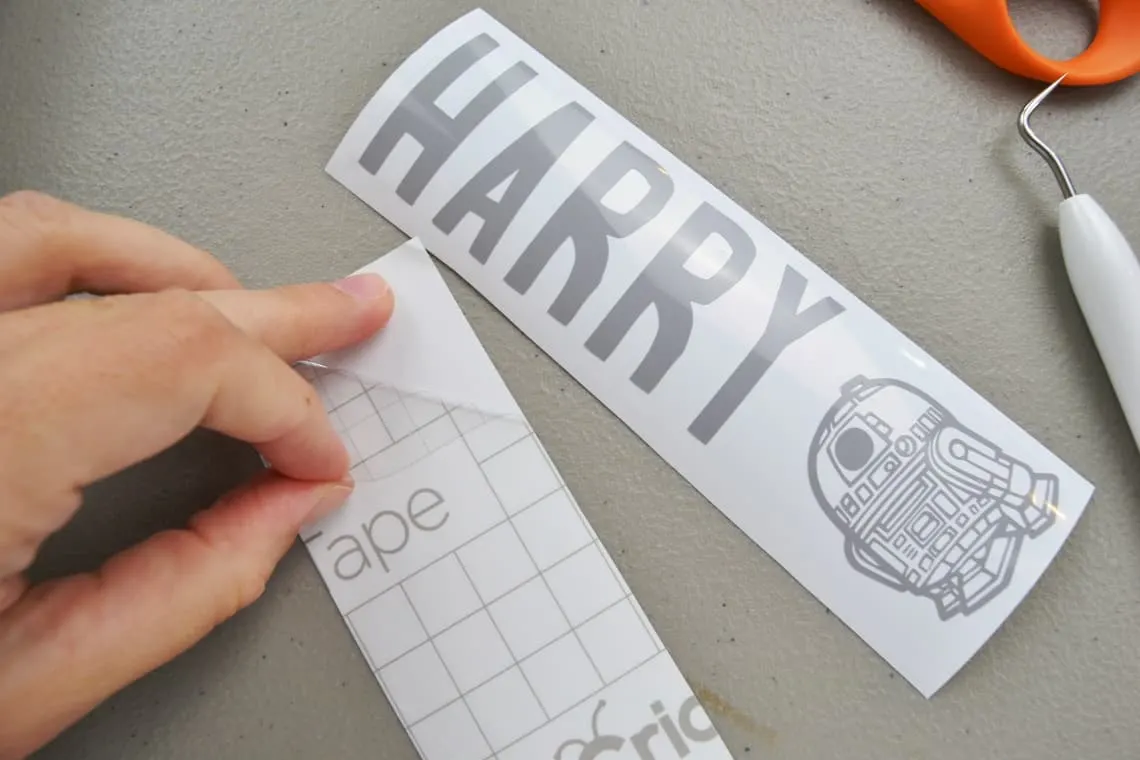
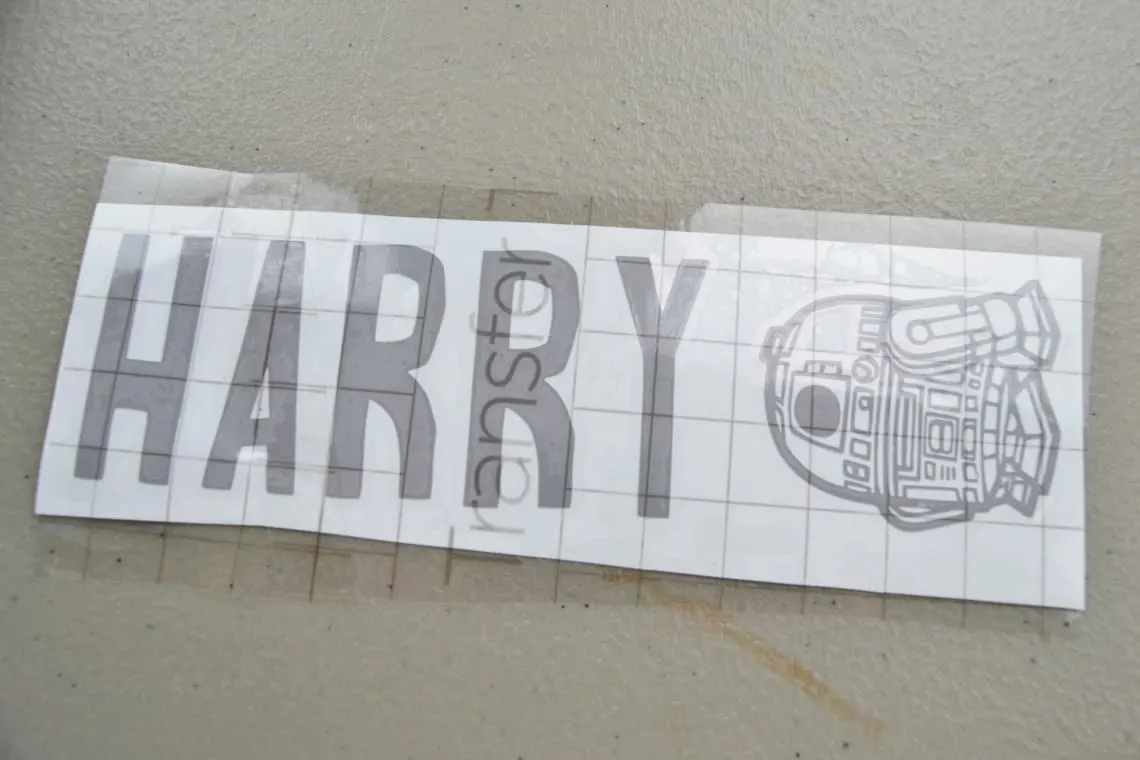
Be sure to smooth it down really well over your design. Then peel the transfer tape off of the paper and the design should now be attached to it.
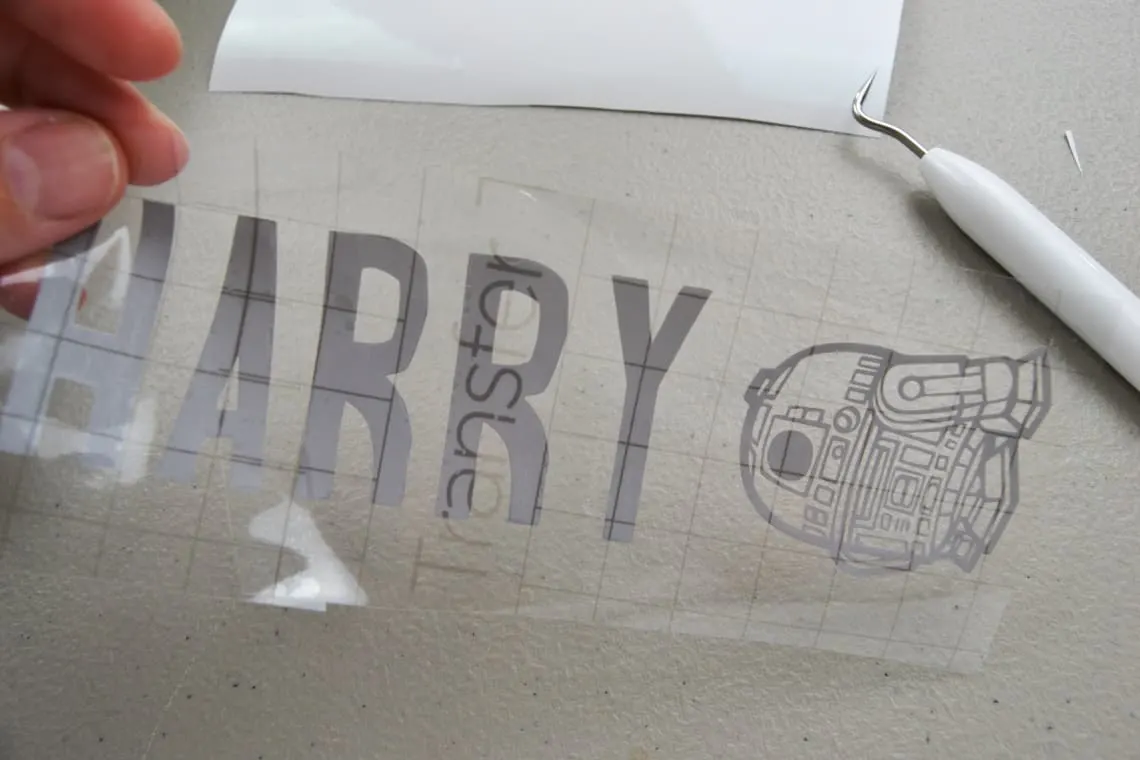
Now use your tape to press it onto the water bottle. Smooth the design down and then peel away the transfer tape.
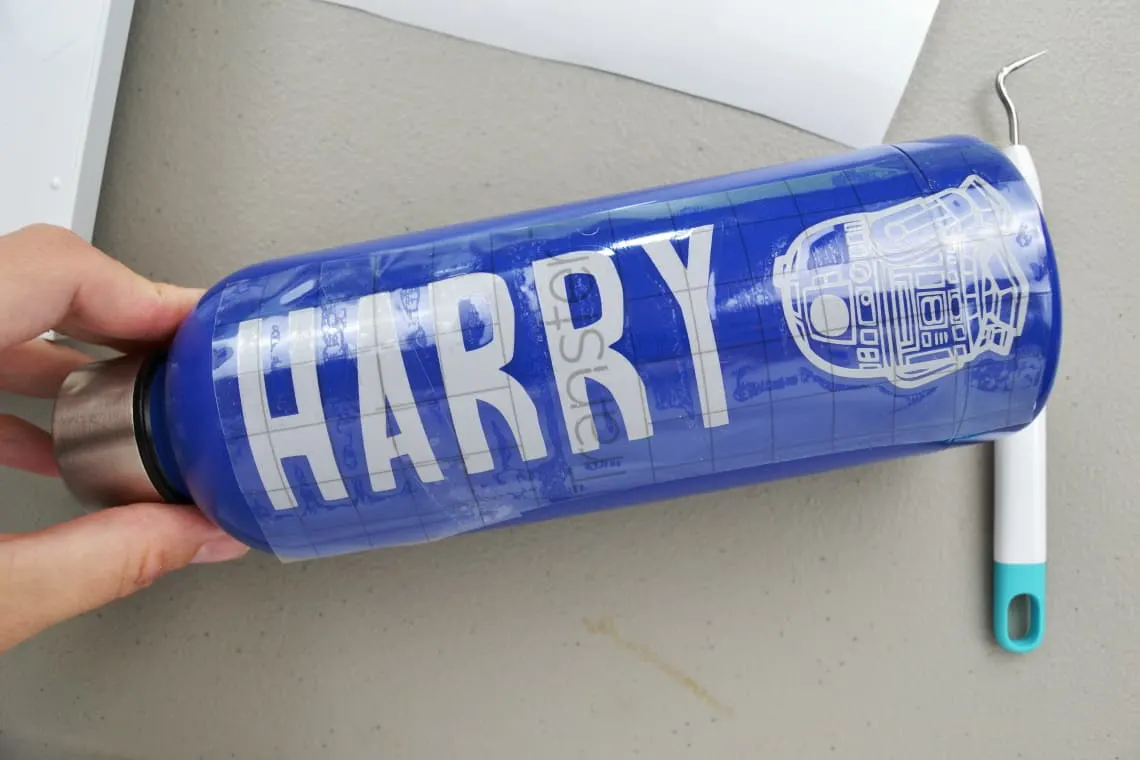
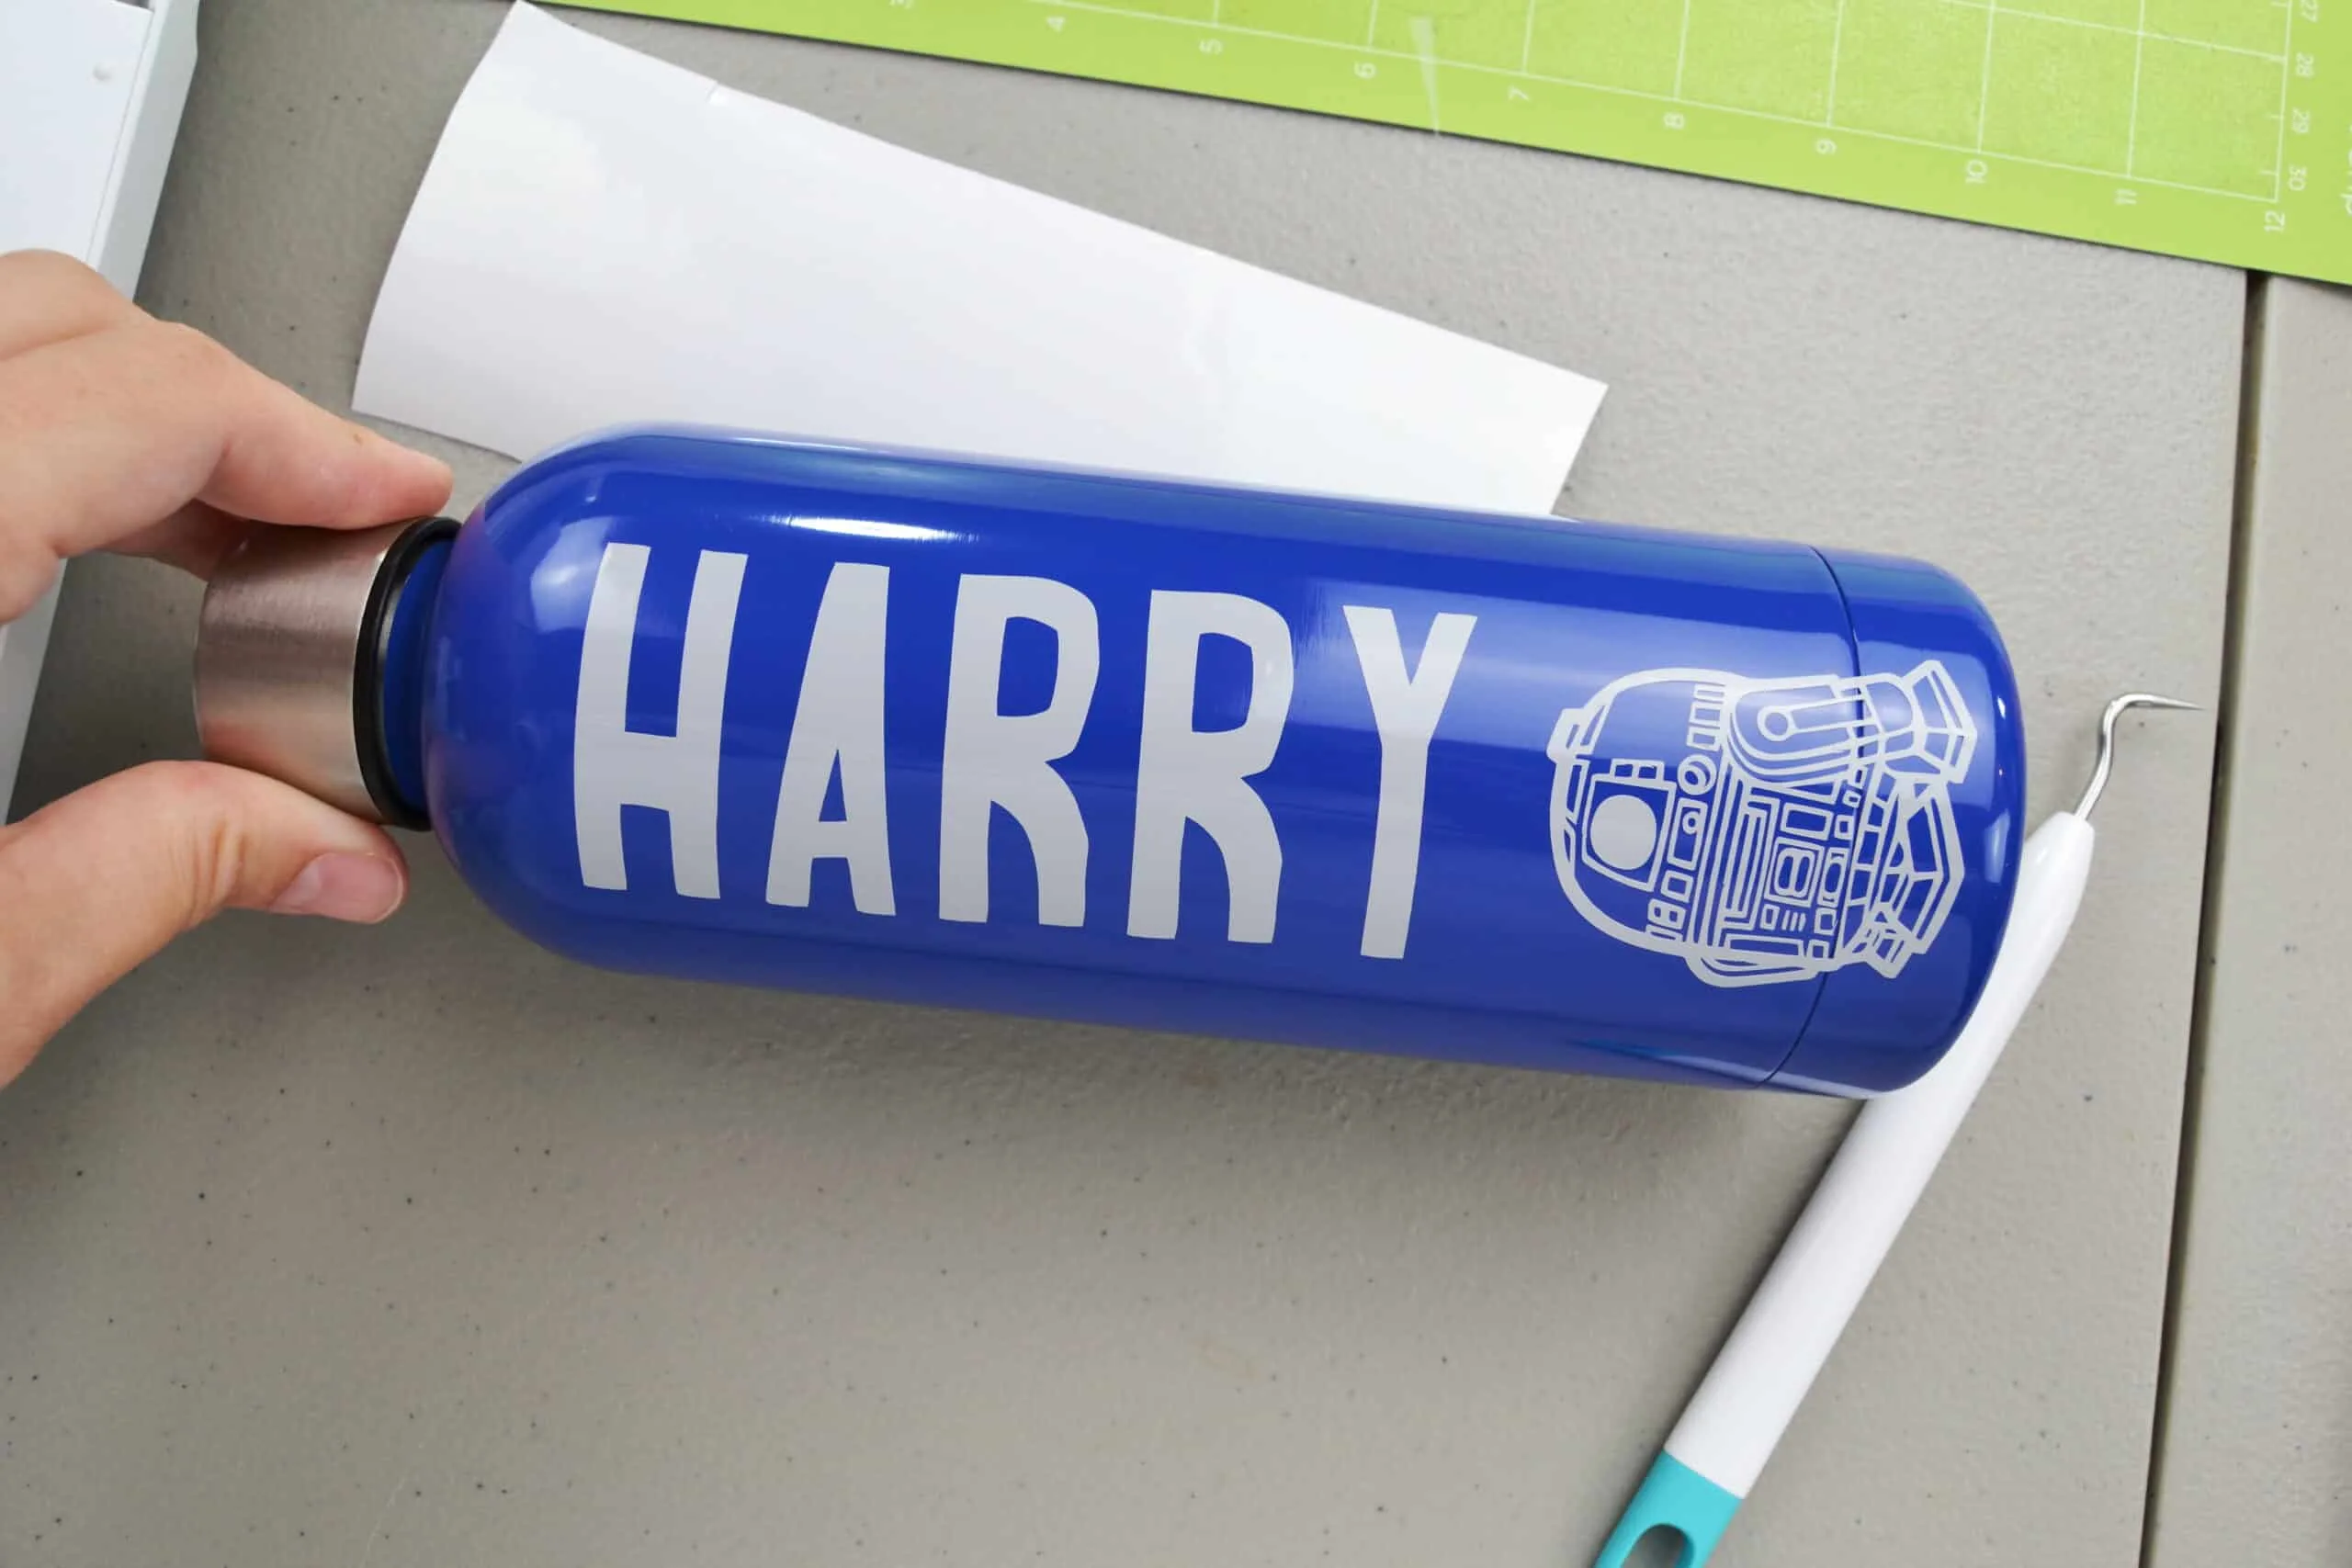
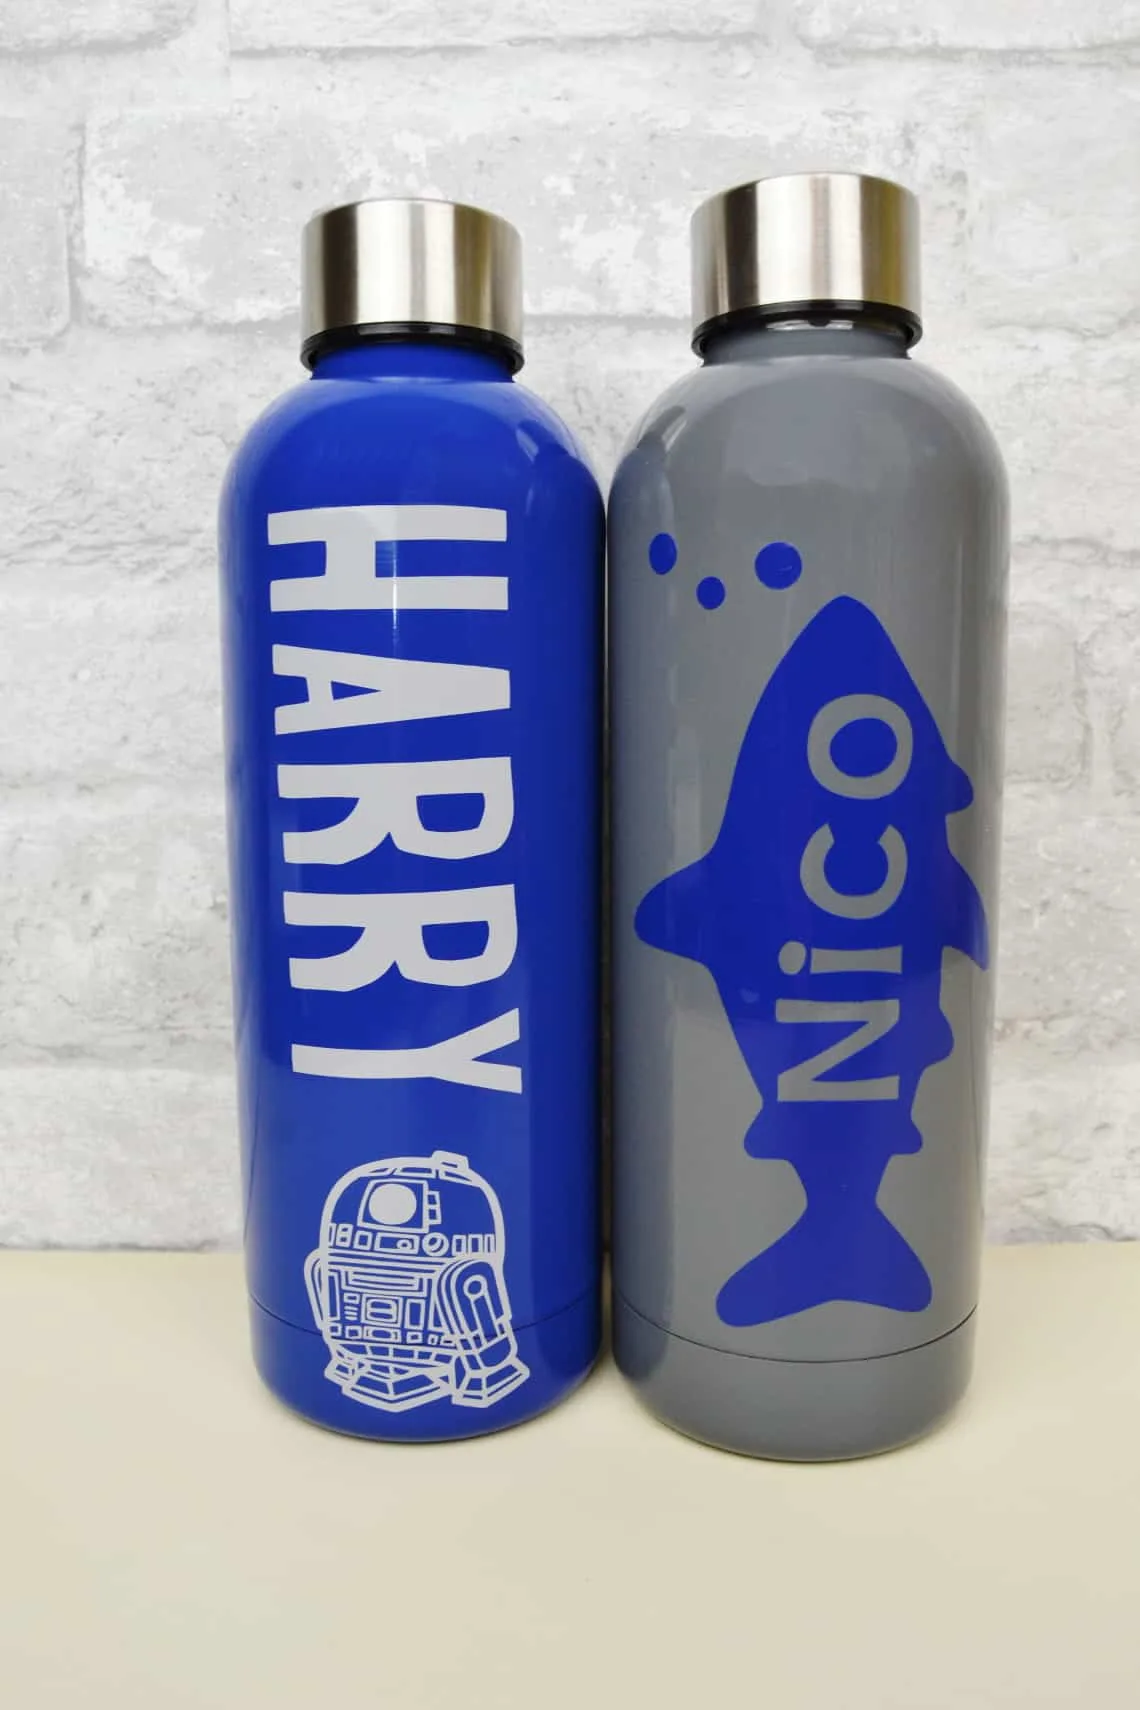
There are a ton of options for designs that you could do on your child’s water bottle. Grab a cute font and graphic from Design Space and they will love it!
If you want to use my design as a starting point then grab my Harry Design Space file and click “Customize”. Click the “detach” button to separate the text and graphic and you’ll be able to edit the text to your child’s name.
Folders
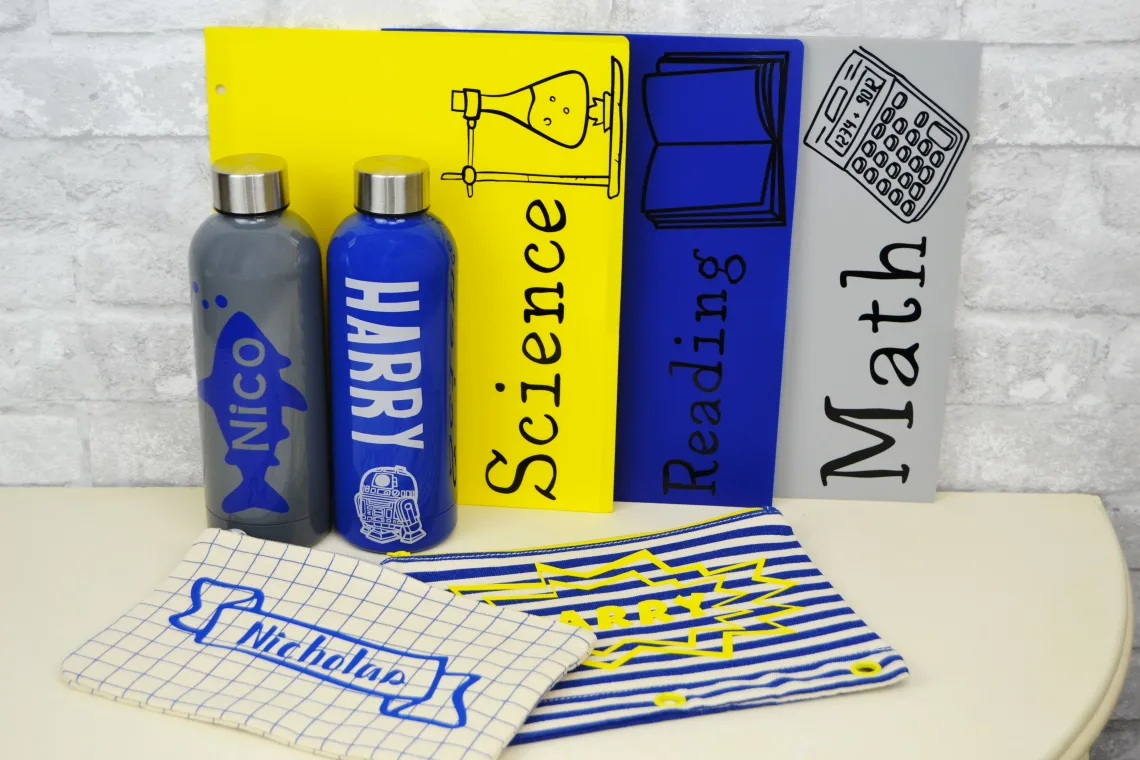
To personalize my sons’ folders I used the same exact supplies and process as I did for the water bottles. You can apply this same idea to personalizing a whole bunch of school supplies like plastic pencil boxes, storage cubbies, and more.
I think the folder personalization is especially helpful for older kids who have a bunch of different subjects to organize.
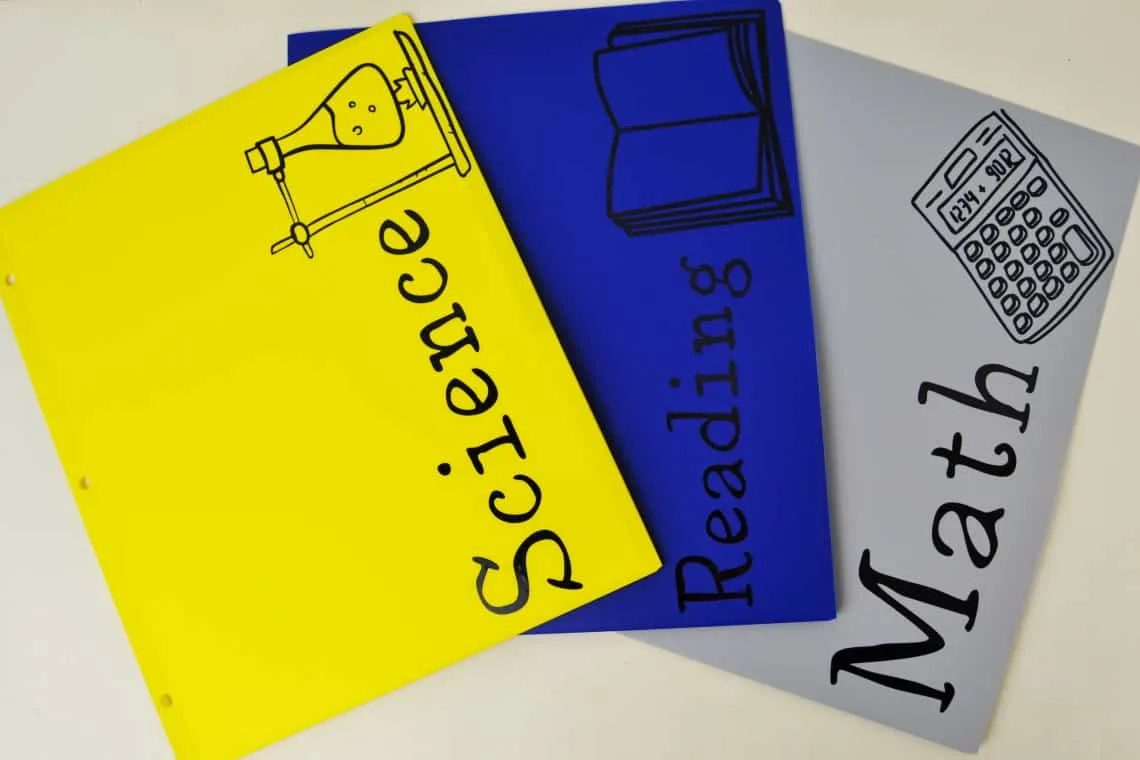
If you’d like a jumping off point for personalizing folders then you can grab my school subject file here and click “customize”. Then click “detach” so that you can edit the text and change out the graphics if you want.
Pencil Pouches
You can use the same process as the water bottles above if your kiddo has a plastic pencil box but if they have a fabric pencil pouch you’re going to want to follow this tutorial that I used below.
Supplies
- Cricut Maker
- Iron-on Vinyl
- Weeding Tool (comes in the basic tool set)
- Scraper Tool (comes in the basic tool set)
- Cricut Easy Press 2
- Cricut Easy Press 2 Mat
Tutorial
Start by picking a fun graphic in Design Space. You can change the size on the tool bar so that it will fit the size of the pencil pouch you’re personalizing.
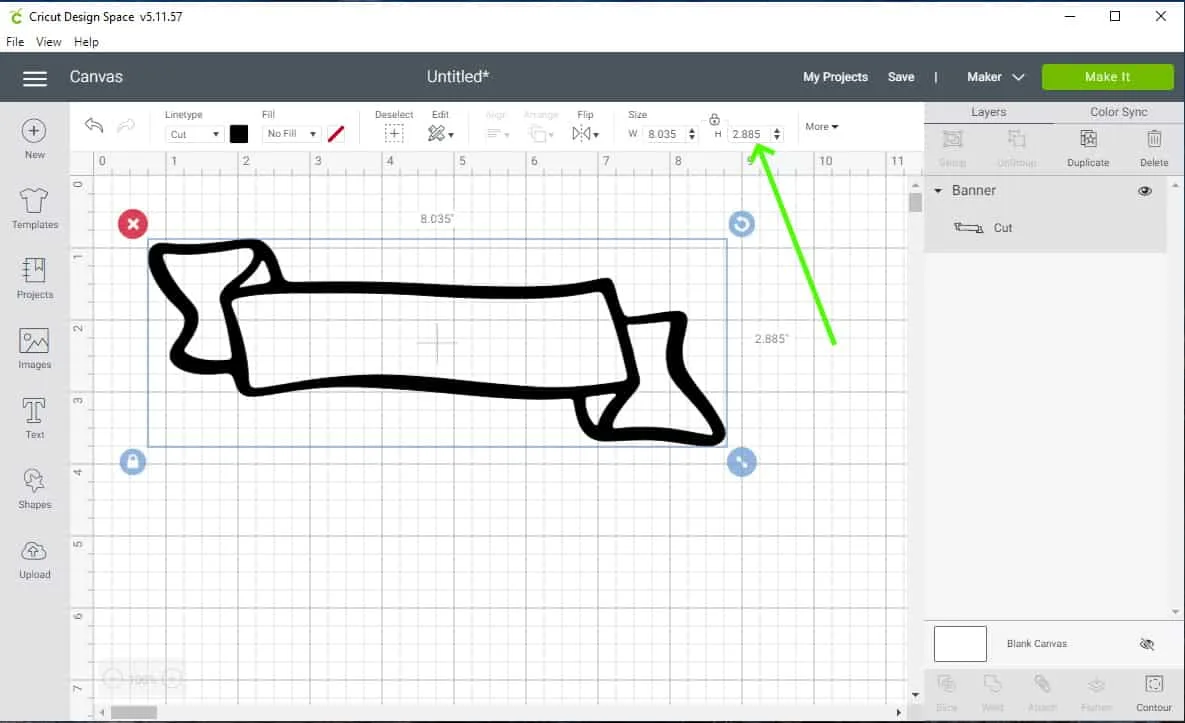
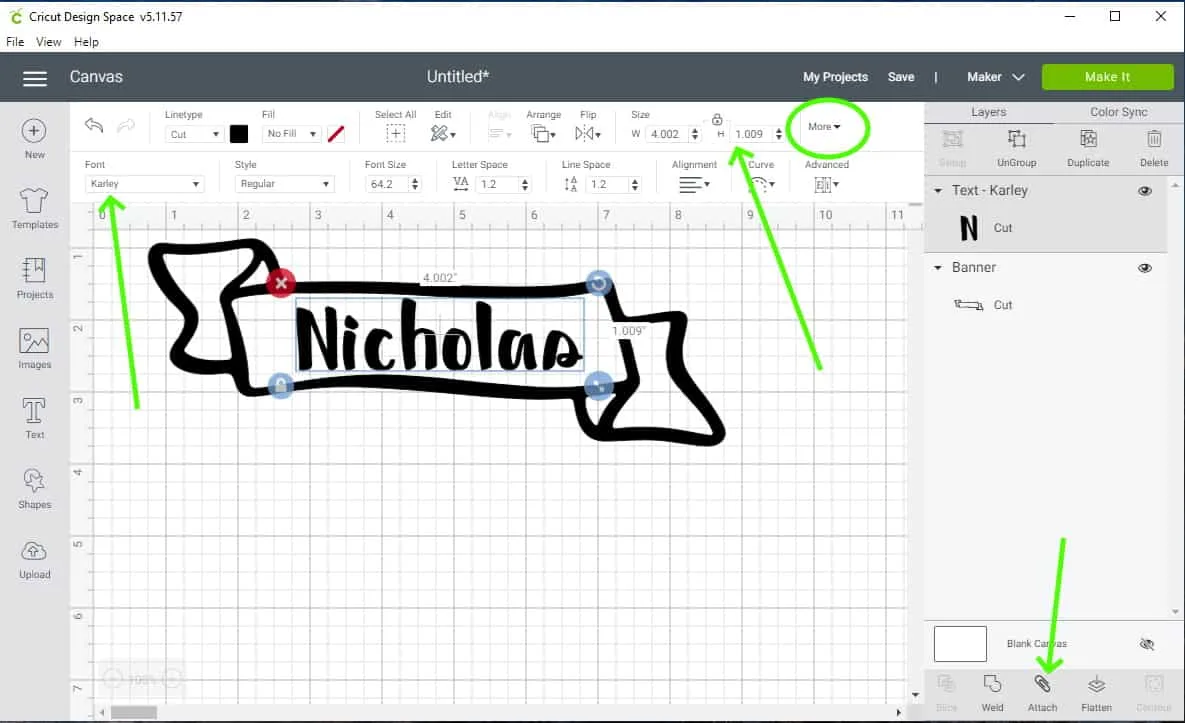
Next type your kiddo’s name. You can change the font and size of your text in the tool bar. Once you have them arranged how you want them you will click the button to attach them.
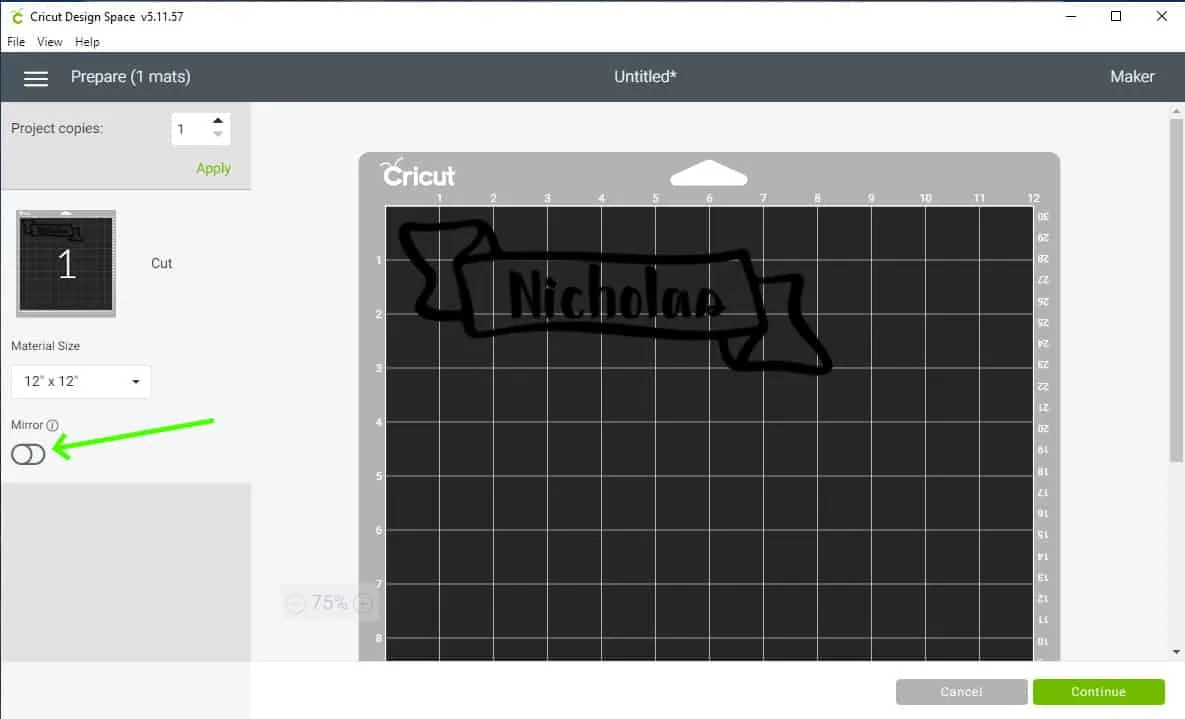
Click the “Make it” button. You’ll then see a preview of where the Maker will cut the vinyl on the mat. If you need to move it for some reason this is the time to do it.
Also, on the left hand side of the screen you need to click “Miror”. This will make the letters be cut out backwards, which is what you want for iron-on vinyl. Then click “continue”.
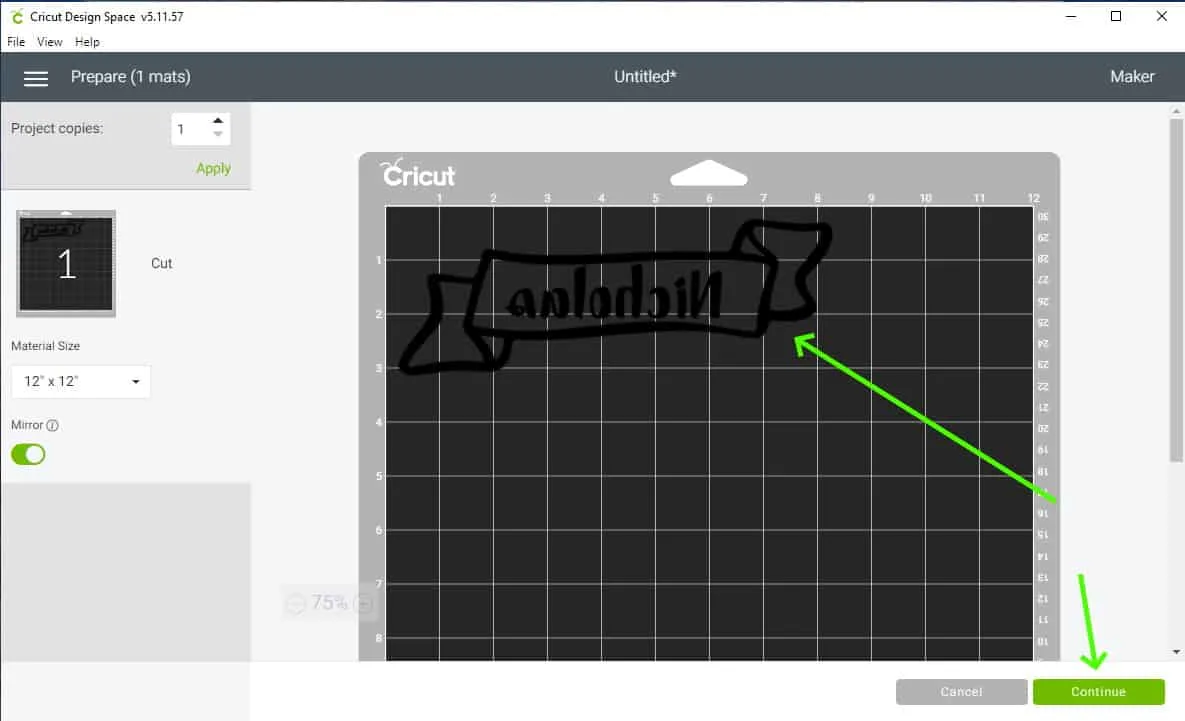
Now Design Space will prompt you to select your material. For the fabric pencil pouches you will be using Every Day Iron-on Vinyl.
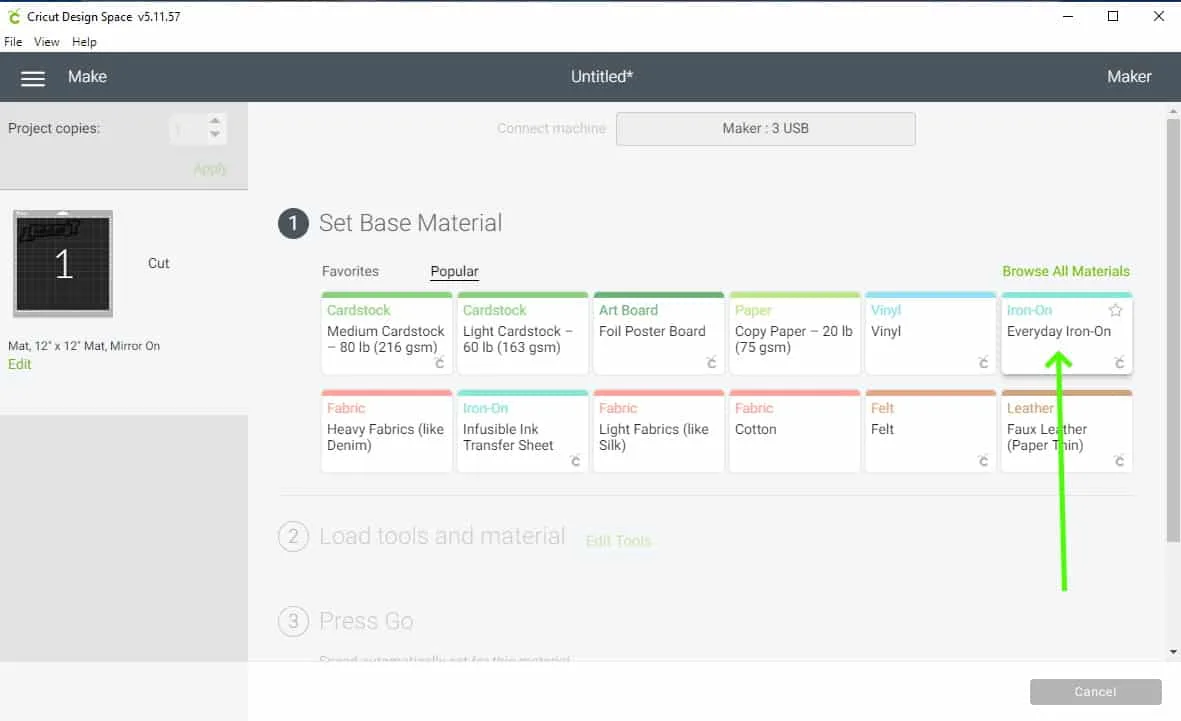
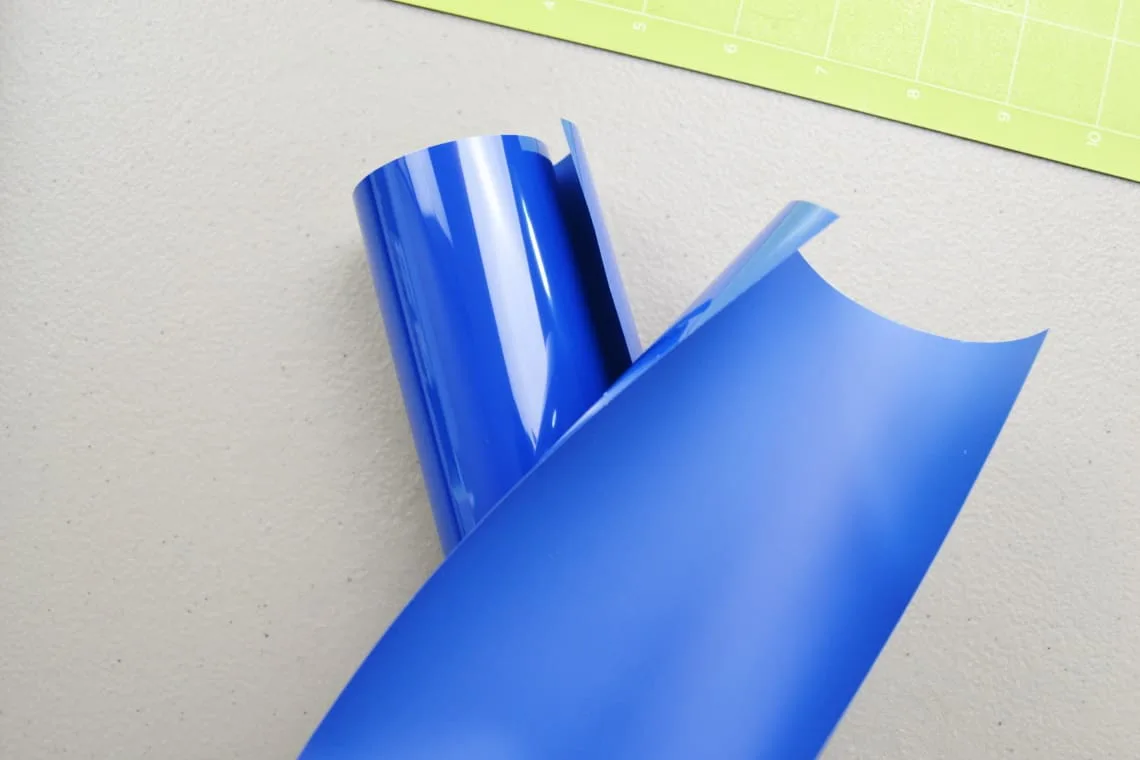
Once you have selected your material then you’ll be prompted to load your blade and then load the mat into the machine. Now you need to be sure to lay your vinyl down on the mat with the shiny/pretty side down.
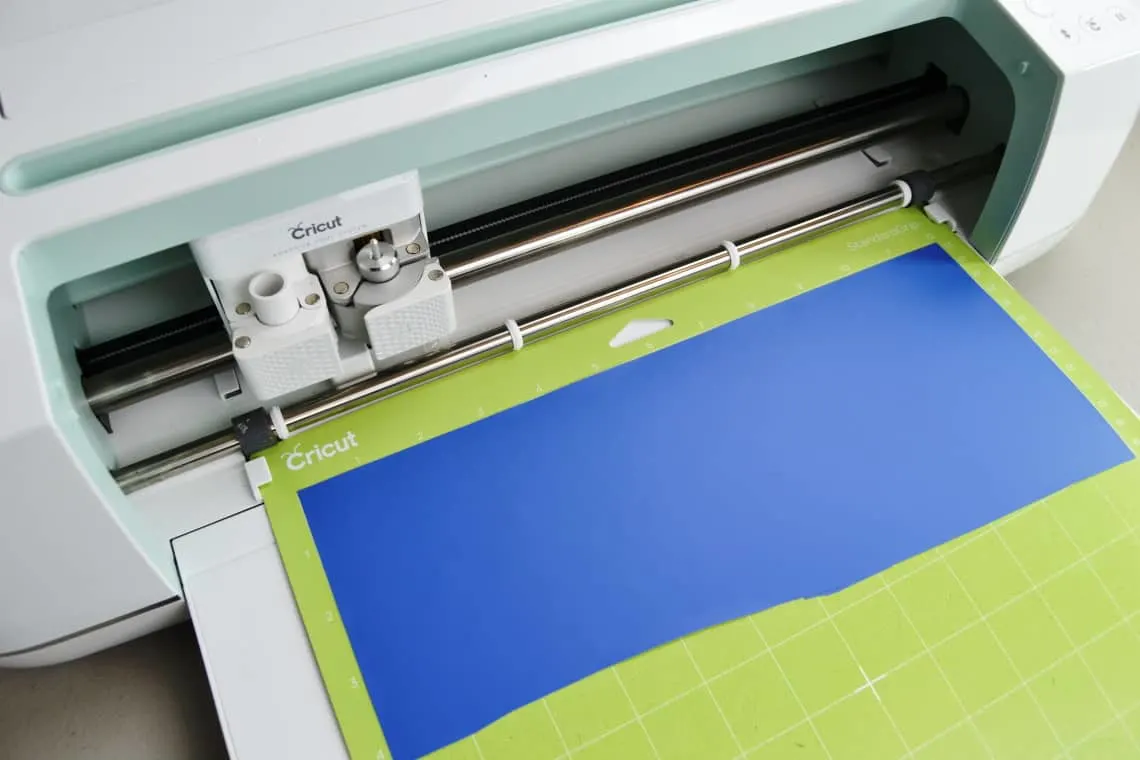
When you’re all ready to go hit the “Go” button on your Cricut Maker.
Weed out (remove) the bits of vinyl that you don’t need.
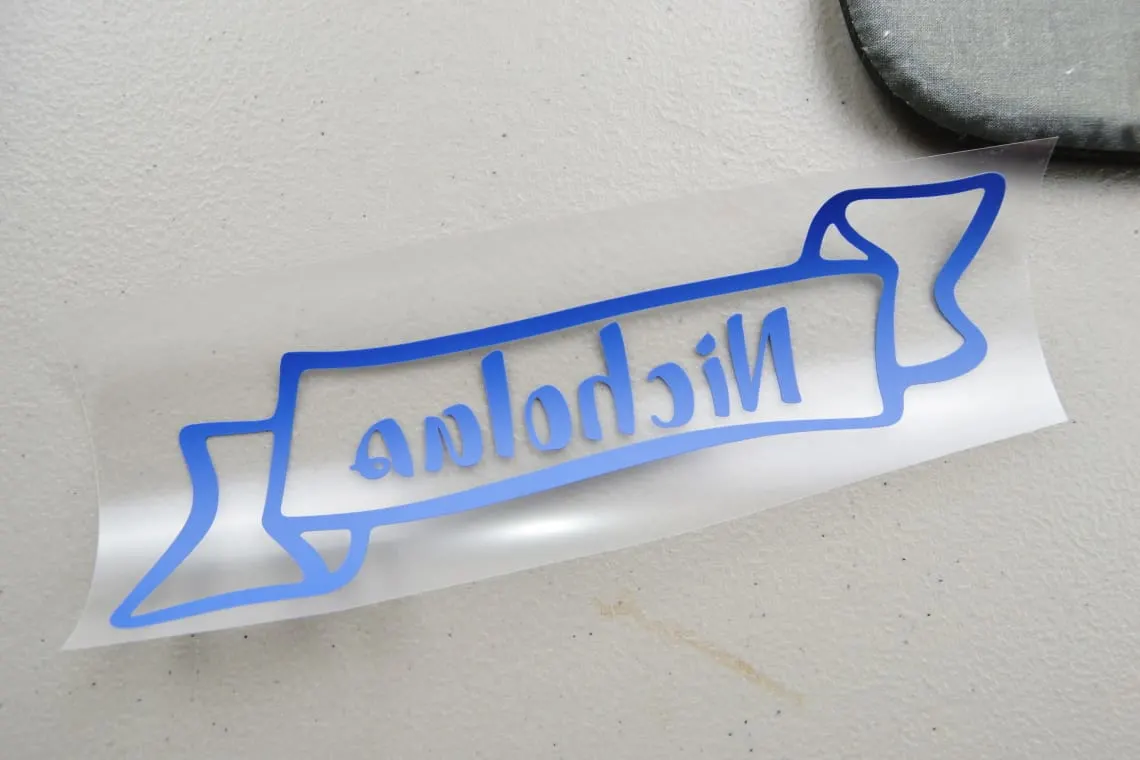
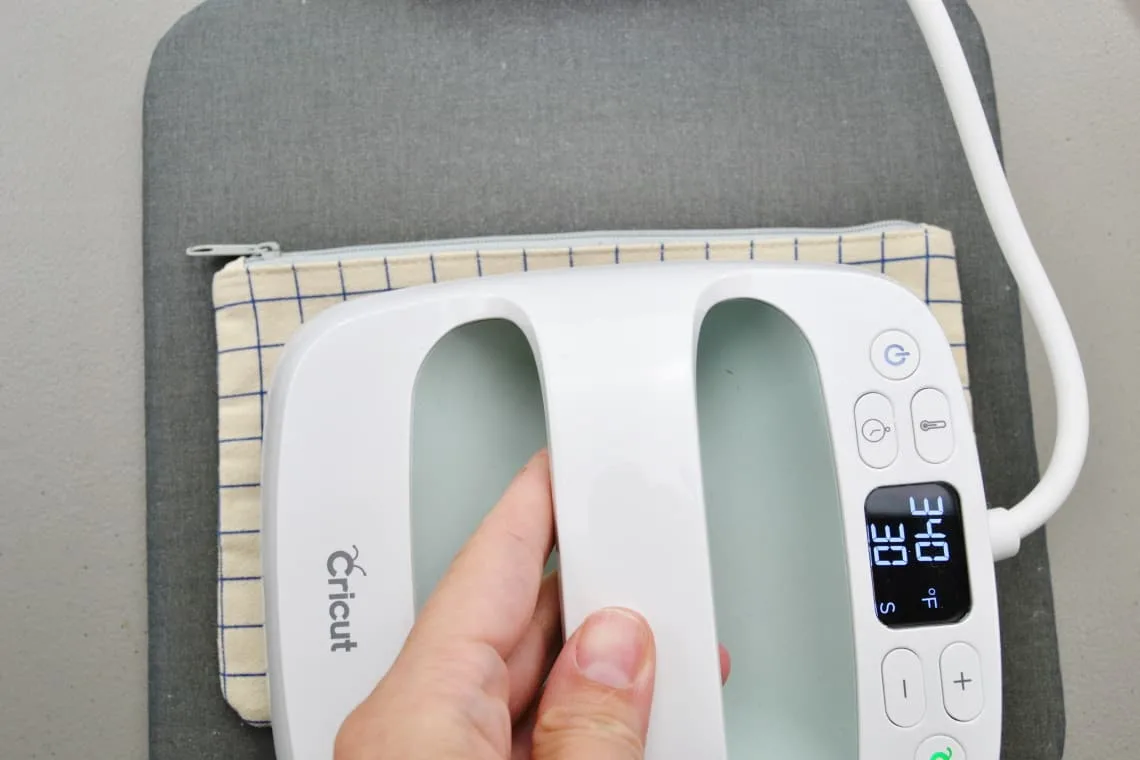
Turn on your Easy Press 2. Check the Cricut Easy Press Heat Transfer Guide to figure out the right temperature and times you need for your project. Enter your heat transfer material and base material to receive full instructions. For this project it recommended a temperature of 340 degrees and 30 seconds for the main pressing.
Follow the instructions and preheat your base material (the pencil pouch) for 5 seconds. To do this I laid my pencil pouch down on top of my Easy Press 2 mat and pressed it.
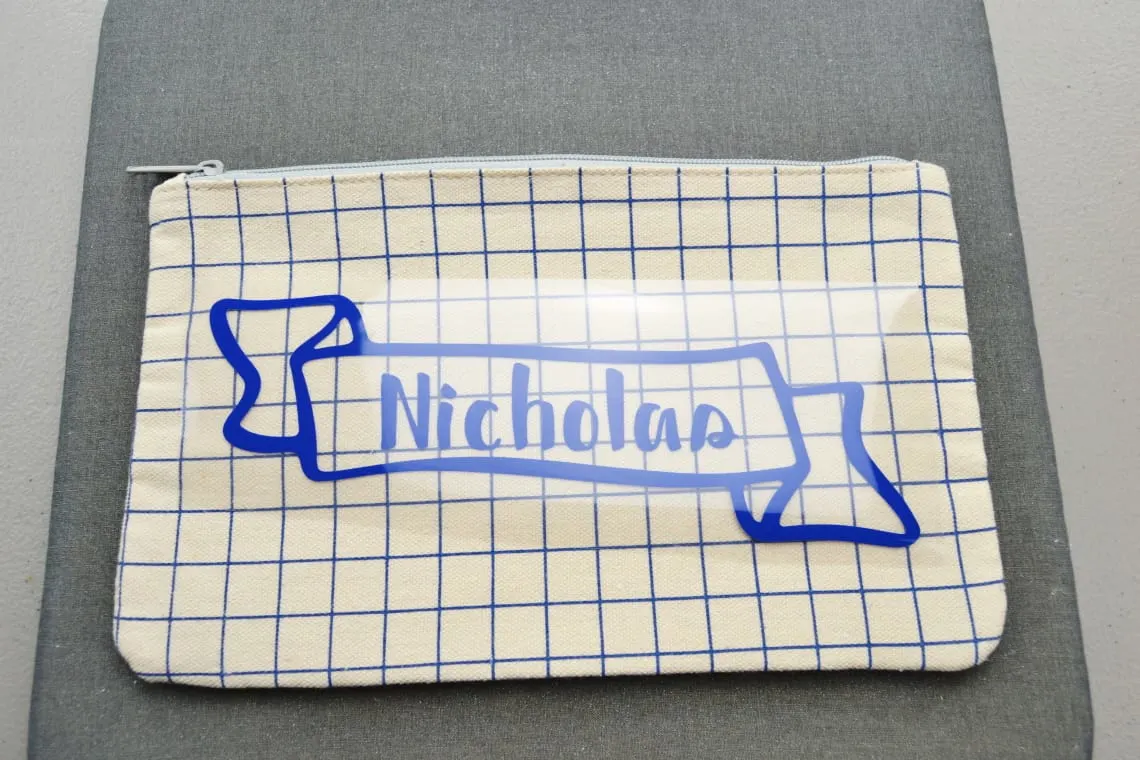
Next place your vinyl design where you want it to be and then press.
Then flip the pencil pouch over and press 15 seconds on that side. Once the vinyl cools peel the clear backing off of the vinyl.
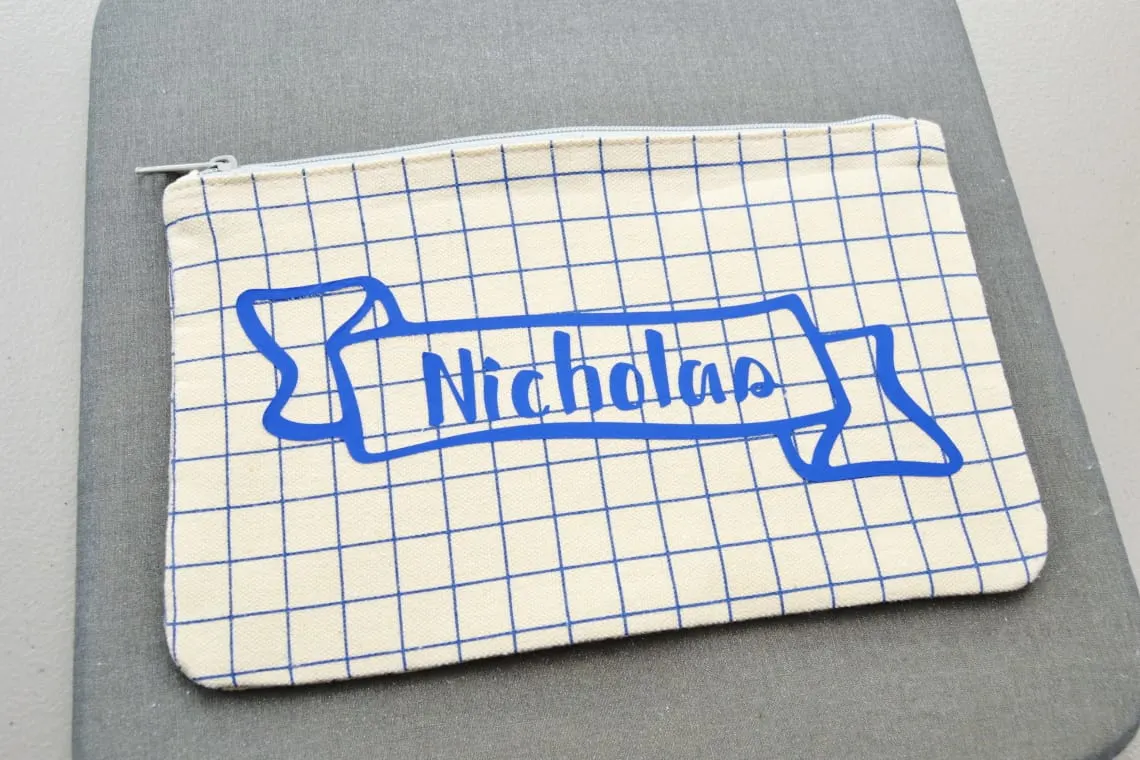
Now you are all done! That seems like a lot of steps but really it’s super quick and easy once you’ve done it.
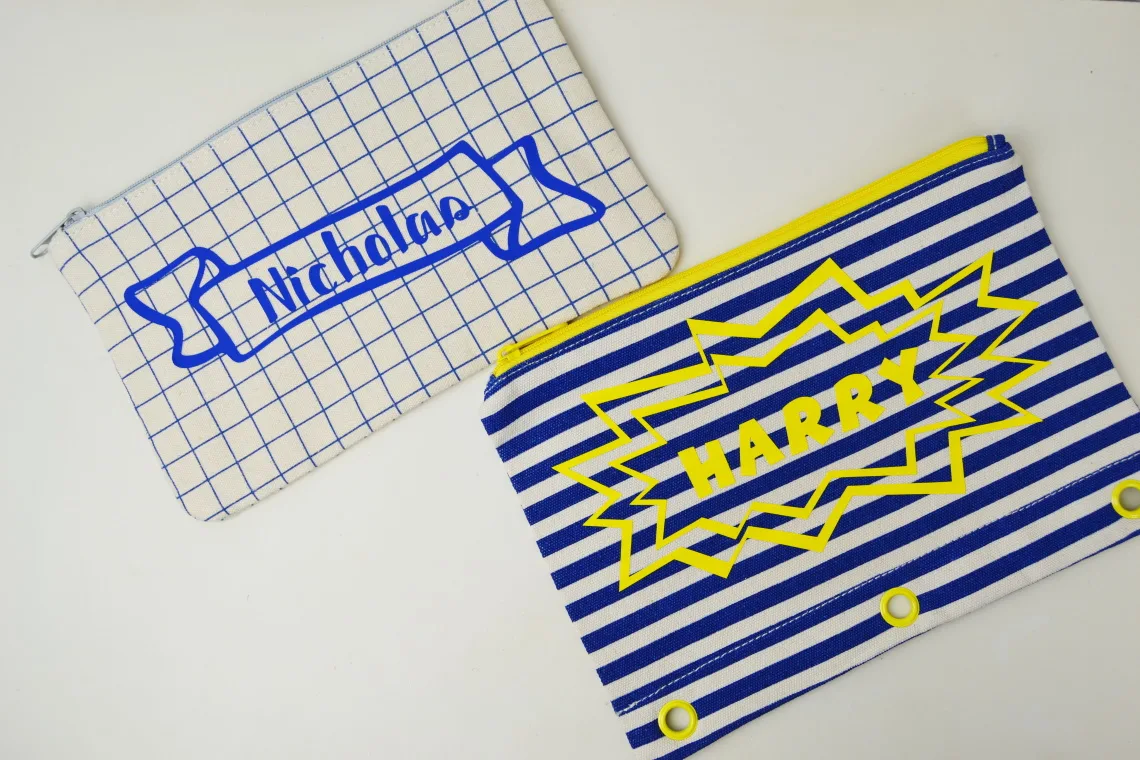
If you want to use my files as a jumping off point you can grab the Harry file here or the Nicholas file here and click “customize”. Then click “detach” and you will be able to edit the text to your child’s name.
You can use Everyday Iron-on Vinyl to personalize backpacks, gym bags, and all sorts of other fabric items to make back to school a little more fun.
There are so many ways to use the Cricut Maker to easily add fun, personal touches to everything your kids need for back to school this year. There are a ton of fun graphics and vinyl patterns.
My one son loves Star Wars and he was so excited that I was able to add fun Star Wars touches to all of his stuff.
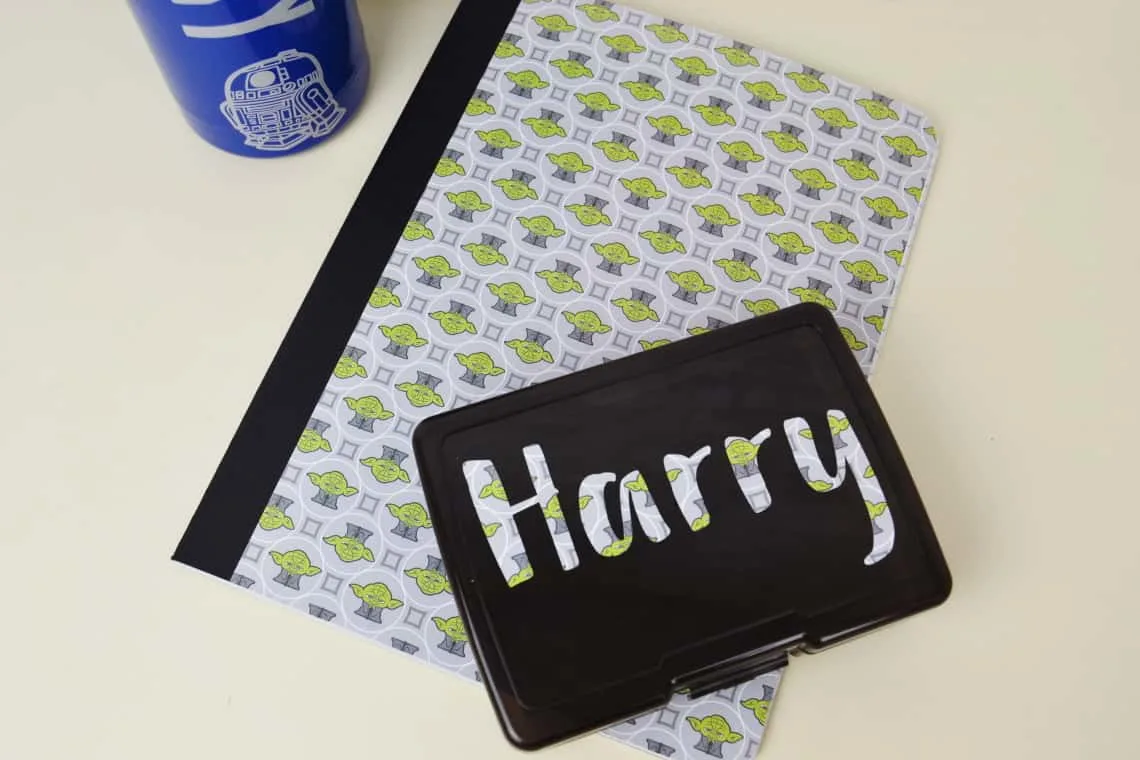
The Cricut Maker is so versatile that it enables me to easily create so many fun things for my kids. I love that I can make them almost anything with the amazing tools from Cricut.
What fun projects are you creating for back to school?
