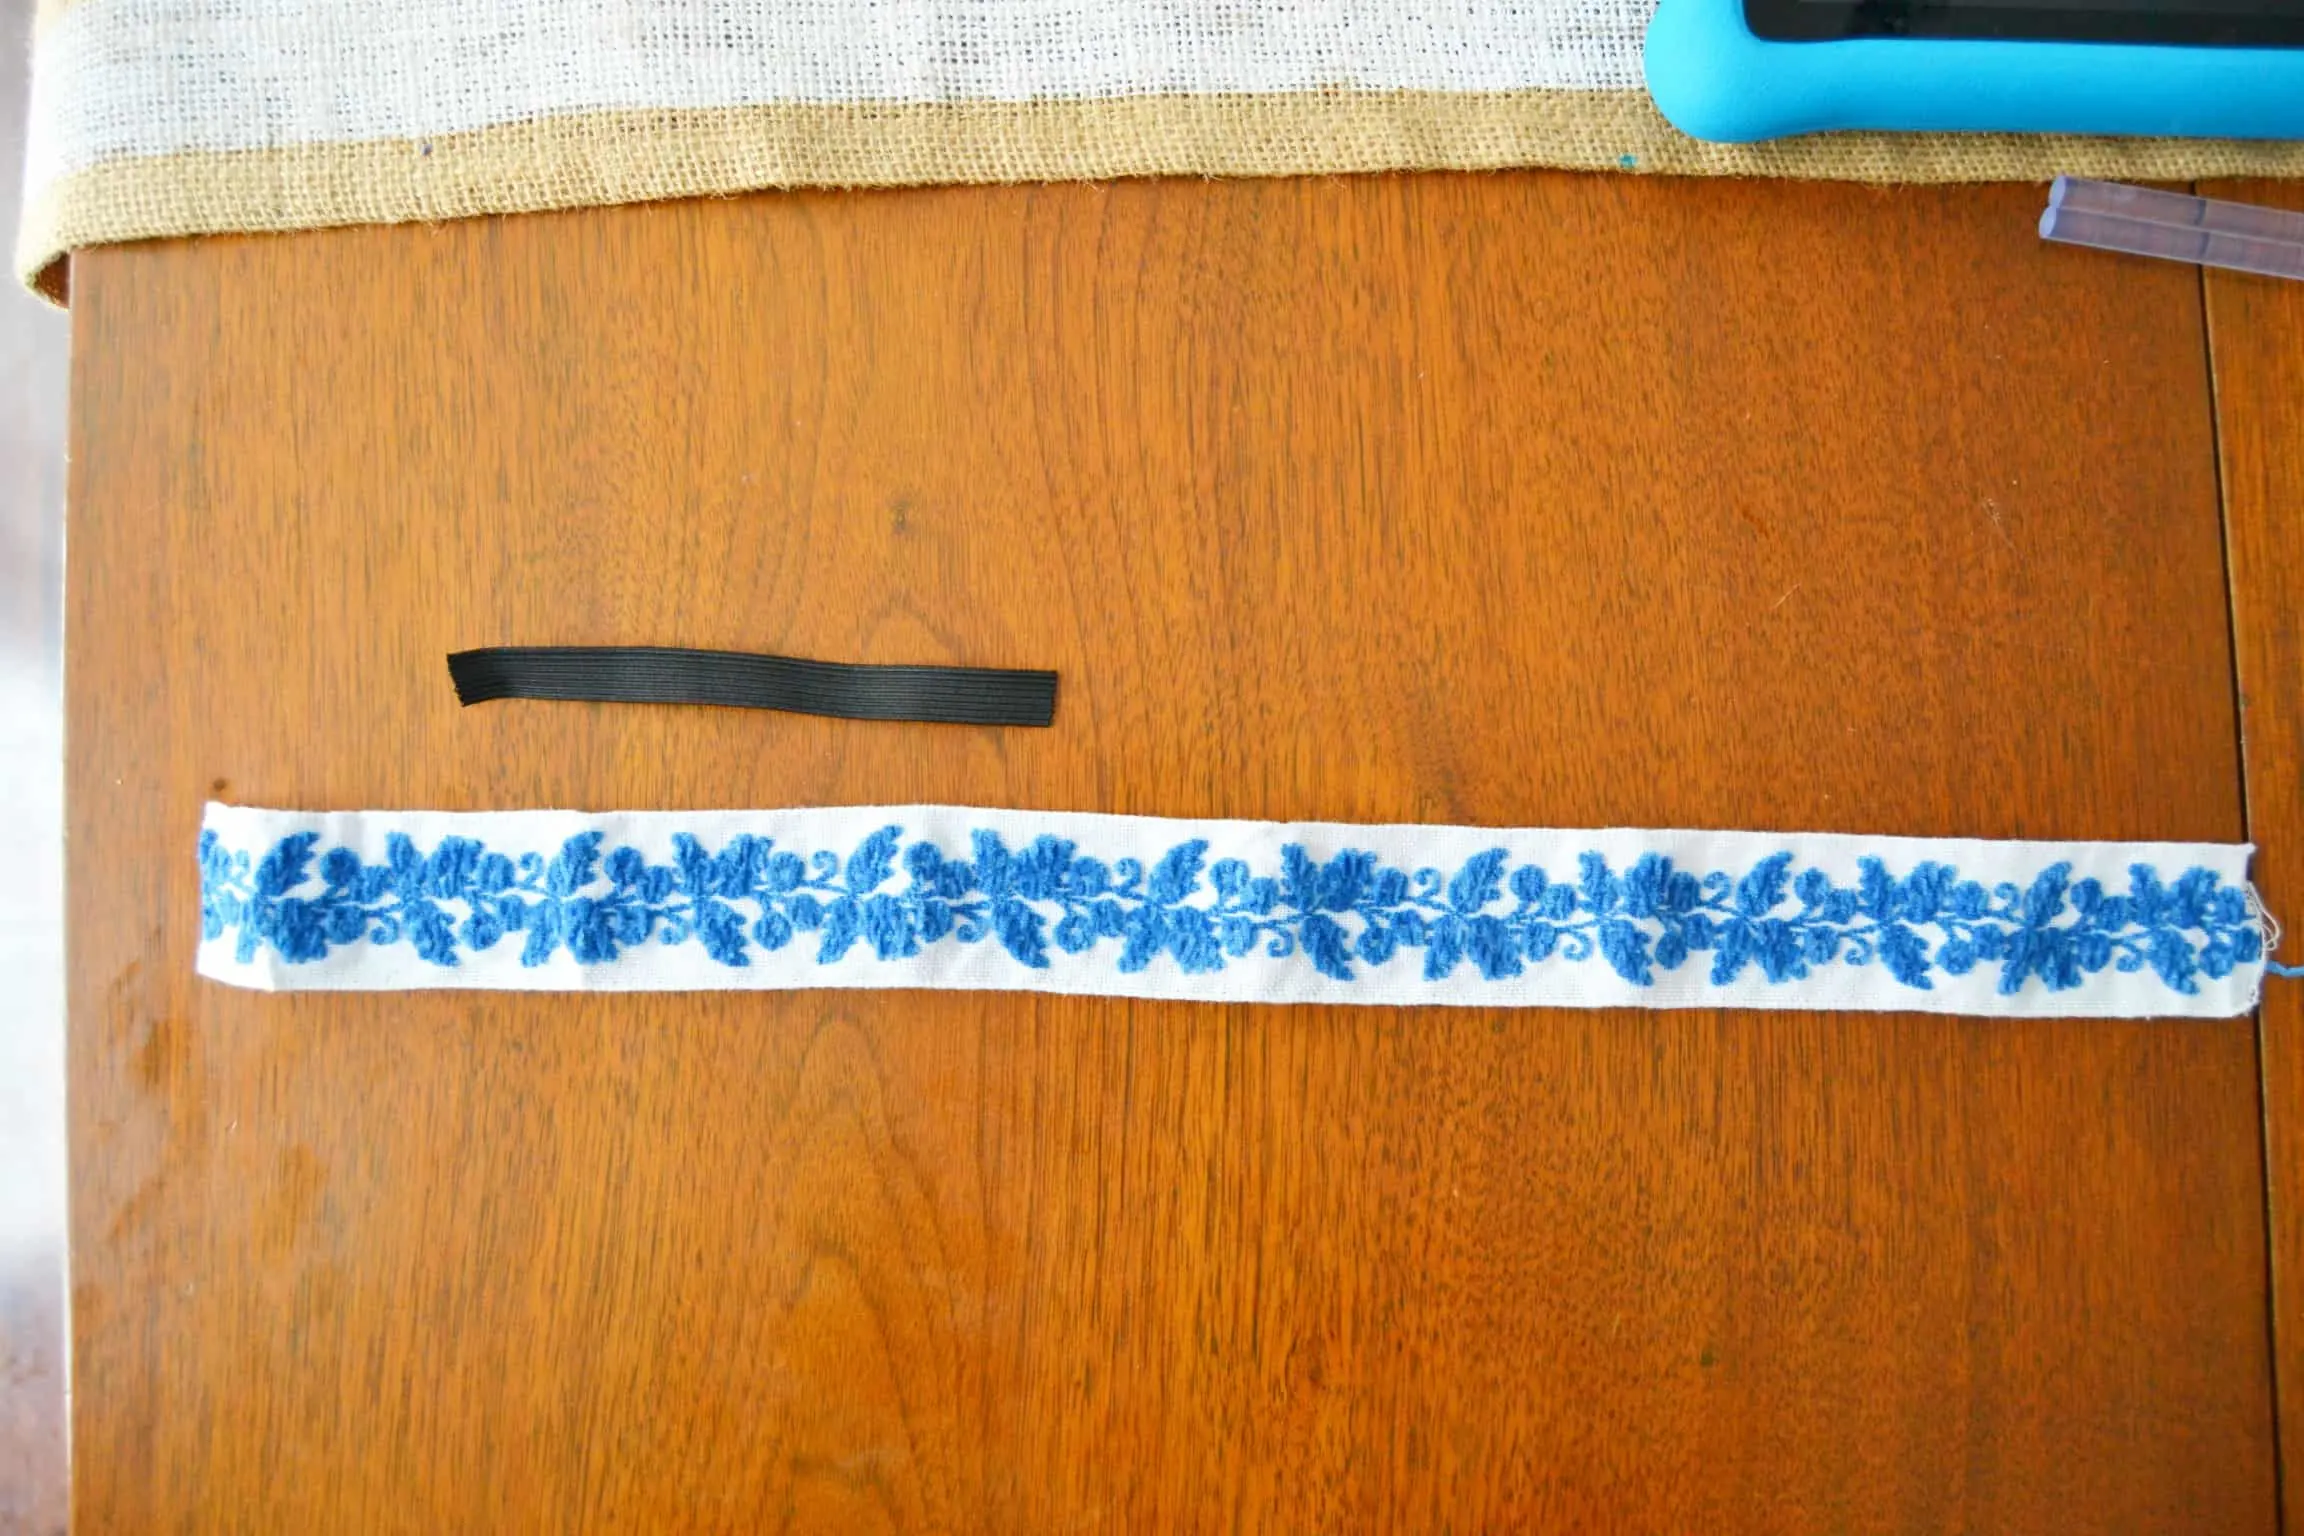
I almost called this “My Big Fat Greek Headband”. I saw this pretty trim in the fabric store and the colors just make me think of Greece. It’s currently snowing and in the 20s here so dreaming of the Mediterranean and other warm places gets me through the day. But back to the headband. Today I’m sharing this DIY Headbands No Sew Tutorial that is so so easy you’ve got to try it.

DIY Headbands: No Sew Tutorial Supplies Needed
- 18 inches of ribbon or trim (I used trim I found in the home decor department, but ribbon works well too)
- 5 inches of elastic
- hot glue gun & hot glue
DIY Headbands: No Sew Tutorial Steps
Step 1: Cut your trim or ribbon and elastic pieces to the correct lengths. Depending on your head size or how tight you like your headbands to be you might want to adjust the lengths. The lengths given are for an adult size, so if you are making this for a child you might need to size it down.

Step 2: Fold over one of the ends of the trim about 1/2 and inch toward the back side (the side you don’t want to see). Put some glue across the area right next to your fold and fold over again so that your fold is glued down.


Step 3: Repeat step 2 for the other side of the trim.
Step 4: Glue the end of the elastic on top of the folded area so that the end of the elastic lines up with the end of your folded area. You want 1/2 inch of it to overlap.


Step 5: Repeat step 4 for the other side.
Step 6: To make things a little more secure we are going to add a piece of elastic on top of the elastic that we glued down, but running perpendicular, so that it is going across the width of the trim.

Step 7: Repeat step 6 for the other side.


And now you’re done! Next time you’re in the craft or fabric store take a look around at the ribbons and trims. I’m sure you’ll find something that would make a beautiful headband. I love this project because it’s super simple, quick, and really inexpensive to make. I had elastic leftover from other projects. My trim was $3.99 but I had a coupon so it was only $1.99. I used half of the trim that came on the spool so I still have some leftover to make something else.
Want more headbands? Check out my other headband posts.


Baa
Monday 13th of March 2017
Easy peasy! Love this I've narrowed ribbon that would be perfect for this. Thank you
Cat
Monday 13th of March 2017
You're welcome!