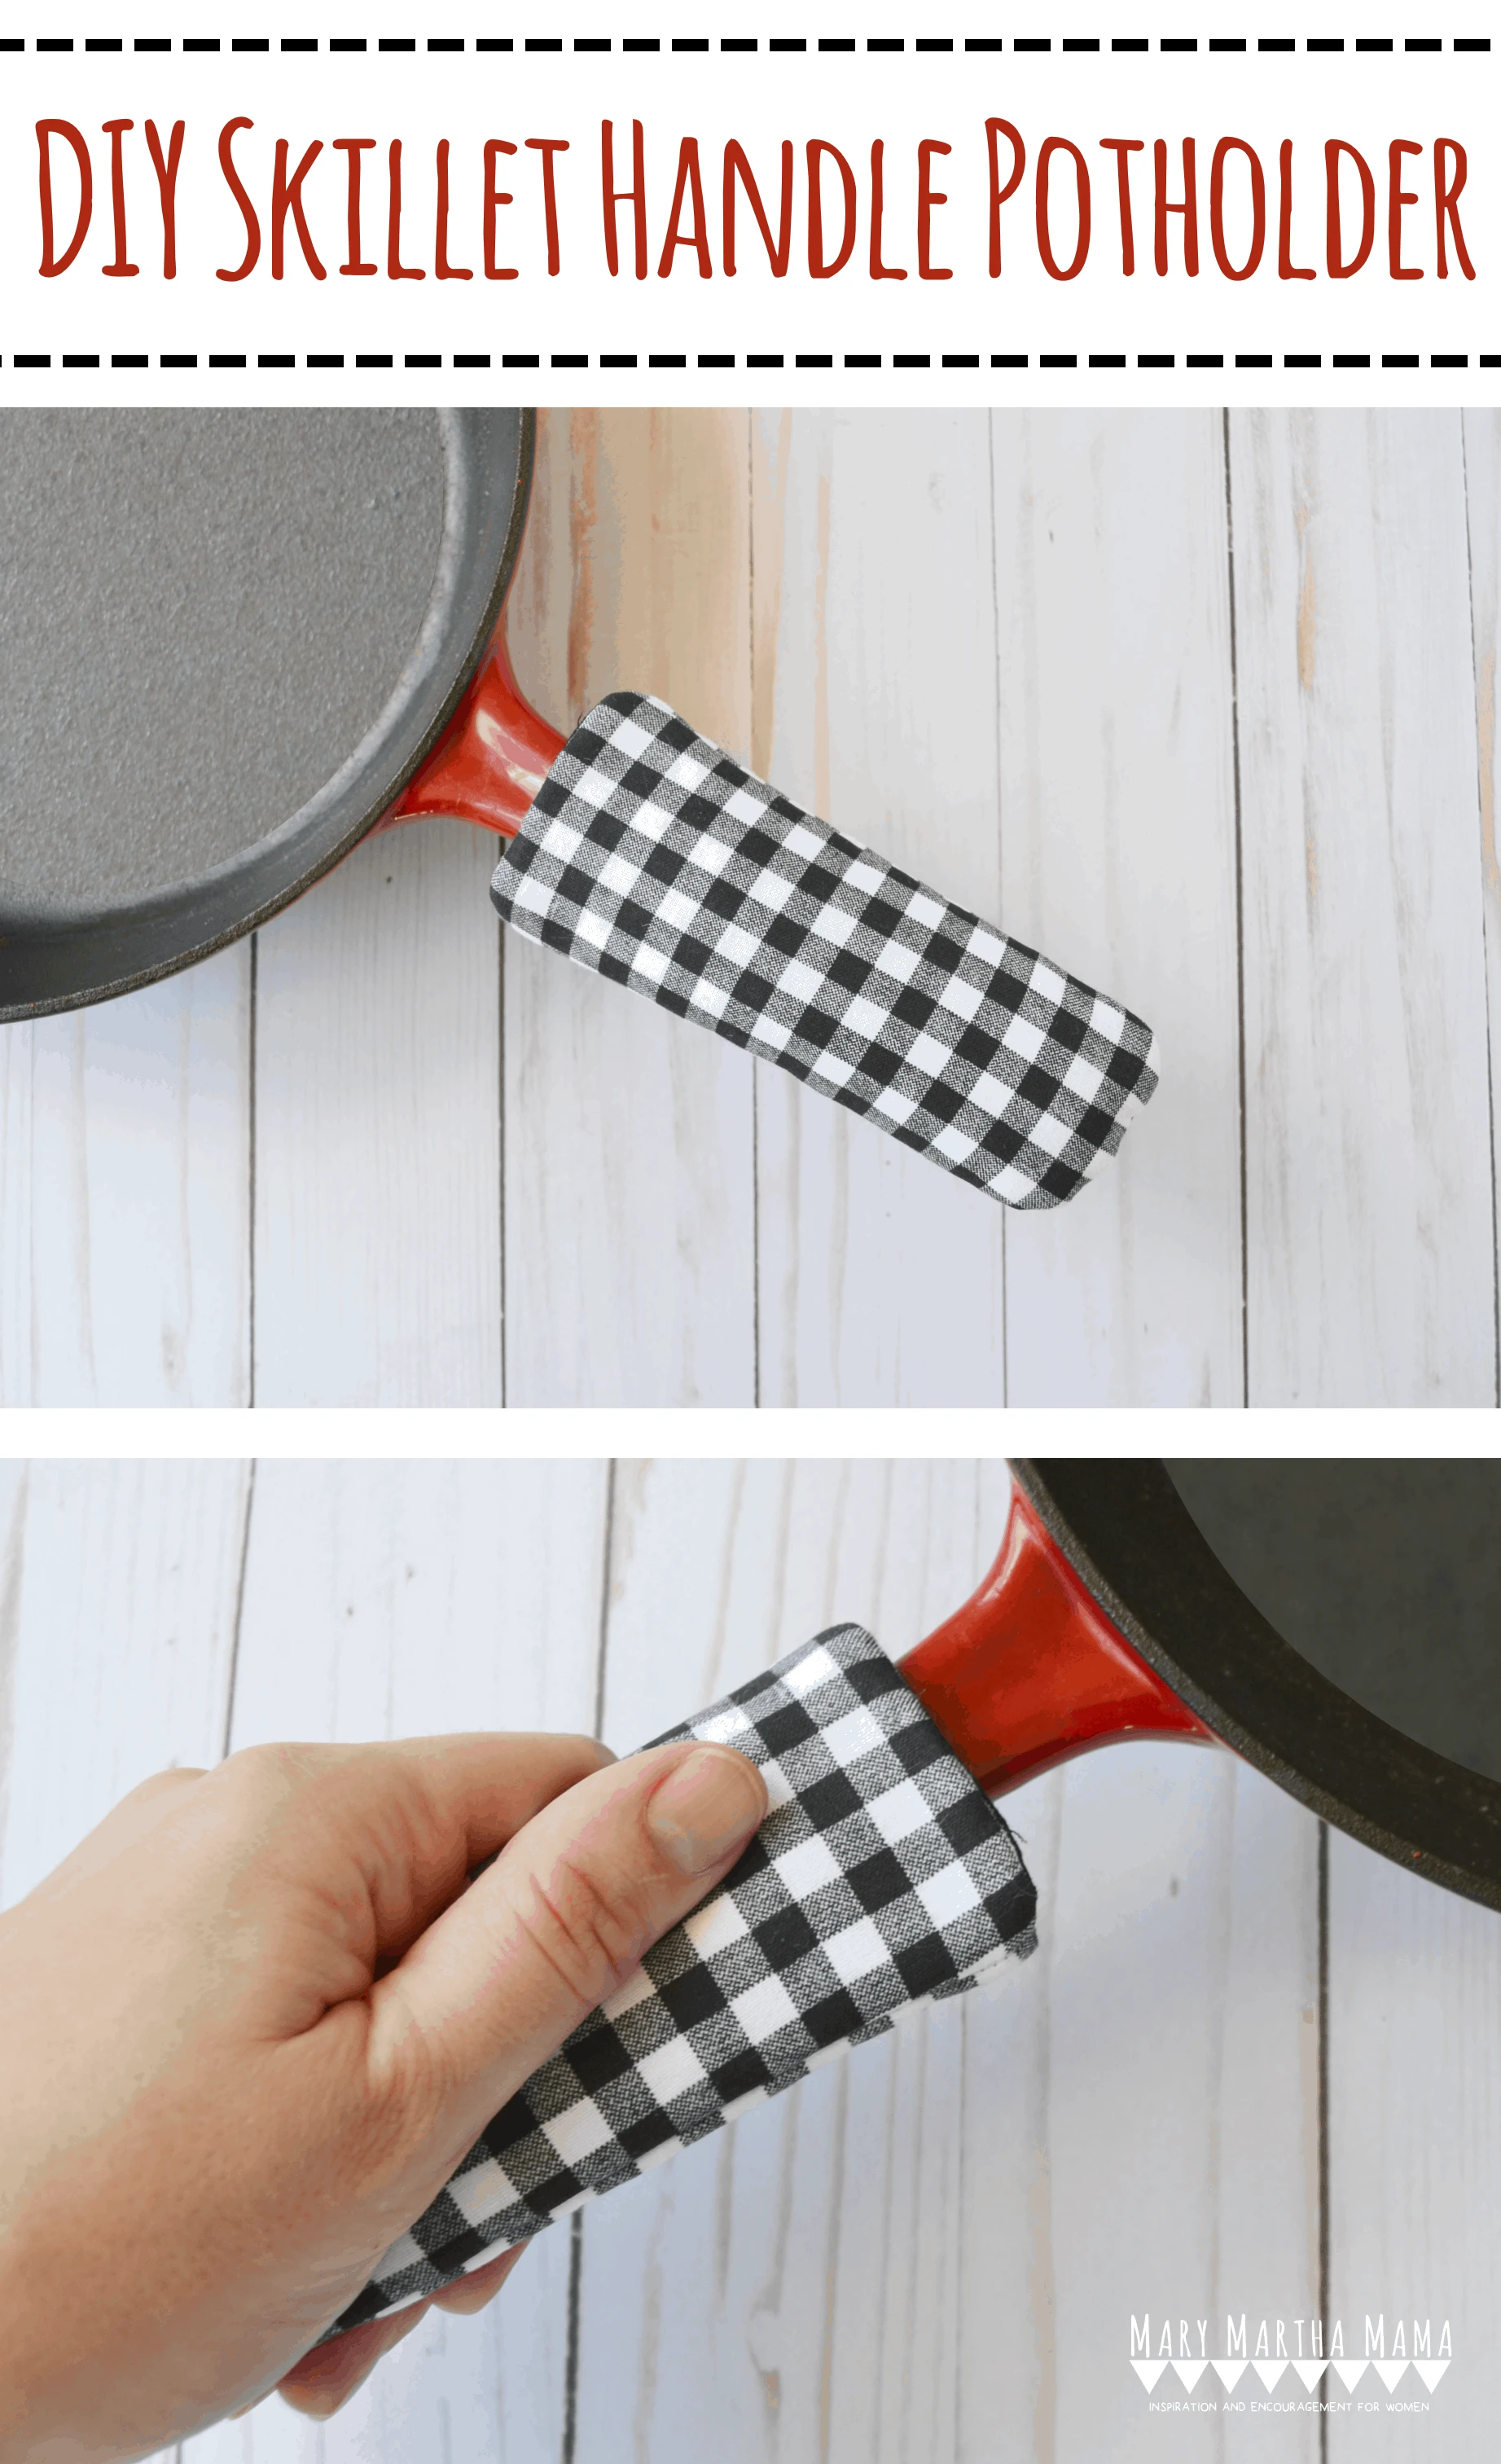
Last Christmas my parents got me a skillet and I was so excited to try all the yummy skillet recipes I’ve seen on Pinterest. Well, while trying one of those yummy recipes (it was steak) I grabbed the handle of my skillet and burnt myself. I had preheated the skillet in the oven then went to move it while searing the steak without thinking about the fact that it was a preheated skillet and not my non-preheated pans I’m usually working with on the stove. It hurt. Then and there I vowed to make a cast iron skillet handle cover and today I’m sharing with you how to make your own

Here’s what you will need to make a Cast Iron Skillet Handle Cover:
- paper & pen for tracing your skillet handle’s shape
- a small amount of fabric for outside of skillet handle potholder
- a small amount of fabric for lining of skillet handle potholder
- insulated batting (Insulbright) for the inside of the skillet handle potholder
Step 1: Trace around the outside of the handle of your skillet onto a piece of paper. Then add about 3/4 inch all around. Cut this shape out and use it as your pattern.
Step 2: Wash, dry, and iron your cotton fabric that you’re using for the outside fabric and the lining. Then us the pattern that you made to cut out your fabric.
Lay it on top of your fabrics and cut out 2 from the outside fabric, 2 from the lining fabric, and 2 from the insulated batting.

Step 3: You’re going to make a stack of fabric. First put down one of your pieces of insulated batting. Then lay a piece of your outside fabric on top, with the right side facing up.
Next add your other piece of outside fabric, with the right side down. Then finish with your second piece of lining.


 Step 4: Pin the stack together and then sew around the curved edge, sewing 1/4 inch from the edge, like in the picture above.
Step 5: Place your two pieces of lining fabric with the right sides together. Pin and sew them together line you did with your first stack, BUT this time leave an opening on one of the sides of the lining of about 2 inches or so.


Step 6: Turn your stack with the outside fabric and insulation right side out. I find using a pen or pencil helps to push everything down on the inside.

Step 7: Put the outside part of the skillet handle potholder inside the lining. Push it down so that the tops of both line up. Pin and sew around the top of the opening.


Step 8: Now use the hole that you left in the side of the lining. Pull the outside part of the skillet handle potholder out through this hole. Then sew the hole in the lining shut.


Step 9: Stuff the lining back inside the skillet handle potholder and you’re done.


I think that these would make a really cute stocking stuffer or be a really fun part of a kitchen-themed gift basket.
So, what are you sewing lately? Let me know in the comments below!
Want more sewing projects? Check out AllFreeSewing.com. They have a ton of great sewing tutorials.


Barb Quinn
Thursday 19th of October 2017
I like this to make for gifts!
Cat
Thursday 19th of October 2017
Yes! I think these make great gifts.
Angela
Tuesday 17th of October 2017
Cute! I have a gas stove and caught my commercially made handle cover on fire! I'm excited for a pattern to make a new one. Note to self...don't leave it on the handle while you're cooking over a gas flame--eek! We've always had electric stoves before and old habits die hard.
Cat
Tuesday 17th of October 2017
Yes! Important safety disclaimer- Be careful with your potholders!