The raw hem trend is very in the past couple of years and it adds a causal edge to denim shorts and pants. I think probably half of my denim jeans and shorts have a raw hem right now. And I love the way the raw hem looks when I bring it home from the store but I don’t want them to keep fraying when I wash them because I don’t want them to get the really long strings hanging off of the ends. And if you’re here, reading this post then you probably agree so I’m going to share my hack for how to keep raw hem jeans from fraying.

What Are Raw Hem Jeans?
Most of the hems in your clothing are sewn by a sewing machine to finish them. Simply put a raw hem is a cut hem that is not finished by sewing or some sort of iron-on adhesive means of hemming. Think of the old-school cut-off shorts- to make those you cut off the finished hem at the bottom of the pants or shorts and you are left with a bottom hem that is unfinished.
Why Do Raw Hems Fray?
Over time and with more and more washes raw hems are going to fray. They fray because of the type of fabric that denim is. Denim is a woven fabric. The friction from wearing and washing will make the threads of the fabric loosen and unravel. Knit fabrics (like t-shirts) don’t have this same problem. You can cut off the sleeves of a t-shirt and leave the fabric unfinished without having a fraying edge.
How to Keep Raw Hem Jeans From Fraying
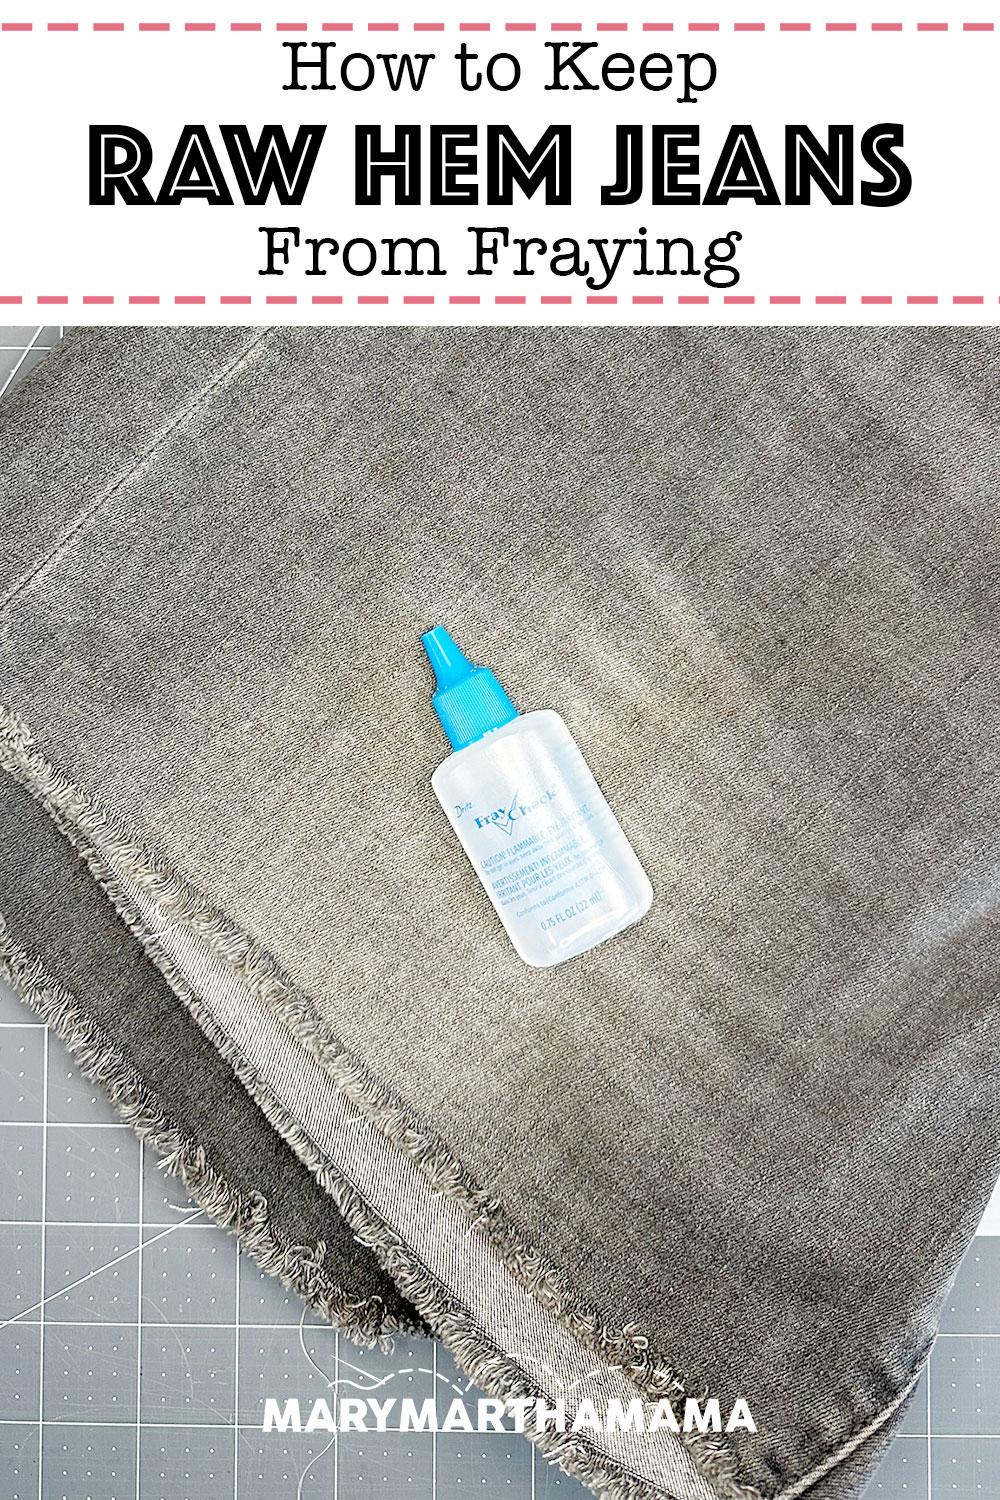
There’s a crazy simple hack to prevent fraying and it’s super inexpensive too! Fray Check is an inexpensive adhesive that prevents fraying and secures threads. You can find it in the sewing notions section of your local craft store or get it online from Amazon. It’s typically a little less expensive if you grab it in person from your craft store, usually under $5 or so.


There are a few other brands that offer an anti-fraying adhesive for fabrics but I have not tried any of them so I’m not sure how well they work. I’m just sharing about Fray Check because it’s the one I know and use. Let me know if you’ve tried one of the other brands in the comments below!
How to Use Fray Check
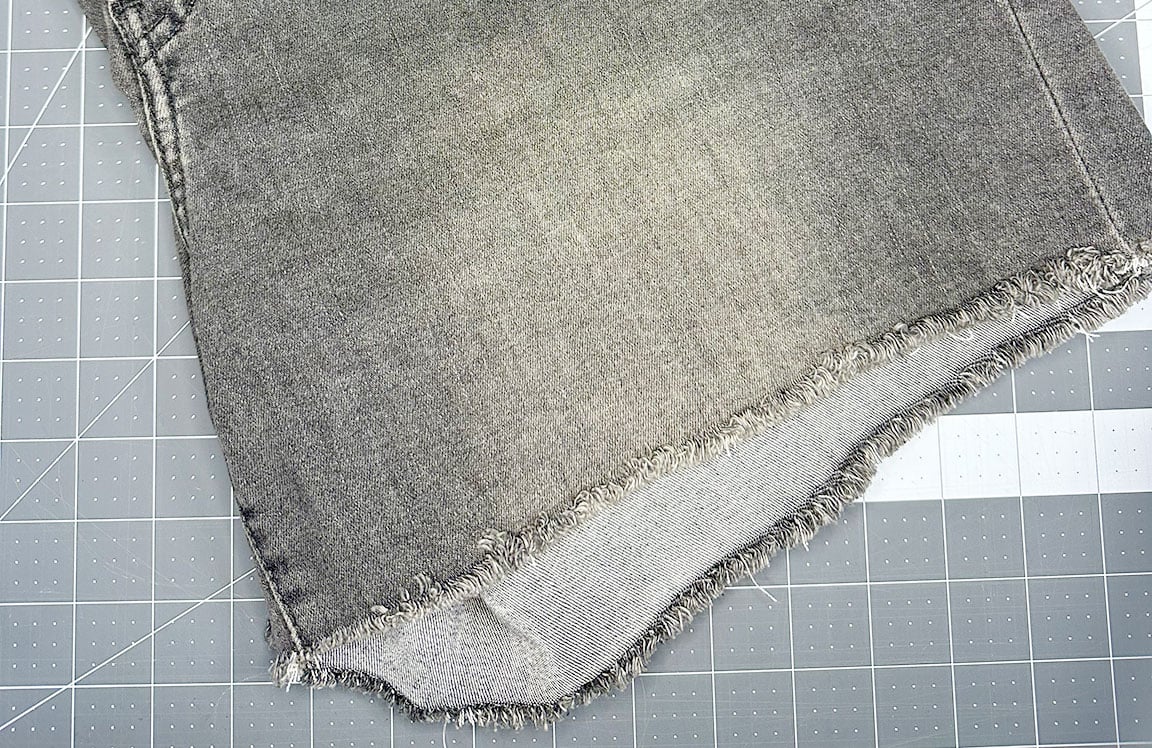
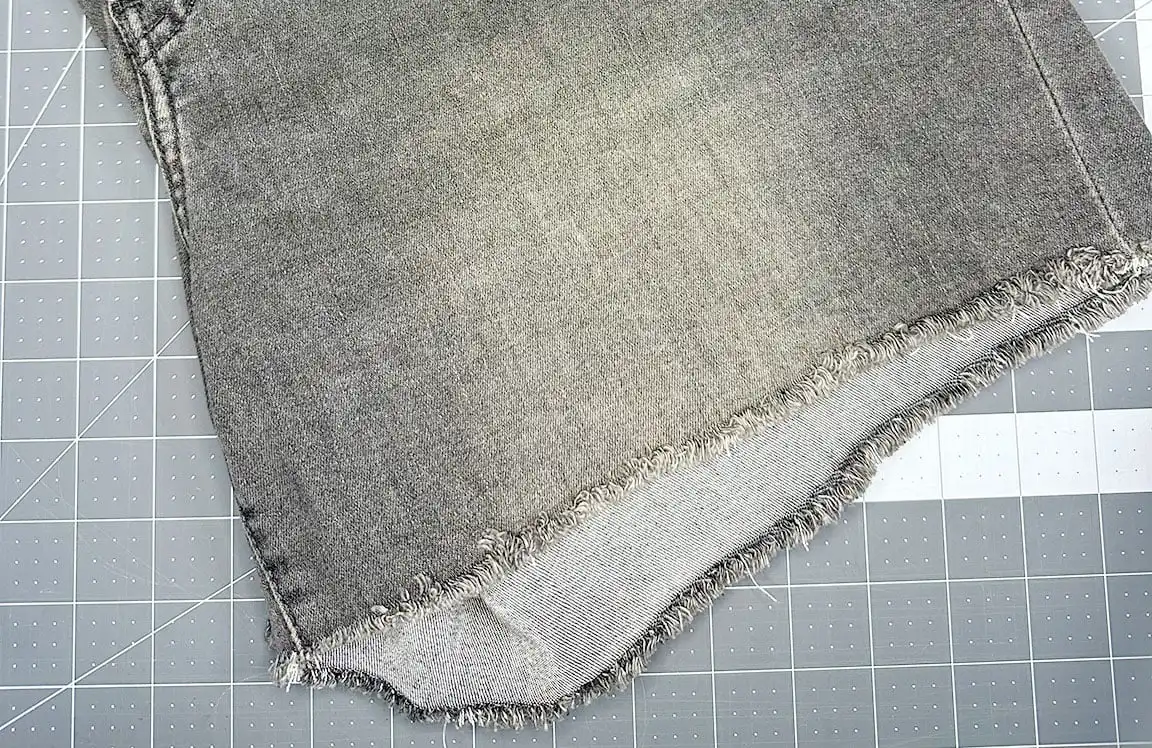
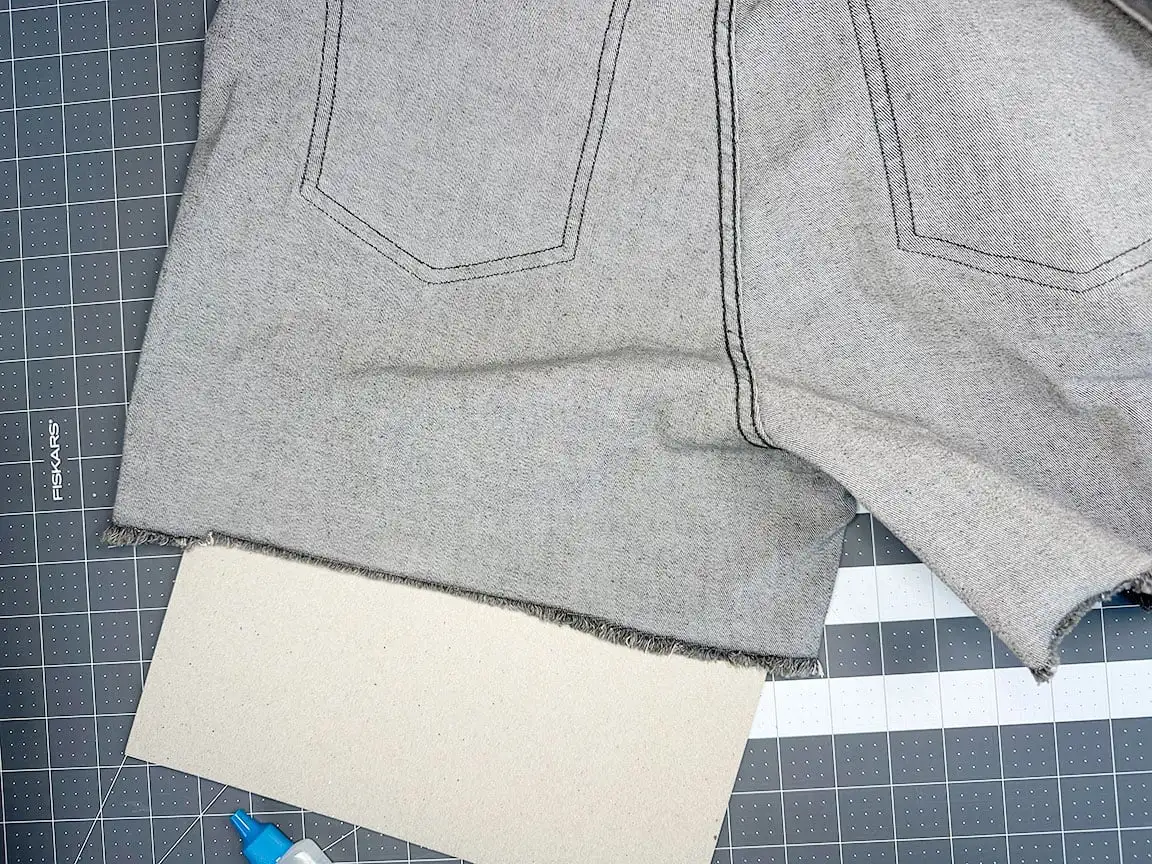
Turn your jeans or shorts inside out. I like to apply the adhesive to the inside of the leg hems. I feel like it dries very clear and you can’t really tell there is adhesive on fabric that you use Fray Check on but turning it inside out you can ensure that it’s absolutely invisible.
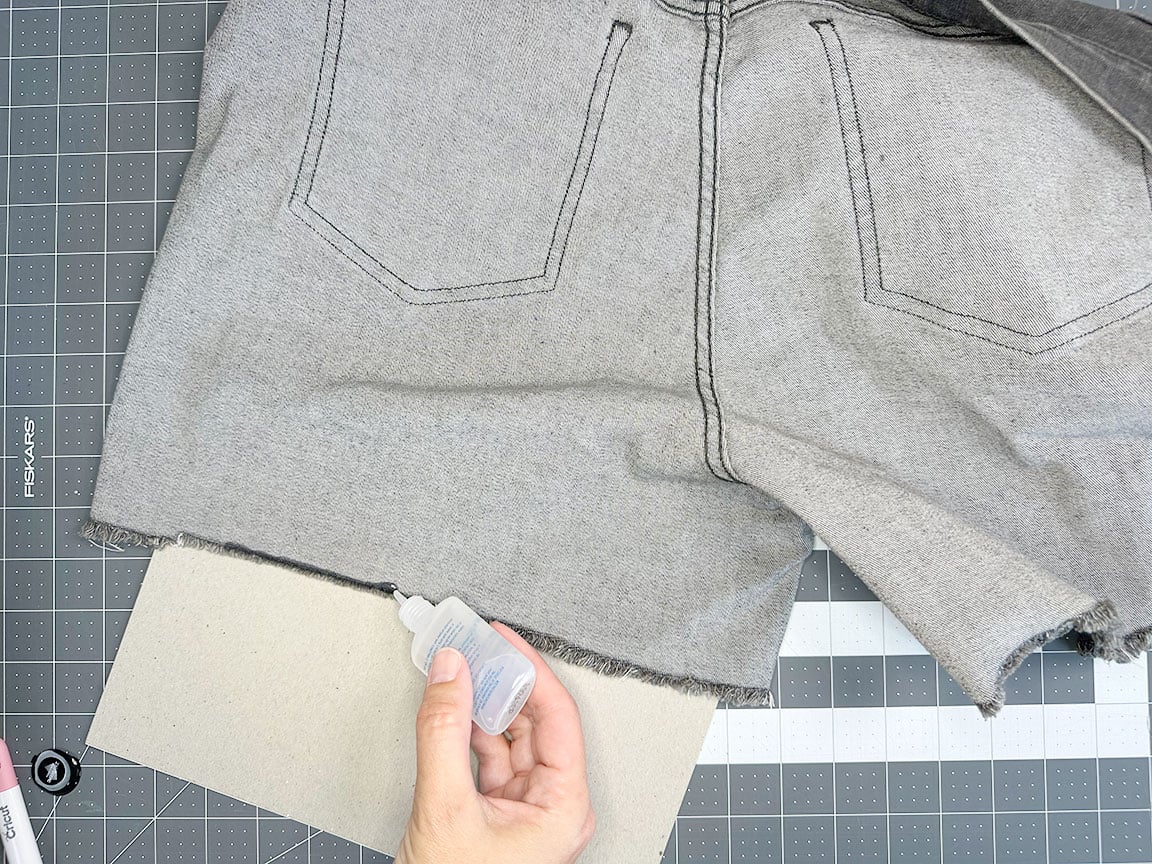
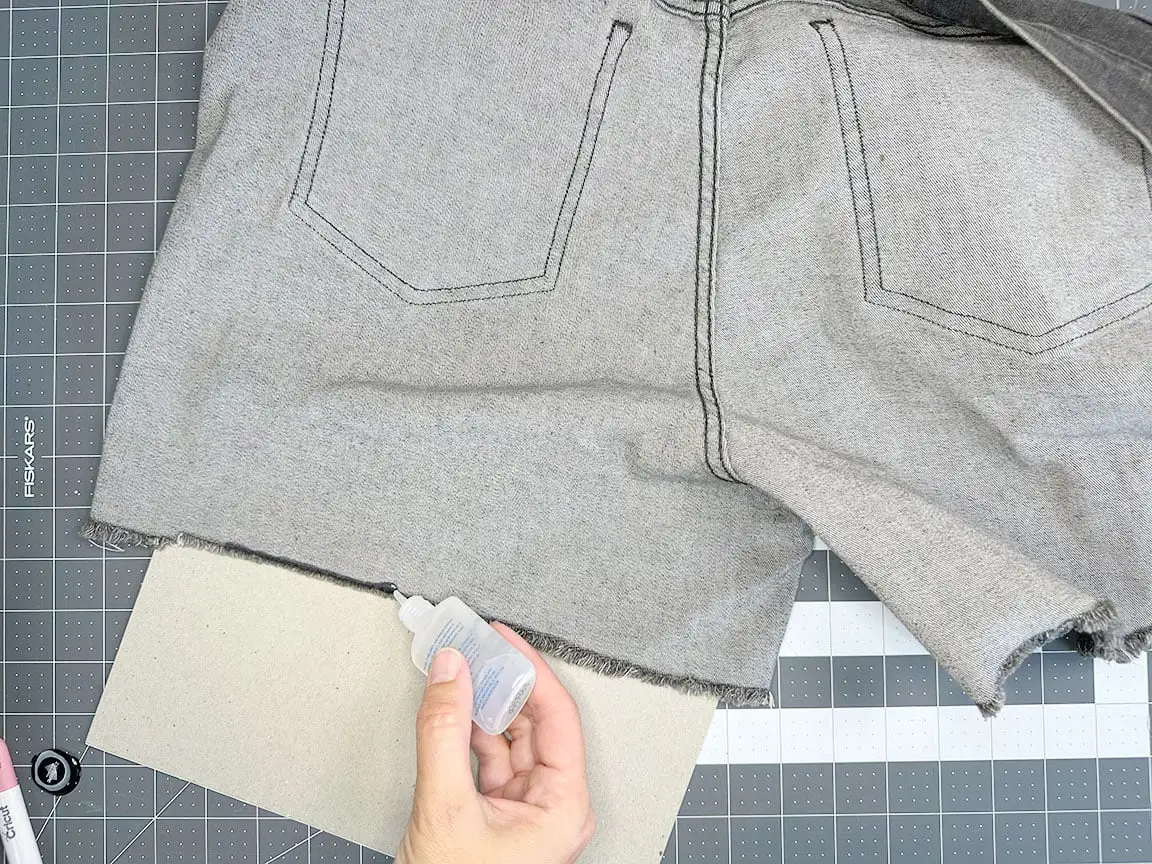
Then put a piece of cardboard or cardstock in between the layers of denim. I don’t typically have a problem with the adhesive bleeding through but I tend to take this precaution anyway just to be sure.
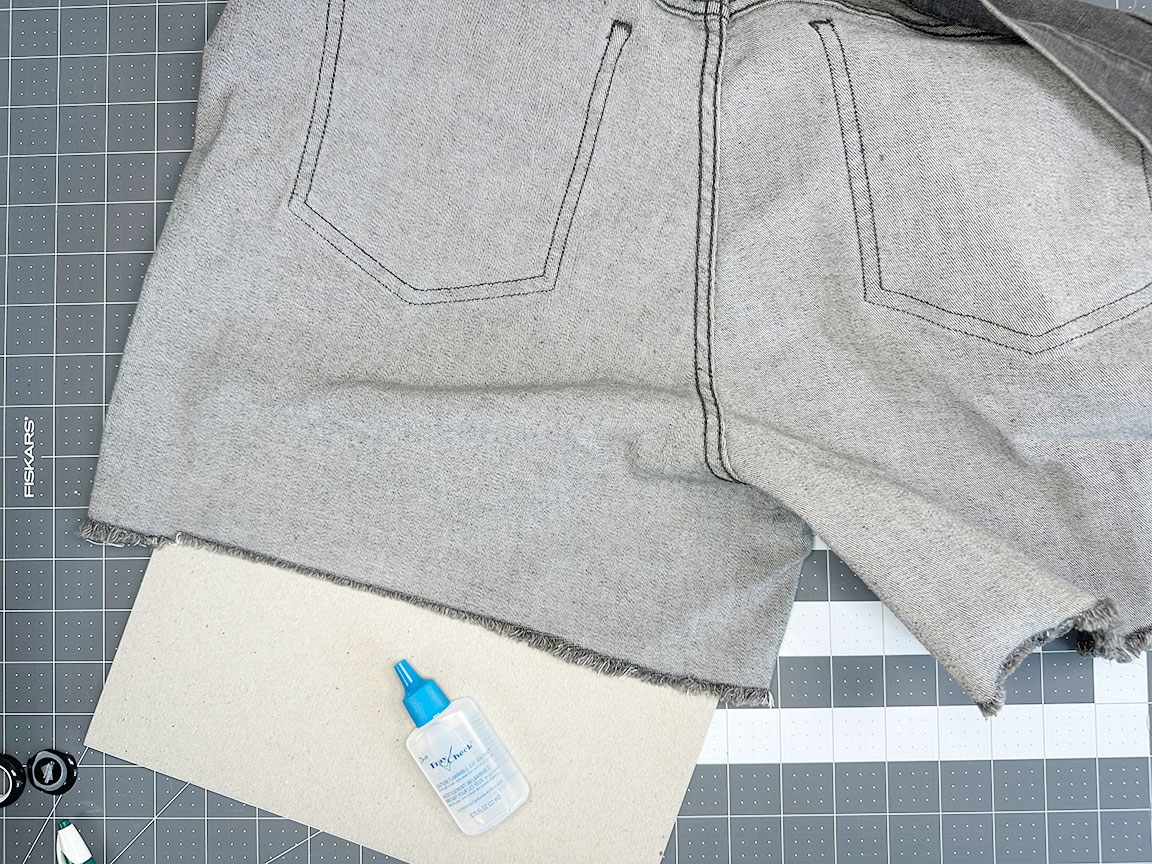

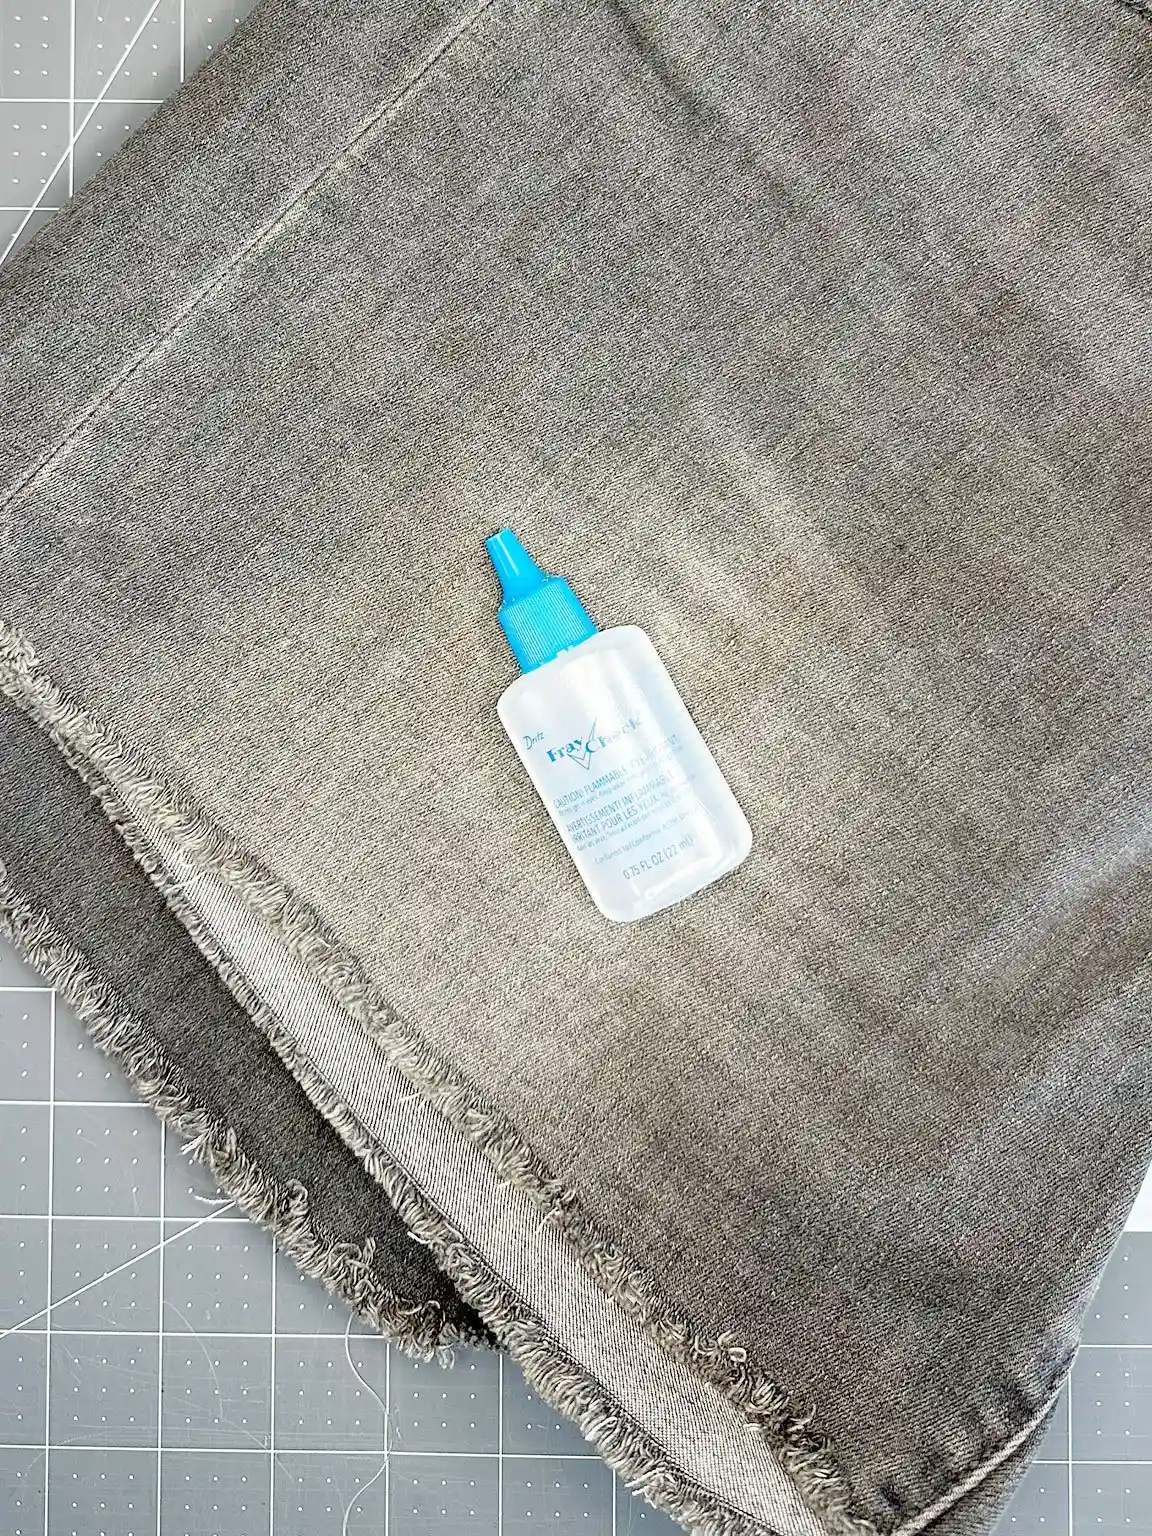
Remove the cap and then cut the tip of the clear bottle to open it. Then apply a generous line of adhesive along the cut edge of the fabric.
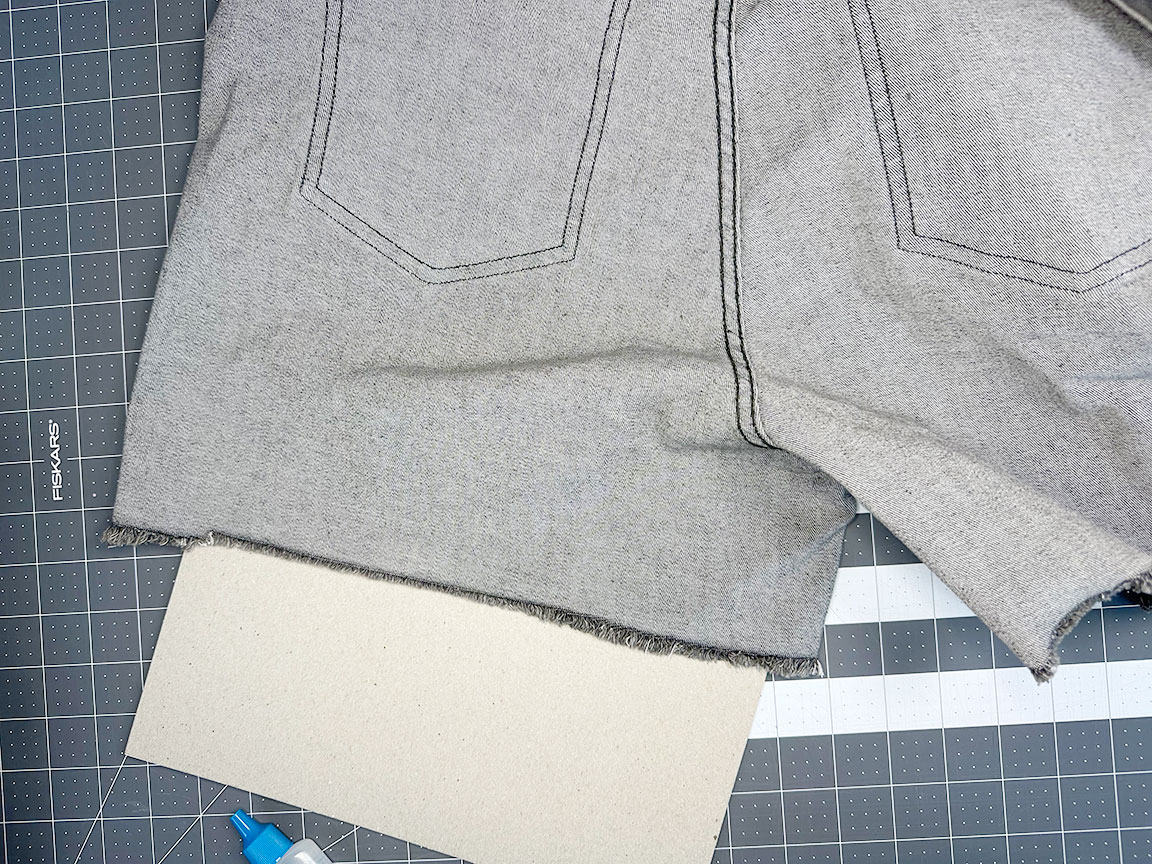
Let the adhesive dry. When it’s dry flip your denim over and apply the Fray Check to the other side of the leg. Repeat all of this with the other leg of the pants/shorts.
Try to wait 24 hours before wearing or washing the jeans/shorts that you applied the Fray Check to.

Caring for Raw Hem Jeans
Fray Check is going to stand up to washing but it won’t last forever so it’s best to reapply periodically. I have a pair of jeans that I’ve had for two years now and the fray check has worked really well with periodic reapplication.
If you do get a bit of fraying along the raw hem then it’s best to trim the strings with scissors rather than pull at them. Pulling could cause a frayed hem to unravel even more.
If you turn your jeans inside out prior to washing them then they will show less signs of wash wear. Choosing a more delicate cycle for your washing machine can also help your denim look new for longer.
I hope that this simple hack to prevent further fraying was helpful! I have used Fray Check for various sewing projects in the past so it’s interesting to use it in another context!
More Crafty Fun