It’s the time of year when I want to hibernate. We live in Ohio and yeah, it’s cold. My husband teases me because pretty much as soon as I’m home for the day I put my pj pants on. My boys love their lounge/pajama pants too so I decided to make some diy pajama pants for Christmas and today I’m sharing my tutorial for how to diy pajama pants so that you can too!


Now, here’s my big safety disclaimer… these are more lounge pants than pajama pants. Children’s sleepwear should be snug if it’s not flame retardant.
So… if you intend on having your kiddos sleep in these then make sure to choose an appropriate fabric. Now, enough legalese… on with the tutorial!
To make your own diy pajama pants you will need:
- fabric (I used 1 yard for each pair of pants and had some leftovers… My kids are 4 & 7 so if your kids are bigger you might need more material)
- 1 inch elastic (length needed will depend on the size of your kid’s waist)
- matching thread
- ballpoint needle (makes sewing with knits easier)
- rotary cutting set or scissors
- pins
- safety pin
DIY Pajama Pants Tutorial
Step 1: Wash, dry, and iron your fabric. Then lay your fabric down with the right side up. Then fold over one side toward the middle.


Step 2: Take a pair of pj pants that currently fit your kiddo. Fold them in half and lay them down on top of the folded section of the fabric. Line the long, straight side of your folded pants up with the fold. You’re going to cut out around the pants like in the pictures below.
You will cut 1.5 inches from the top and bottom of the pants and 1 inch from the side with the curve. Now before you cut, you need to stretch out the waist band in order to position the pants correctly. See the second picture below.


Step 3: You will need 2 of the pieces that you cut out in Step 2 so once you have cut the first then you will need to fold over your fabric some more and cut out another pant leg piece just like you did in Step 2.
Step 4: Fold one of your pant legs in half so that the right sides are together. Pin and sew along the bottom of the curved side of the leg like in the picture below, sewing 1/2 inch from the edge.
Repeat for the second pant leg.


Step 5: Turn one of your pant legs right side out. Take the pant leg that is right side out and put it inside of the pant leg that is inside out.


Step 6: Line up the two pant legs along the curved part that you haven’t sewn yet. Pin and sew along that edge, sewing 1/2 inch from the edge.
There’s no dotted line in the picture below because it was hard for me to draw with the way the fabric is, but you can see where I pinned- sew along the edge of that curve.

At this point your pants will look like this-


Step 7: Turn the pants inside out. Now you’re going to do the elastic waist. First, fold the top edge of your pants down 1/4 inch and press it with your iron. Then fold it down 1 1/4 inch and press it again.


 Step 9: Pin and sew almost all the way around the top of your pants. Leave a few inches unsewn. Sew just slightly more than 1 inch down from the top to make sure you have room for your 1 inch thick piece of elastic.


Step 10: Cut a piece of elastic that is the size of your child’s waist plus 1 inch. Pin a safety pin to one end of it. Put the safety pin into the opening that you left in the waist band and use it to guide the elastic through the waist band.
I kinda try to push the safety pin in, scrunch the fabric down around it, then use one hand to hold the safety pin and the other to pull the scrunched fabric past the safety pin, thus moving the elastic through the waist band.


Step 11: When you get all the way through you will have the 2 ends of the elastic sticking out. Overlap them by 1/2 inch, then pin and sew them together. Then let them slide into the waist band and sew your opening closed.


Step 12: Hem your pants legs. With the pants inside out, turn the bottoms of the legs up 1 inch. Pin and sew, sewing all the way around the pant leg. Do this for both pant legs.


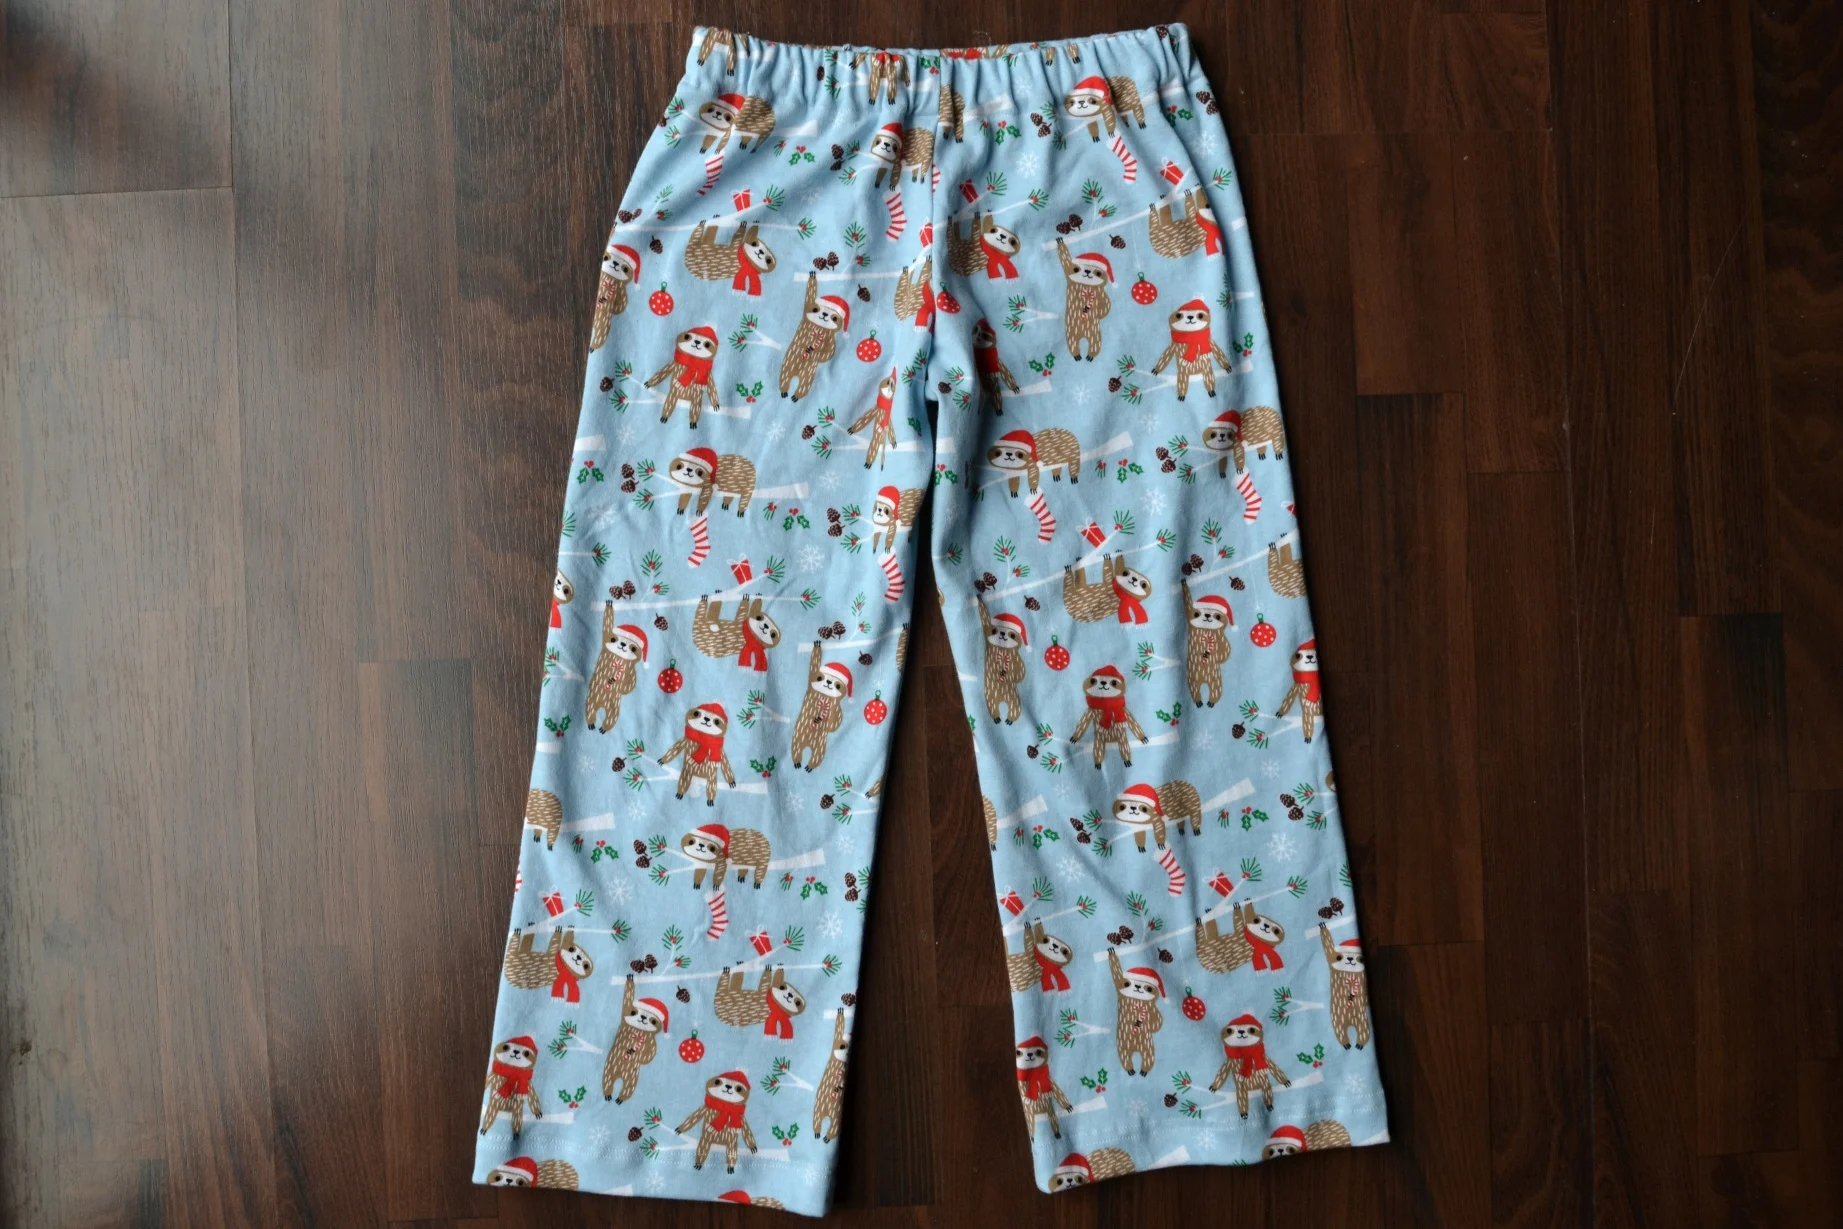
And now you’re done! Once you’ve done a pair of these diy pajama pants they really do sew up pretty quickly. My boys love that they have some fun Christmas themed, snuggly pants for hanging around the house.


Want more sewing tutorials? Check out my sewing tutorials page.

