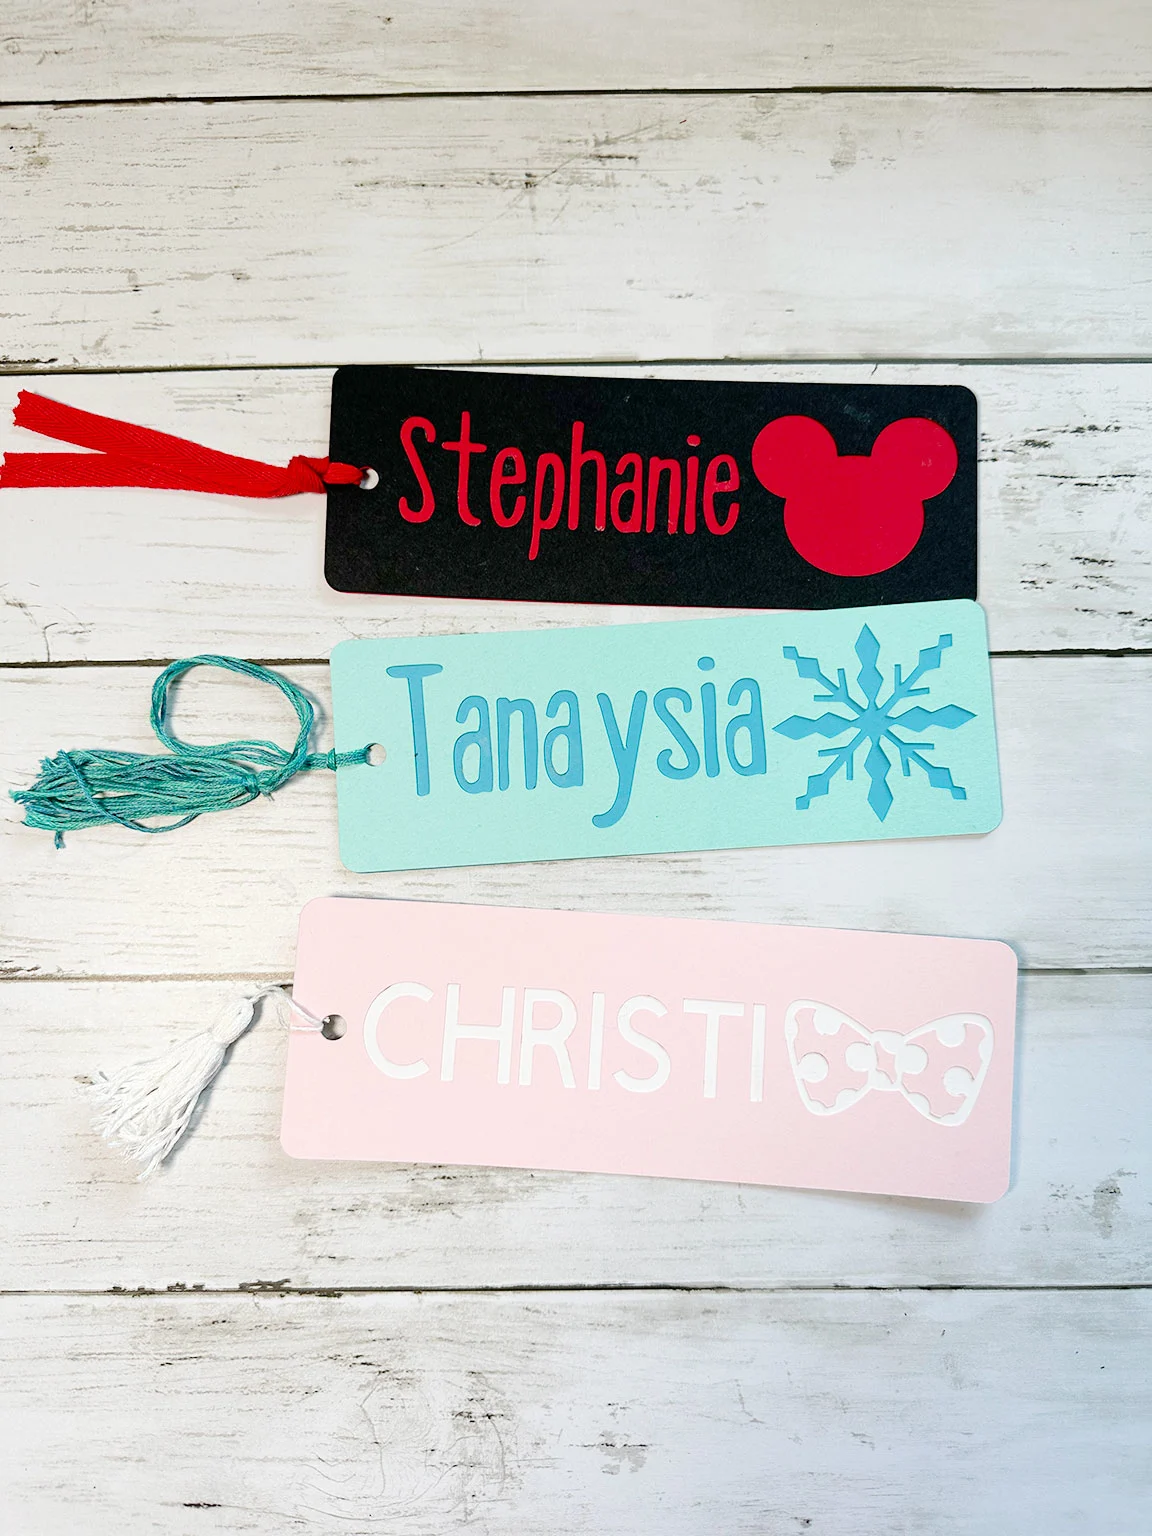
This isn’t really going to be a full blown tutorial but I wanted to share something that I made as a part of our Fish Extender gifts for our Disney cruise we recently took. I’ll give a basic description of how you could make one but it’s not going to be a fully fleshed out tutorial.

So like I said I decided that as part of our fish extender gifts I would make each person a personalized bookmark. I had each person’s name and favorite character so I tried to incorporate a symbol and colors from their favorite character or the movie the character is from into the design.
As you can see in the three bookmarks above one is for Mickey Mouse, one for Elsa from Frozen, and one for Minnie Mouse.
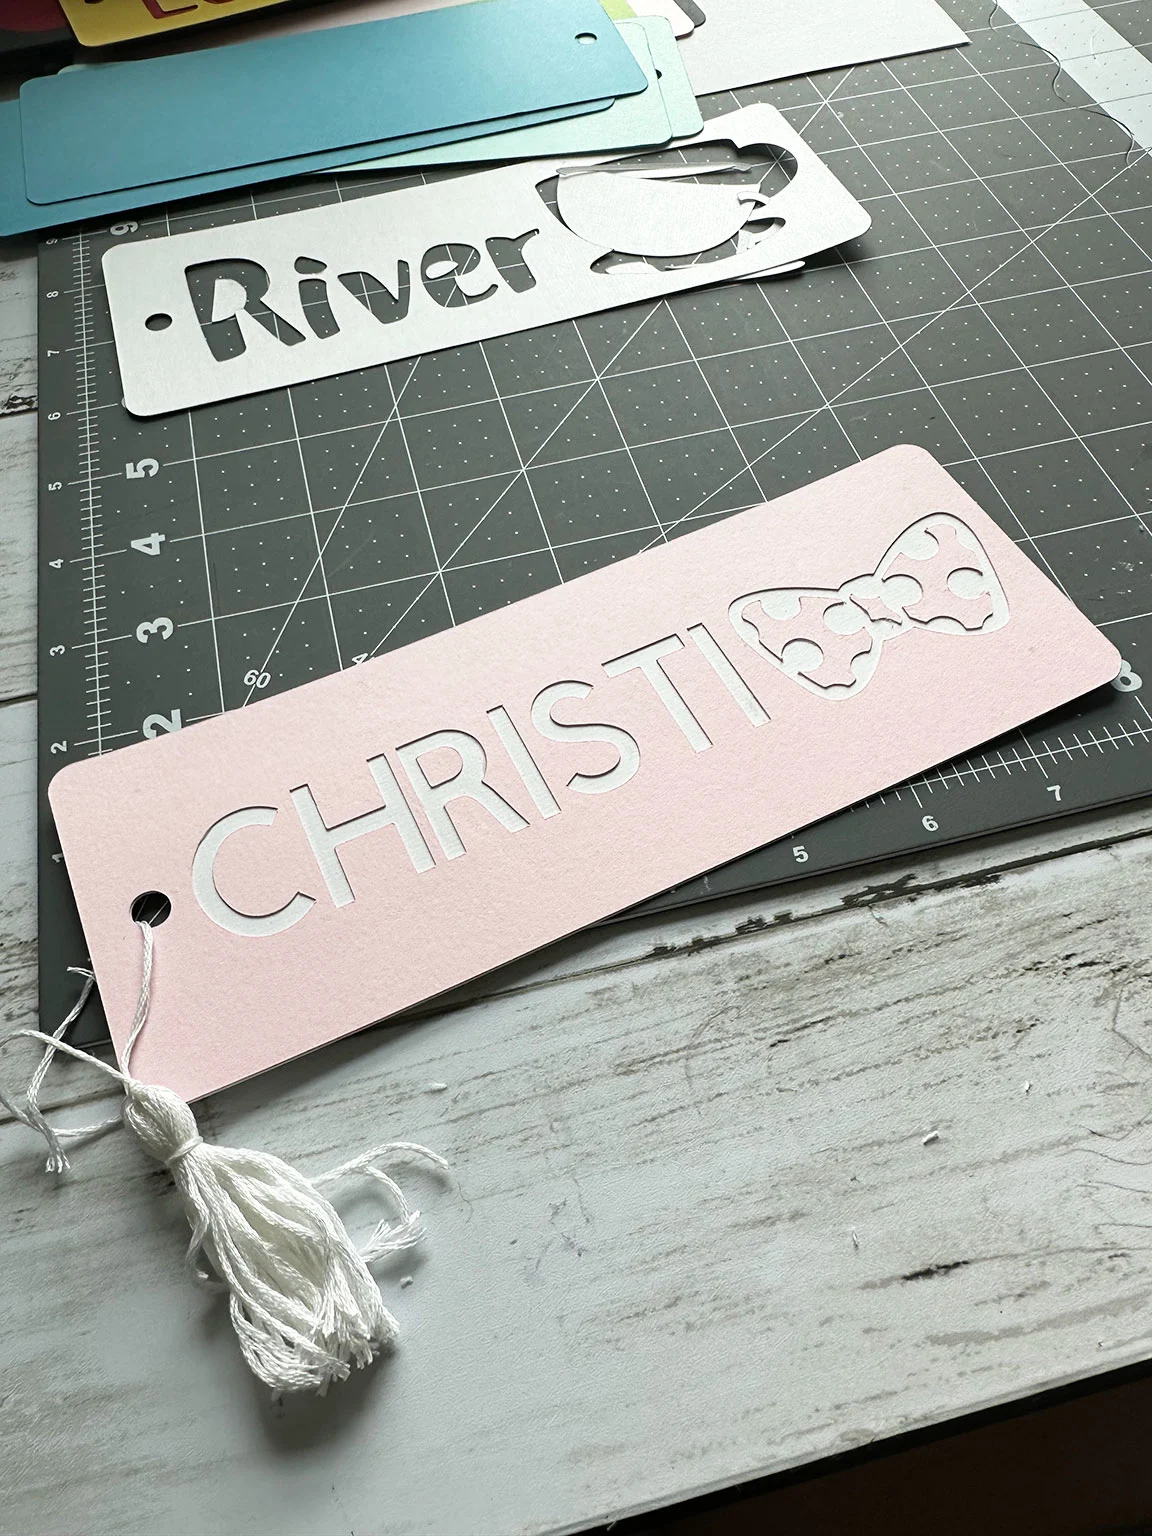
For the bookmarks I searched “bookmark” in the image section an chose one that I liked. For each bookmark I had it set up to cut out 2 bookmark templates from the paper. One I kept totally plain to be the back of the bookmark and the other I designed to cut out the name and the image for the front.

To do this for the front piece I would type the name and place the name and the image on top of the bookmark image. Then I would select the name and the bookmark and hit the slice button. Next I erased the slice results. I repeated the same process with the image and it leaves you with what you can see above where you have the outline of the bookmark with the name and the image cut out.
In Design Space you will need to make the bookmark fronts and backs all the colors that you want them to be so that you can have them cut out of the correct color. Then go through the Design Space prompts to load the paper and have them all cut out.


Then wed out the parts of the images and everything. Discard what you don’t need and glue down the pieces that you do need.

To finish them off I painted 2 layers of mod podge onto them to kind of seal them and then I made little tassels or ribbons to add to the holes at the ends. I used the little tassel tutorial from this paint chip bookmark tutorial.
And that’s it! I know it’s not a full tutorial but hopefully it gives you an idea of maybe something you could do with your Cricut very easily.

