• Skip to primary navigation
  • Skip to main content
  • Skip to primary sidebar
    Mary Martha Mama
  • Nav Social Menu

    • Facebook
    • Twitter
    • Instagram
    • Pinterest
Mary Martha Mama

Mary Martha Mama

Crafts, Sewing, Recipes, Motherhood, Life

  • Home
  • DIY
    • Sewing
    • Crafts
    • House
  • Recipes
    • Recipes
    • Healthy recipes
  • Printables
  • Kids
    • Kid Stuff
    • Beating the Baby Blues
    • The Boys Book Bags
    • Printables
  • Faith
  • Health & Beauty
    • Health & Fitness
    • Hair
    • Clothes
  • Contact & About
    • Contact

DIY Nursing Cover in 7 Simple Steps

February 29, 2016 - by Cat -

Posts on this site may contain affiliate links. Please see my disclosure page for details.

Ya’ll.  This is the easiest sewing project I may have ever made.  Seriously.  Super quick too.  And cheap!  It’s like the ultimate DIY project triumvirate- inexpensive, easy, and quick to make.  There’s not many projects that tick all of those boxes but this DIY nursing cover does!

If you want to make a baby shower gift for an expecting friend then I totally recommend this one.  I recently made one for an expectant mama.  She had this one on her registry but I thought she could use a second one since babies pretty much get drool spit up, etc on everything and back-ups are always nice.

So here’s what you need to make your own DIY nursing cover:

  • 1 yard of knit fabric ( I used a nice, soft jersey knit that I got at Joanne’s for $5)
  • thread
  • ballpoint needle
  • sewing machine (or you could make this a no-sew project by using fusible tape and your iron)
  • rotary cutter, ruler, & cutting mat (optional)

Tutorial

  1. Wash and dry your fabric.
  2. Next lay your fabric down nice and flat.  Then trim the long edges so that they are nice and straight.  You could use scissors but I find it much easier to do with my rotary cutter set.
1 yard of striped knit fabric laid out on a table
the edge of the fabric before it is trimmed to be mroe even
the fabric after the edges have been trimmed


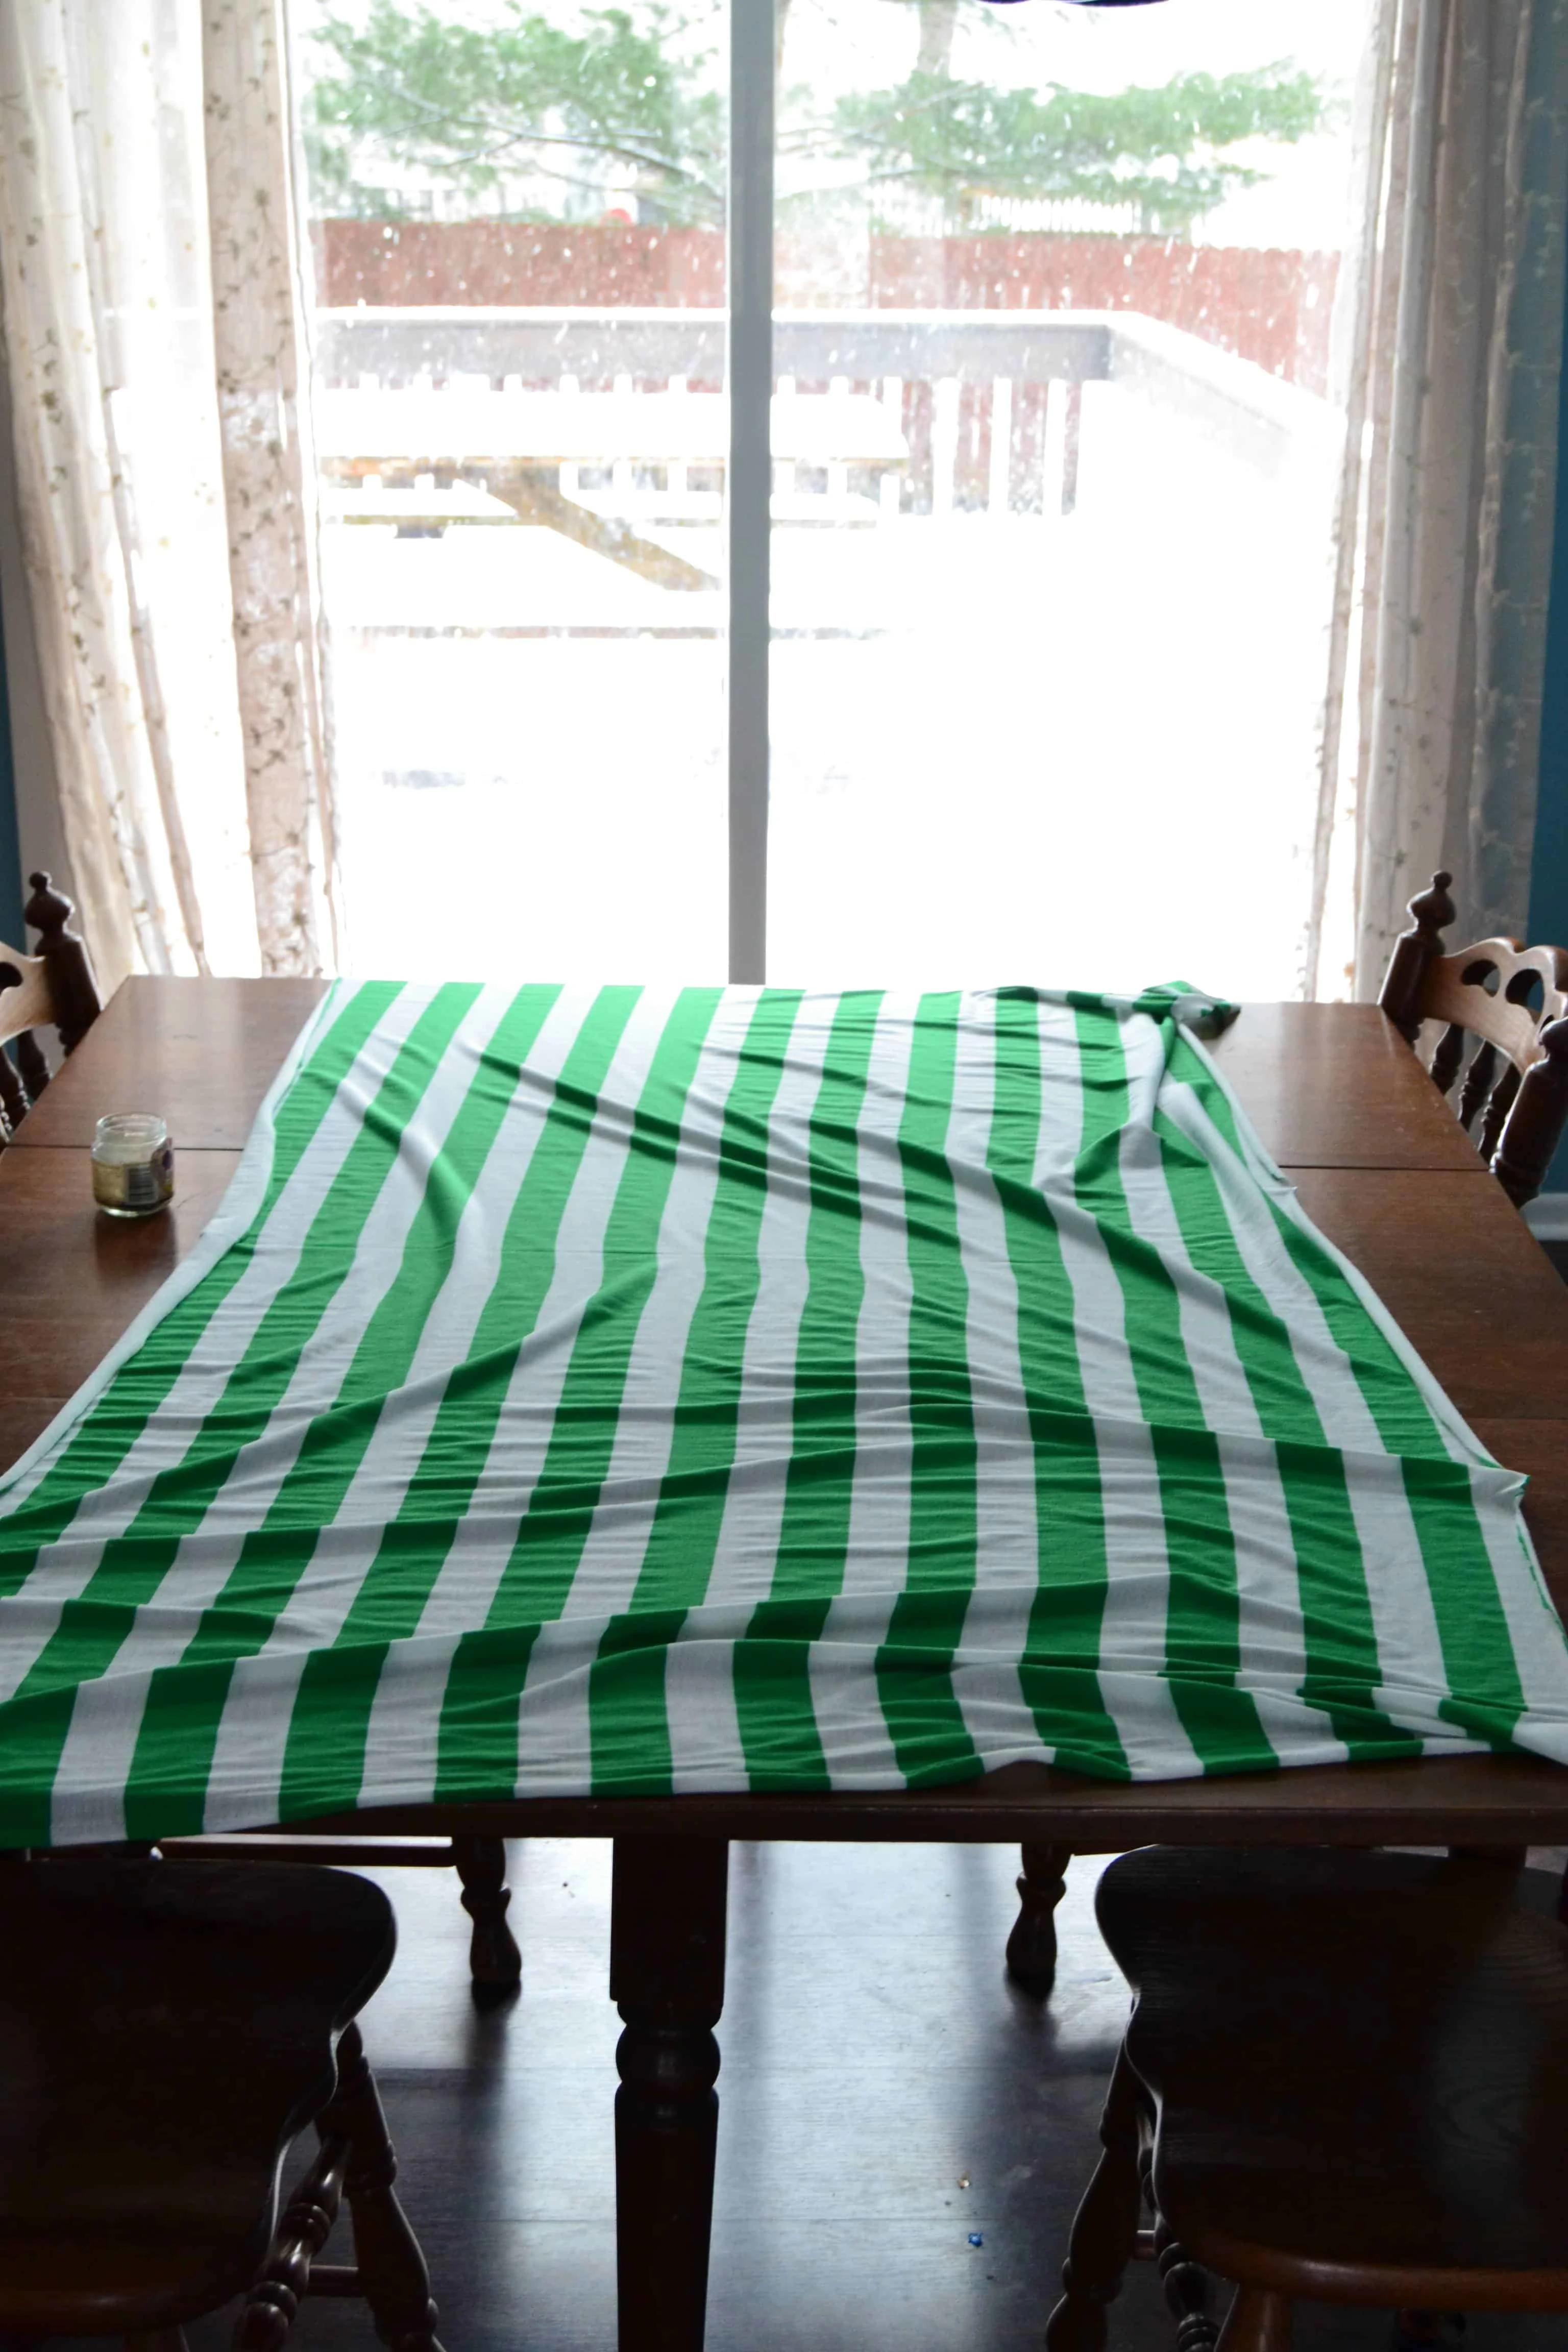
3. Fold your fabric in half from selvage to selvage with the right sides facing each other.

4. Pin along the selvage edge (the edge opposite of the fold that is 36 inches long).

the fabric folded and pinned

5. Sew along the pinned edge.  You may noticed that I pinned mine in a little further from edge than I typically would… This is because I didn’t bother to trim the selvages from the edges.  I sewed just to the side of the little holes on the selvages.

6. Trim off the selvage nice and close to your stitches and trim the strings.

the sewn edge once trimmed down

7. Now turn the scarf right side out and you are done!

the hem once turned right side out

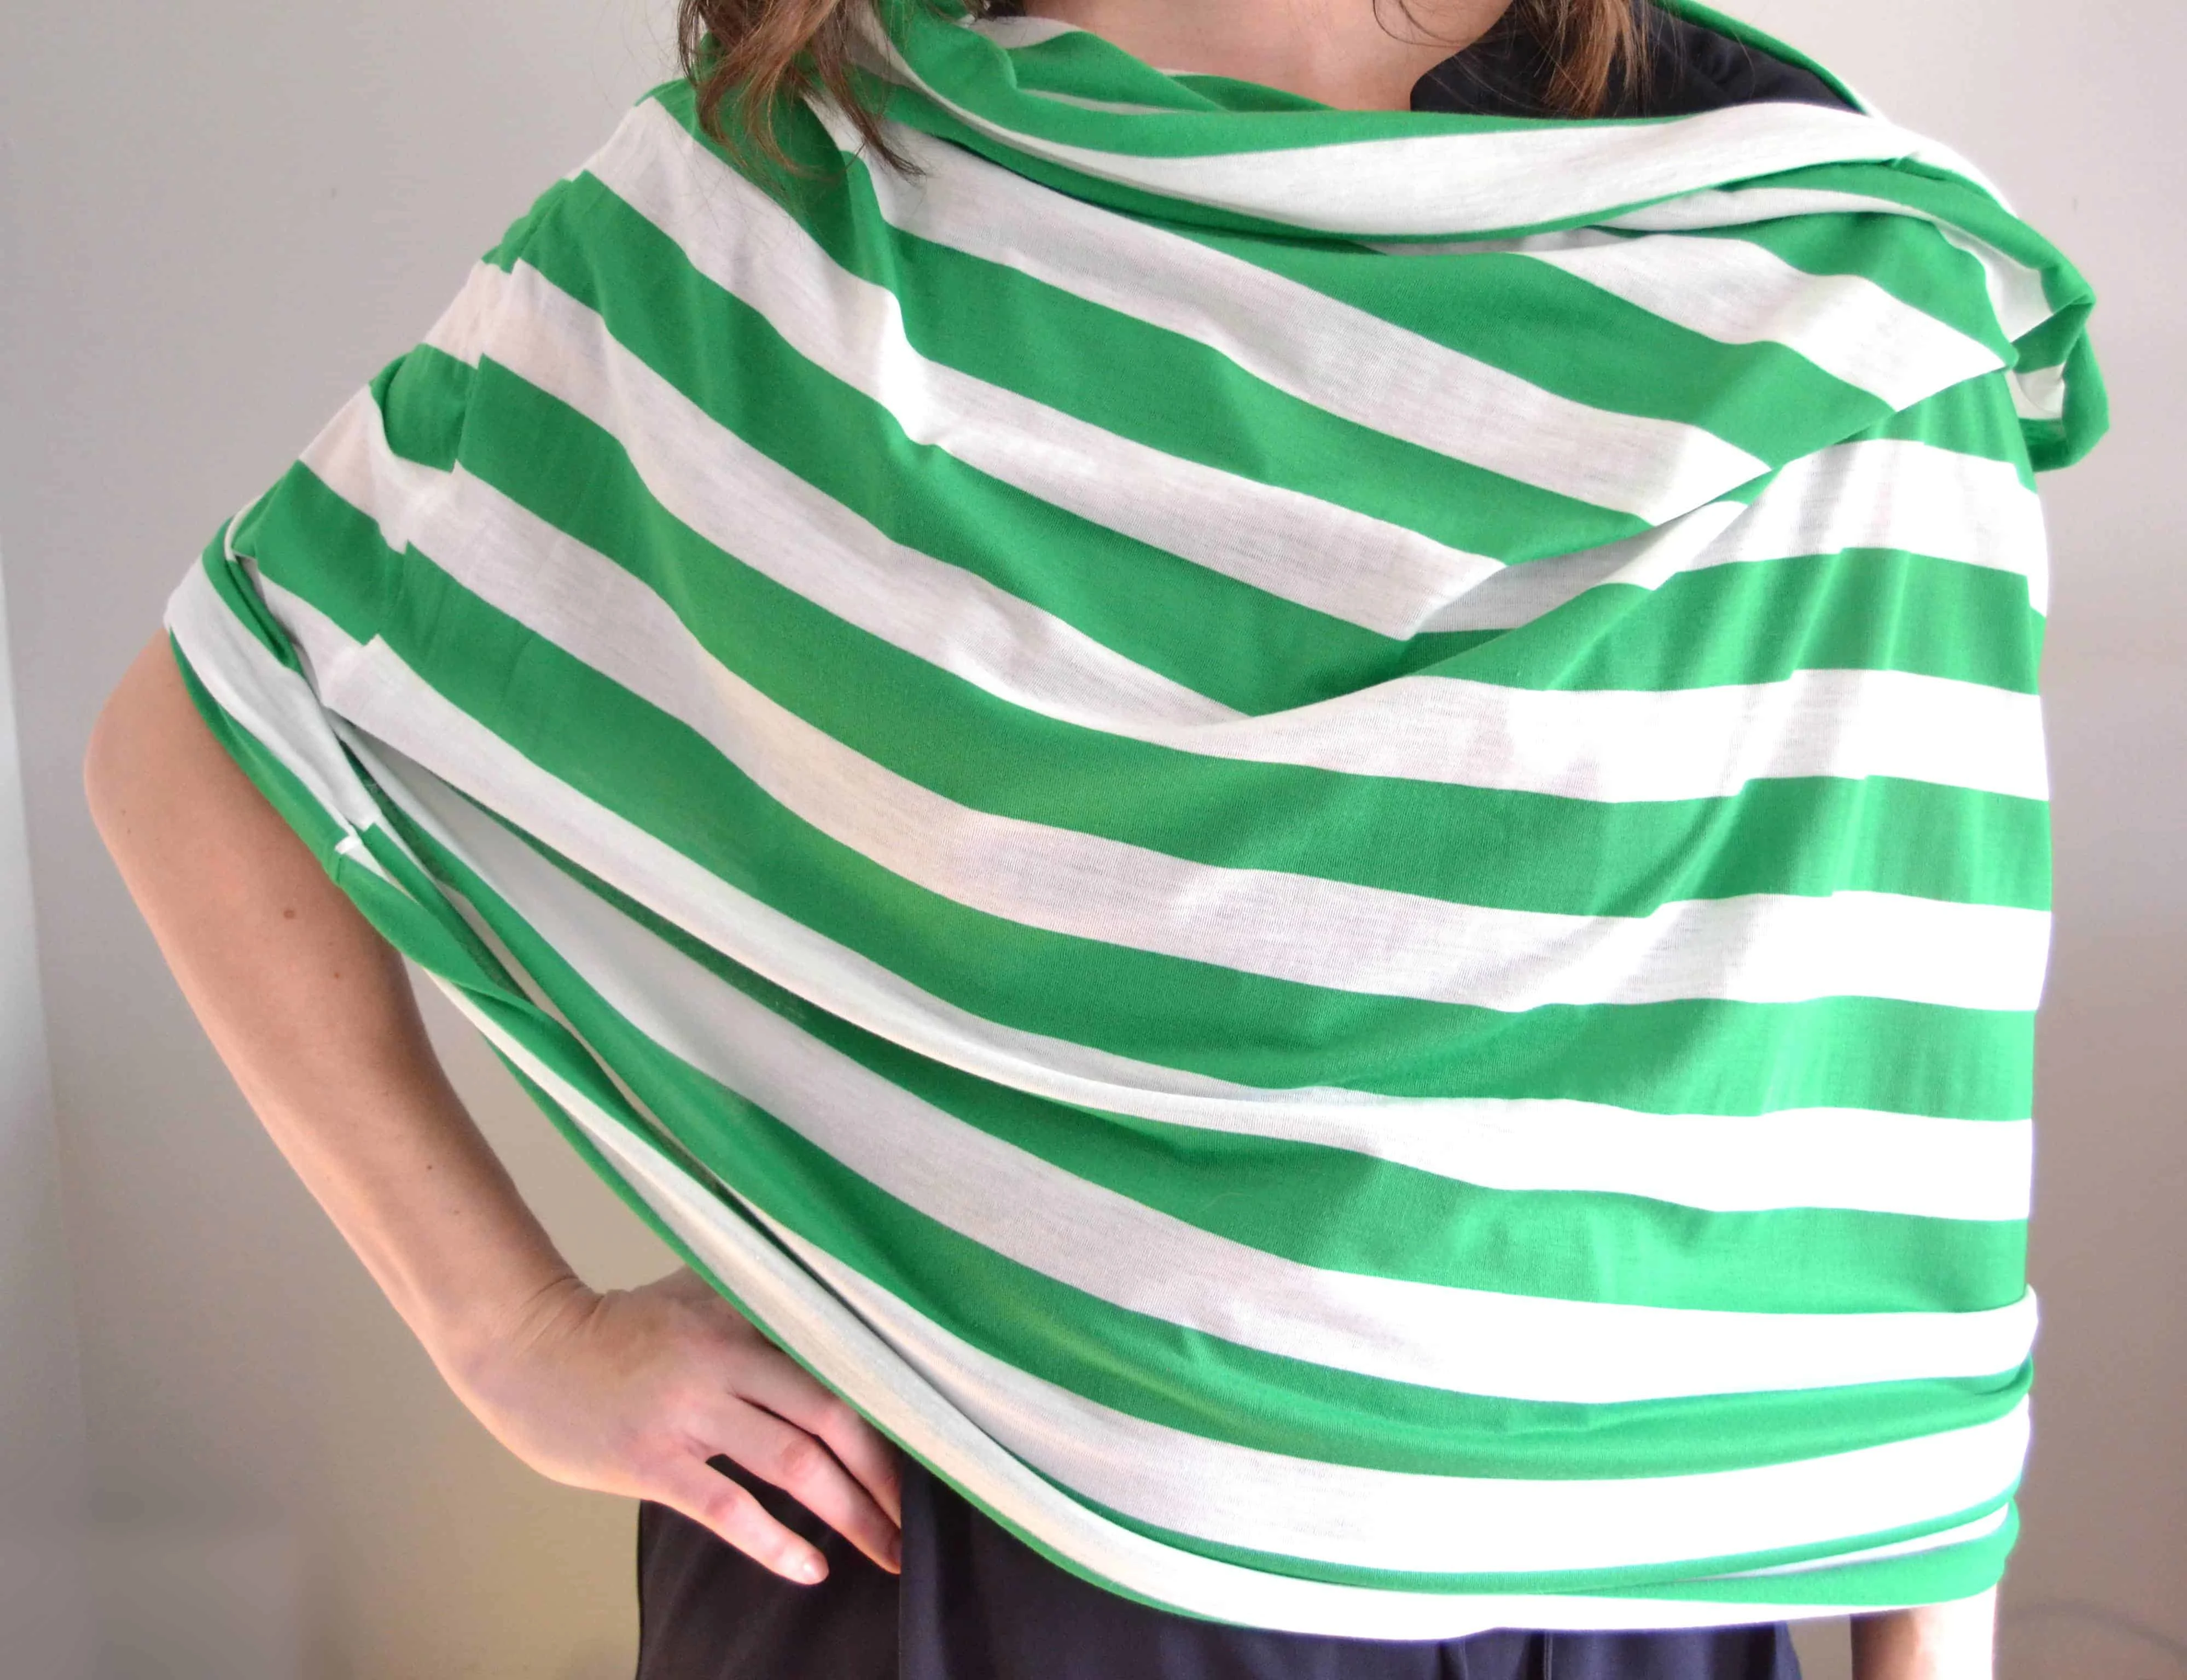
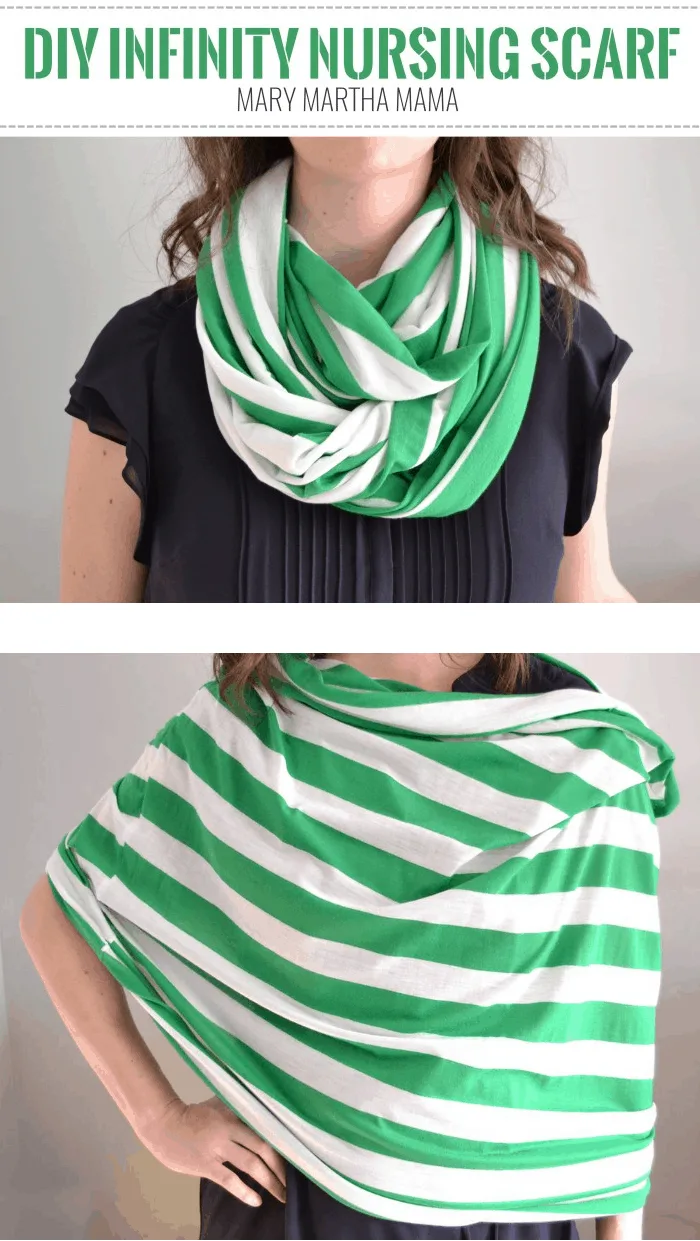
You can wear it as an infinity scarf by sticking your head through the loop you made and then looping twice around your neck.  Unloop once and drape over your body to cover while nursing.

the finished diy nursing cover when worn like an infinity scarf
the diy nursing cover unlooped and spread out for nursing
Use this tutorial to learn how to make a DIY nursing cover that's in the style of an infinity scarf. #diynursingcover

Want more sewing projects? Check out my sewing tutorials page.

Filed Under: Crafty Cat, Sewing Tagged With: diy infinity nursing scarf, easy sewing

Subscribe by Email

Previous Post: « Friday Favorites
Next Post: Easter Preschool Pack of Printables »

Reader Interactions

Comments

  1. Kat says

    March 27, 2016 at 8:16 pm

    Love this scarf. Will be making two for my daughter and daughter-in-law. Thanks for posting this.

    • Cat says

      March 27, 2016 at 8:45 pm

      You’re so welcome! I’m sure they will love their scarves.

  2. Judy Kallal says

    March 28, 2016 at 7:33 am

    looks great

    • Cat says

      March 28, 2016 at 8:11 am

      Thank you!

  3. Bette McLellan says

    March 28, 2016 at 8:47 am

    Is the cut end finished or just left as a raw edge?

    • Cat says

      March 28, 2016 at 8:48 am

      I left it raw. Since it’s a knit it won’t unravel and the ends tend to curl up. If you prefer you could finish it.

      • Michelle says

        March 29, 2016 at 7:01 pm

        I bought a thinner fabric since we are coming into the summer months and my cousin lives in Az.. I plan to finish the edges. The knit though was great without finishing!

        • Cat says

          March 29, 2016 at 7:16 pm

          I am sure she will love it!

  4. Marlene says

    March 28, 2016 at 11:59 am

    Great project…just wondering what is the width of the fabric you used? it looks wider than 45″ – so I’m wondering 60″ and if you only have 45″ wide, what length would you need. Thanks.

    • Cat says

      March 28, 2016 at 1:16 pm

      My fabric was 60 inch. I’m not sure if you could do it with 1 yard of 45 inch wide fabric because you want to be able to loop it twice when wearing it as a scarf.

    • Cat says

      March 28, 2016 at 1:26 pm

      Ok, I was thinking about it for a few minutes…. If your pattern on your fabric works when you turn it the other way you could use a 45 inch wide fabric. You would need to use 60 inches, so about 1 3/4 yards. Then you could cut it to be 36 X 60 and it would be the size I used here. You would always adjust things to your liking too. Hope that helps!

      • Marlene says

        March 28, 2016 at 8:03 pm

        thanks. I’ll give that a try.

        • Cat says

          March 28, 2016 at 8:15 pm

          Best of luck! 🙂

  5. Danielle D. says

    March 28, 2016 at 12:15 pm

    Amazing tutorial thank you very much! I am sure my family members will love these at their baby showers 🙂

    • Cat says

      March 28, 2016 at 1:16 pm

      You’re welcome! I am sure they will love it!

  6. Linda says

    March 28, 2016 at 12:57 pm

    This came at the perfect time. I will be using my serger and metallic thread to make this glittery.

    • Cat says

      March 28, 2016 at 1:17 pm

      Yes! A serger would be great for this project. I am hoping to have one one of these days 🙂

  7. Cindy says

    March 28, 2016 at 1:45 pm

    At what point did you sew the ends together to make it an infinity scarf? I didn’t see that in the tutorial.

    • Cat says

      March 28, 2016 at 2:14 pm

      You don not sew the ends together. Once you sew the one side up and turn it right side out (step 7) you are done. Stick your head through one of the open ends and out the other end. (like putting on a big necklace) That’s the first loop. Twist the scarf once to make a second loop. Stick your head through that loop. Now it is looped around your neck twice (as seen in the last picture in the post.

  8. Linda H says

    March 30, 2016 at 1:30 am

    Thank you Cindy for asking the question. I was wondering also & thinking I was being very dense. Since it is an infinity scarf, I knew it had to be a closed circle and couldn’t make it work in my head. I didn’t catch it nor did it dawn on me that you stick your head up the TUBE!!! I get it now!!

    • Cat says

      March 30, 2016 at 7:16 am

      Sorry for the confusion. I see now that I should have included a shot of how to put it on. Thank you for your input! It will help me to better write future tutorials.

  9. Shon says

    April 2, 2016 at 7:28 pm

    Hi, I am about to try this but what wondering what if I don’t have a “ball” needle?
    I also just finished making the bibs!! Yay! They are not perfect but ok for my first time out.

    Thank you.

    • Cat says

      April 2, 2016 at 8:00 pm

      I’m not sure. I’ve never tried it before. Everything I have read has talked about how a regular needle will make rips in a knit fabric. You could try it, but as I’ve said I have never done it and so I can’t recommend it. Glad to hear the bibs went well!

Primary Sidebar

Hi! I’m Cat.

I’m a Christian, wife, and mama to 2 little boys. I love to share crafts, recipes, DIY projects, and a little bit about my life. Read more about me here…

Mary Martha Mama

Copyright © 2021 · Cat · Mary Martha Mama · All Rights Reserved · Disclosure & Privacy Policy